
Spatial anchors
Tutorial
intermediate
+10XP
30m
(8)
Unity Technologies
Spatial anchors are points of reference on location maps created using the Spaces app on the Magic Leap 2. Spatial anchors enable the tethering of digital content to real-world positions within recognized saved locations. This functionality is useful for consistent use within the same physical environment, such as on a factory floor or for localized multiplayer applications. This tutorial will teach you how to implement spatial anchors in your app.
Languages available:
1. Overview
What are spatial anchors?
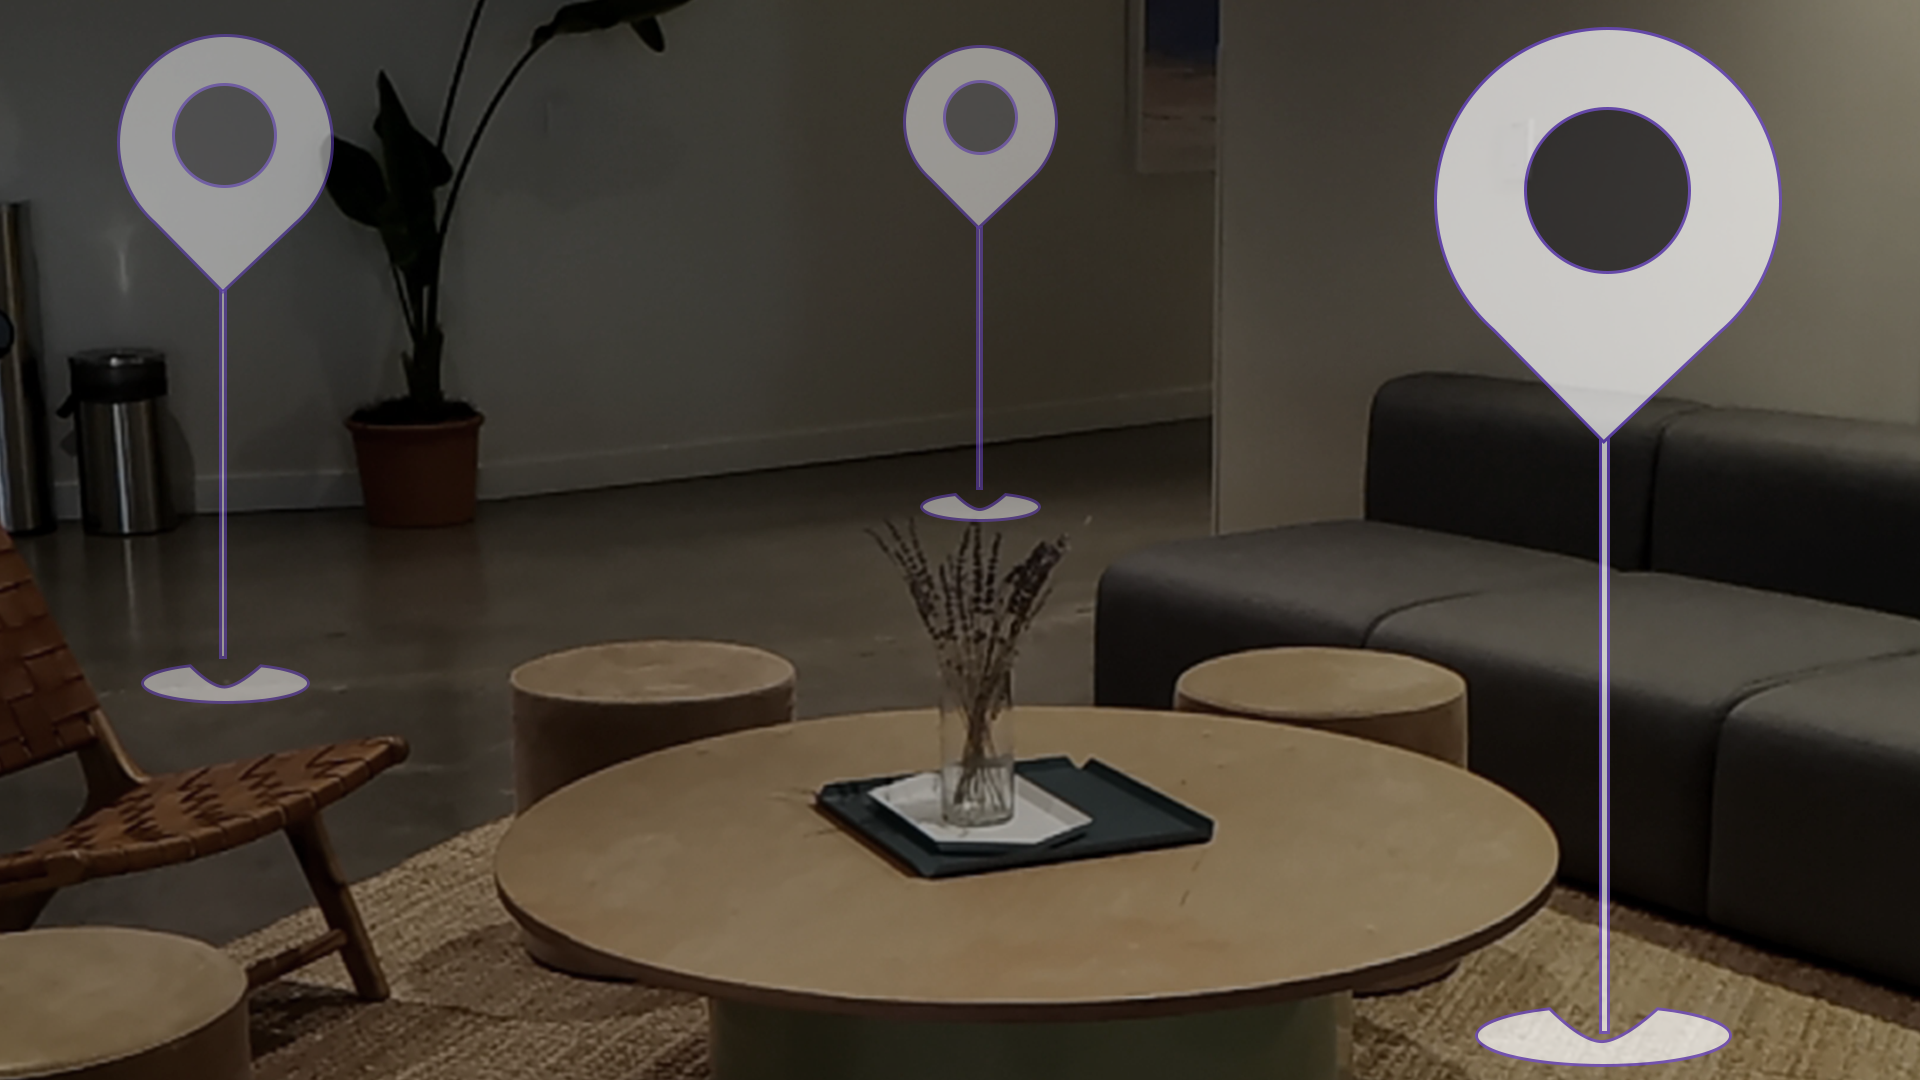
Spatial anchors are reference points within location maps generated with the Spaces app on the Magic Leap 2. Using the Spaces app, you can localize into recognized saved locations, which are saved on your device. Within those spaces, you can place spatial anchors, which you can then use to tether digital content to real-world positions.
Here’s an example of what the Spaces app looks like when you’re creating a map. Then, using Magic Leap’s Anchors demo scene, you can save spatial anchors with that map.
Why include spatial anchors?
Spatial anchors are especially useful when you know the user will be using your application within the same physical environment consistently. For example, on a factory floor, spatial anchors can be used to overlay information about specific machines or locations. Anchors can also be useful for localized multiplayer applications, allowing multiple users to view content at the same physical location.
What you’ll learn in this tutorial
In this tutorial, you’ll learn how to implement spatial anchors in your application.
You’ll also review an example where spatial anchors are used alongside other features like meshing, occlusion, and eye tracking to save sticky notes around a localized room.
2. Before you begin
Before you begin working through this tutorial, you should make sure your development environment is set up for Magic Leap 2 development and download the example prototype project.
Set up your development environment
If this is your first time developing in Unity for the Magic Leap 2, make sure you have your development environment configured properly using one of the following guided options:
- Follow the Unity: Getting started guide from the Magic Leap 2 developer documentation.
- Follow the Magic Leap 2 in-Editor tutorial project in the Unity Editor.
Download and open the example prototype
This tutorial will guide you through the implementation of this feature in your own application using an example prototype. If you want to explore the code of the prototype yourself, download the accompanying prototype project and open it in Unity.
3. Basic spatial anchors setup
Localize into a physical space
In order for spatial anchors to work, you need to localize into a space using the Spaces app. Only after you have scanned your surrounding physical environment and saved it as a new space will you be able to place and save spatial anchors in that environment.
Follow the instructions in Magic Leap’s documentation on the Spaces app to create and save a new space for testing your application.
Enable the Spatial Anchors permission
In order to scan markers in your application, you must have SPATIAL_ANCHORS enabled in your project’s manifest settings. To do this, navigate to Edit > Project Settings > Magic Leap > Manifest Settings. You might also want to include a check in your code to make sure that this permission is enabled at the start of the application.
Add an XR Rig to the Unity scene
Just like with any Magic Leap 2 project, the first step is to add the XR Rig prefab to the scene from the Magic Leap SDK package (Packages > Magic Leap SDK > Runtime > Tools > Prefabs) and then delete the Main Camera GameObject.
Add the AnchorExampleScript to your scene
There are a few main actions you’ll likely want to do when working with anchors:
- Create: creates a new anchor at a given position and with a given expiration time.
- Delete: deletes an anchor (with a given ID).
- Publish: publishes an anchor to the localized map.
- Request Params: helpful filters for querying and performing actions on anchors.
Magic Leap provides a very helpful example script for spatial anchors, which utilizes all of the key functionality above. Add the AnchorExampleScript to any object in your scene, then read through the script and make sure you understand it.
The script starts by initializing the Magic Leap inputs and the Magic Leap spatial anchor request system, then retrieves the user's current localization info.
When the trigger is pressed, a new spatial anchor is created. When the bumper is pressed, one of the anchors is deleted.
In the Update() function, the script starts a new spatial anchor search with the MLAnchors.Request class using the position of the controller and the SearchRadius parameter to define the search area. If any anchors are found, the script creates a primitive cube at the location of each new anchor and stores them in a dictionary with the anchor's ID. If an anchor already exists with the same ID, the script updates the cube's position and rotation to match the updated anchor position and rotation.
If you want, you can replace the primitive cube with something more visually interesting.
Test the anchors in your scene
Build the app to your device. To fully test the functionality of spatial anchors, follow these steps:
1. Make sure you have localized into a space using the Spaces app.
2. Open your spatial anchors app.
3. Create some anchors at key locations in your space.
4. Close and re-open the app. When the space is recognized, the anchors should appear in the same locations in the room.
5. Go back to the Spaces app and review the displayed text information; this text should list all of the anchors in the space along with their locations.
4. Additional functionality
Since spatial anchors rely so heavily on the Spaces app, specifically on being localized into a specific saved location, you might want to add functionality that checks whether the user is currently localized and prompt them with guidance in the case that they are not.
You can find code that performs these actions in the sample prototype project.
5. Spatial anchors in context
Now that you know how to set up spatial anchors, let’s check out an example of how this feature can be combined with other interactive functionality.
In this example, the user opens the Spaces app to localize into a particular space. Then, the user can place sticky notes around the room, which can be stuck to meshes in the environment and are saved as spatial anchors. If the user leaves and reenters that space, the sticky notes will be reloaded in the environment, just as the user left them. Then, when the user focuses on one of those sticky notes, the note is brought closer to the user for easier viewing and editing.
6. Next steps and additional resources
In this tutorial, you learned about spatial anchors on the Magic Leap 2. You can learn more about these features with the following resources:
- Magic Leap’s guide on the Spaces app
- Magic Leap’s guide on spatial anchors
- Magic Leap’s anchors example scene from the samples project
- Magic Leap’s documentation on the MLAnchors class
You may also want to learn more about out the other features highlighted in the example prototype:
Otherwise, feel free to go back to the overview page, where you can explore other tutorials and resources.