
TextMesh Pro: Sprite Assets
Tutorial
Beginner
+10XP
15 mins
(25)
Unity Technologies
In this tutorial, we’ll learn about the Sprite Asset, a direct analog to the Font Asset.
Languages available:
1. When to Implement Sprites
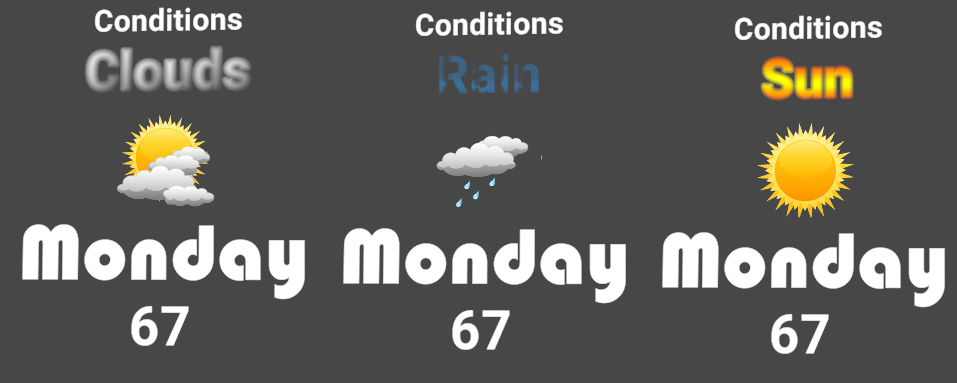
Sprites are good for displaying graphics alongside text. Imagine a weather forecast card, for instance; while it comprises textual elements, such as the temperature and day of the week, the idea of a forecast is predominantly (and much more quickly) defined by images (sun, clouds, rain, etc.). It’s good practice to use Sprites in your UI to communicate a main idea that’s supplemented by text, like the example below.
2. Sprite Atlas
Sprites are contained within a Sprite Atlas, or grid of small images. They can be created in a program like Photoshop or converted from existing Sprites within the Unity Editor.
For this tutorial, we’ll be using the Default Sprites Atlas found in TextMesh Pro > Examples and Extras > Sprites.
1. If you wish to use your own atlas, place it in your Assets directory in a folder named something like Resources > Sprites.
2. In Unity, click on the imported Sprite Texture and navigate to the Inspector.
3. From here, change the Texture Type to Sprite (2D and UI) and set the Sprite Mode to Multiple (Figure 01).
After importing the Sprite Atlas, we’ll need to slice it to isolate individual images.
4. Navigate to the Sprite Editor, then click the Slice drop-down menu. These will be the most important settings for creating a working Sprite Atlas.
5. In the drop-down:
Set the Type to Grid by Cell Size
Set the Pixel Size to 128x128
Set the Pivot to Top Left
6. Next, select Slice from the drop-down menu.
7. After the Sprite Sheet has been sliced, navigate to it in the Hierarchy, right-click, and select Create > TextMeshPro > Sprite Asset.
Our new Sprite Asset will be in the same directory as our imported Sprite Sheet. Navigating to the Inspector, notice the Sprite Character table. If our slicing settings are correct, there will be individual entries for all Sprites within the atlas (Figure 02).
In the Sprite Asset, every Sprite has an Index, Unicode, and Name string. These are needed to reference the Sprite within a TextMesh Pro GameObject.
Note: Prior versions of Unity required Sprite Assets to be located in Resources/Sprites in the root directory of the project.
From here, the Sprite Asset can be assigned via TMP Settings > Extra Settings (Figure 03).
Now, we’re set up to start using our Sprites alongside our text.
Characters in a Sprite Sheet can be accessed via Sprite tags <sprite name=“[name]”> or <sprite index=[index]>
From the Sprite Sheet included in the Examples and Extras folder, for instance, we find the Unity Technologies logo represented by Sprite Indexes 9, 10, and 11. This can be expressed in the text editor as: “This is <sprite index=9 tint=1><sprite index=10><sprite index=11>” (Figure 04).
Sprites can be tinted with the tint tag and colored with the color tag:
<sprite index=[index] tint=1>
<sprite index=[index] color=[#hex]>
When the tint tag is enabled, the corresponding Sprite will take on the same tint as the text’s vertex color. The color tag will assign an individual color to the corresponding Sprite independent of its vertex color.
We’ll learn more about these style tags in another tutorial.
3. Sprite Offsets and Spacing
By default, Sprites are placed at their anchor point. We don’t really have to worry about this anchor until we start to notice issues in how our Sprites are aligned with the rest of the text. Take a look at Figure 04, for example, and notice how the Unity logo is anchored slightly below the rest of the text. This can be fixed within our Sprite Asset.
Sprite offsets can be modified locally or globally. Local offsets are controlled by the Bx and By fields, which control the x and y offsets of the Sprite. An additional field, AD, determines the spacing (in pixels) between successive Sprites.
Global offsets can be controlled under Sprite Glyph Table > Global Offsets & Scale (Figure 05).
With a large Sprite Atlas, sometimes it’s best to adjust all Sprites globally instead of individually to save time. Let’s adjust the OX and OY parameters until the Unity logo is aligned with the text. With some tweaking, depending on the selected font, we should get something like this Figure 06):
4. Sprite Scaling
In the same window, we can scale Sprites relative to the text with the SF parameter. While the default is set to 1, we can set this to any arbitrary value (Figure 07).