
TextMesh Pro: Style Sheets and Styles
Tutorial
Beginner
+10XP
15m
(127)
Unity Technologies
In this tutorial, you will learn how to use style sheets and the styles within them in TextMesh Pro
Languages available:
1. Introduction
This tutorial has been verified using Unity 2019.4 LTS and TextMeshPro v2.1.1
If you have a web development background, you might be familiar with CSS, or Cascading Style Sheets, a markup language that defines the formatting of text elements within a page using Tags. It will be very helpful to familiarize yourself with the concept of CSS and Tags for this workflow. W3 Schools is a fantastic resource to start.
Similar to CSS, TextMesh Pro allows you to group several Tags together to create styles for formatting text.
2. The Default Style Sheet
The Default Style Sheet contains several built-in formatting options, such as:
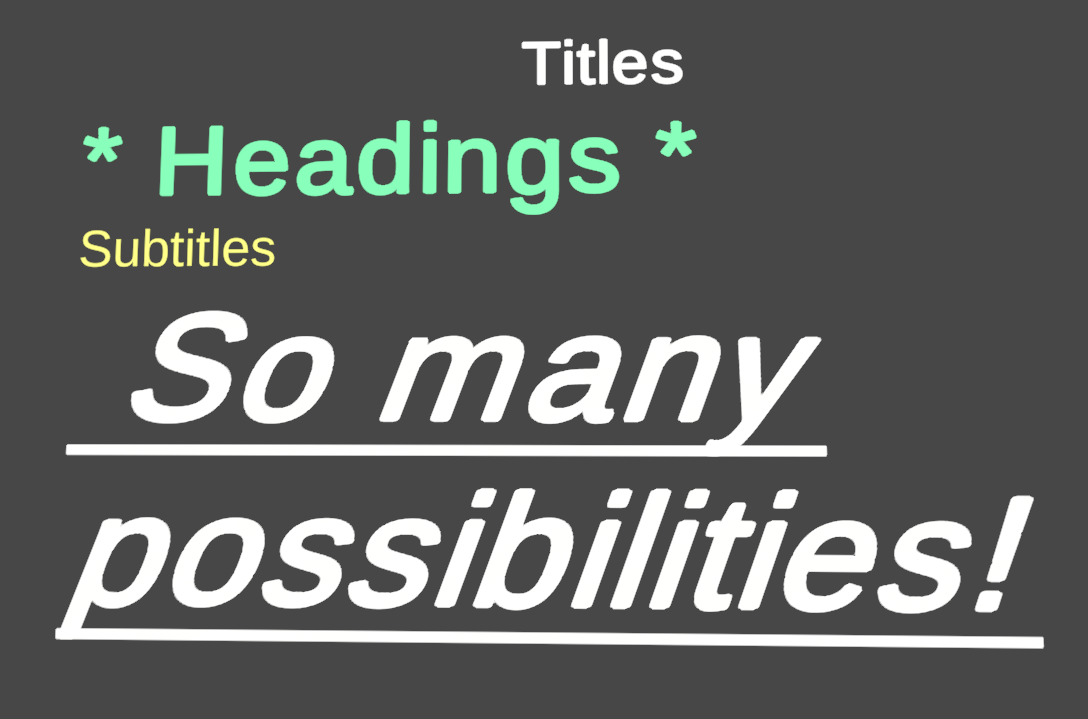
Access these and other styles by using the <style= “[Style Name]”> Tag. The above image, for instance, was created using the following Tags:
<style="Title> Titles </style>
<style="H1> Headings </style>
<style="C1>Subtitles </style>
These and more styles are defined in TMP Settings under the Default Style Sheet tab.
- Navigate to TMP Settings and double-click on the Default Style Sheet GameObject (Figure 01).
Several prominent styles, such as H1 (Headings) and Link (Weblinks), are defined here. These existing styles can be modified within the Style Sheet, but it’s best to create a duplicate first. (Figure 02)
Let’s review some commonly used TextMesh Pro Tags. These Tags will act as the building blocks to create your own styles.
3. Common formatting tags
Common Tags used in TextMesh Pro include <color> and <sprite>, Tags used to represent the vertex color or display a Sprite, respectively. Here’s a brief overview of commonly used Tags.
- <size>: Determines the scale of the text based on its current font size. Can either be a number or a percent.
- i.e.: <size=2em> for a font size of 12pt would display as 24pt, or twice its original size. <size = 200%> would accomplish the same thing.
- <color>: Determines text color in hexadecimal
- i.e.: <color=#FFFFFF> will produce white text
- <b>: Used to present bold text.
- <i>: Used to italicize text
- <u>: Used to underline text
Always remember to close your Tags:“It is important to <b> close </b> your Tags!”
A full list of Tags used in TextMesh Pro can be found here: http://digitalnativestudios.com/textmeshpro/docs/rich-text/
4. Creating a new style
To create a new style, click the + symbol in the lower right corner of the Inspector.
A new entry will appear in our Default Style Sheet. It contains several fields:
- Name: The name of our style, and what will be used to reference it when Tagging
- Opening Tags: The Tags that come before our text and define its formatting
- Closing Tags: The section where Tags are closed
Let’s try creating a new style that modifies the size of the text and adds italics, boldness, and an underline. Name is Emphasis (Figure 03).
To use this style in your TextMesh Pro object, add a <style> Tag in the text editor:
- <style=”Emphasis”> [Text] </style>
5. Adding degrees to a forecast mockup
We can create a style for displaying specific textual elements within a UI. Using what you’ve learned so far, create a weather card or clock UI element with only style Tags, similar to the image below (Figure 04):