Creating Materials in the Terrain Editor
Tutorial
intermediate
+10XP
15 mins
266
Unity Technologies
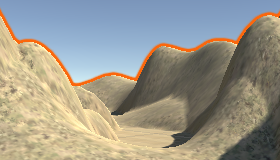
Unity’s Terrain Editor provides tools to create realistic, vast terrains by allowing you to sculpt the terrain and populate it with objects such as trees, rocks, and grass. One of the most important features of the Terrain Editor is the ability to create terrain Materials to fully texture the landscape in a seamless process. The Terrain Editor keeps the Materials independent of the terrain object so you can easily track the same Material across multiple terrains.
In this tutorial, we’ll create some terrain Materials and texture the terrain you created in the “Working with the Terrain Editor” tutorial.
Languages available:
1. Creating Materials in the Terrain Editor
This tutorial has been verified using Unity 2019.4.12f1 LTS
Unity’s Terrain Editor provides tools to create realistic, vast terrains by allowing you to sculpt the terrain and populate it with objects such as trees, rocks, and grass. One of the most important features of the Terrain Editor is the ability to create terrain Materials to fully texture the landscape in a seamless process. The Terrain Editor keeps the Materials independent of the terrain object so you can easily track the same Material across multiple terrains.
In this workflow, we’ll create some terrain Materials and texture the terrain you created in the “Working with the Terrain Editor” workflow.
2. Creating Terrain Textures
To begin using Textures, we must create the Textures that will be applied to the terrain inside the Terrain Editor. To begin this process:
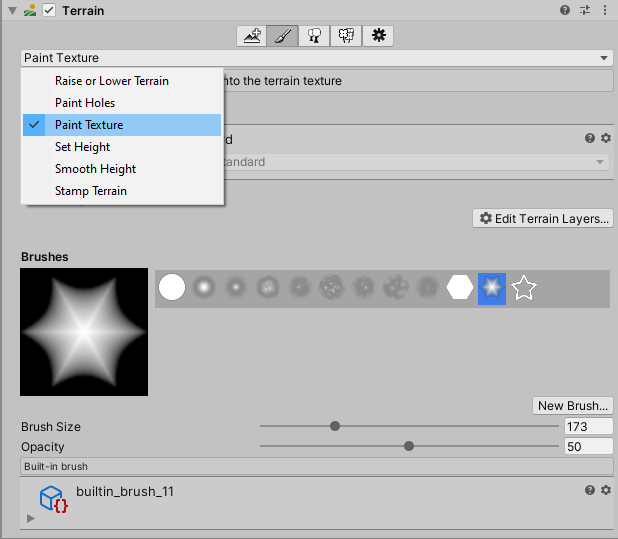
1. Click the paintbrush button on the toolbar of the selected terrain in the Inspector window.
2. Click the drop-down and select the Paint Texture option (Figure 01).
3. Adding Terrain Layers
The terrain Materials are defined as Terrain Layers. Initially, the terrain won’t have any Terrain Layers created for painting. We’ll need to add some layers in order to begin painting. The very first layer you create will be applied to the entire terrain as a background Material. To begin adding Terrain Layers:
1. Click Edit Terrain Layers.
2. Click Create Layer... This will open up the Unity Asset Picker window.
3. Search for the background Texture you want to use. Once you select a Texture, Unity will apply it to the entire landscape as the background Material (Figure 02).
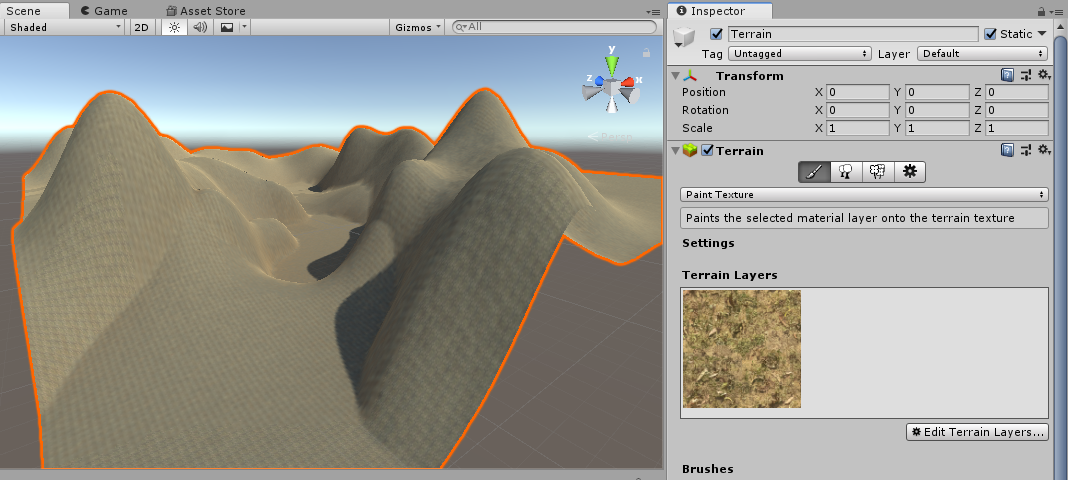
Repeat the above steps to create a new terrain layer that we can use to paint the landscape (Figure 03).
4. Adjusting Terrain Layer Settings
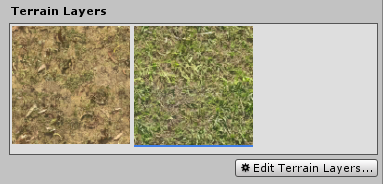
Now that you’ve added the additional Texture, you’ll notice that when you select either Material, you’ll see additional settings for these Textures just below the Terrain Layers section (Figure 04).
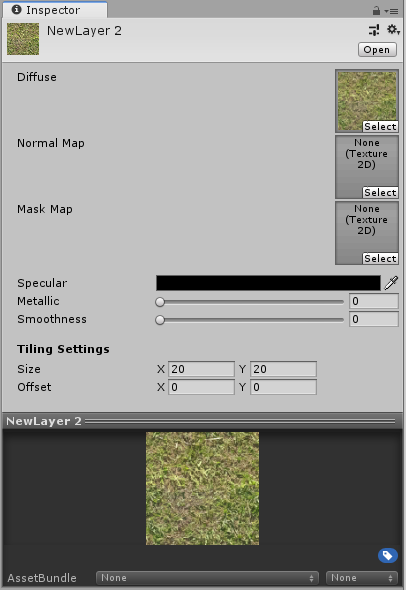
You’ll be able to adjust settings for each layer, such as adding a normal map, adding a mask map, changing the specular, metallic, and smoothness settings, and adjusting the tiling settings for the Material in the Terrain Layer. You can adjust all these settings on the fly while using the Terrain Editor to change the textures already applied to the terrain, removing the need to repaint any of the materials.
Note that the mask map is used for arbitrary shading while the script interface below the attributes provides a Shader-dependent custom GUI for the selected Terrain Layer.
5. Painting the Terrain
Now that you have a couple of Materials set up in your Terrain Layers, it’s time to begin painting the terrain. Select the brush you wish to use, then click and drag along the terrain (Figures 05 and 06).
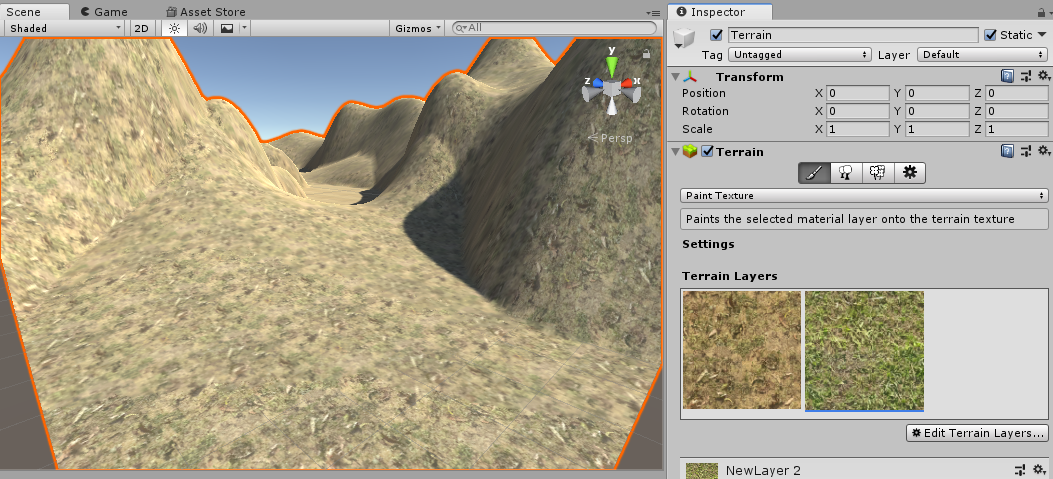
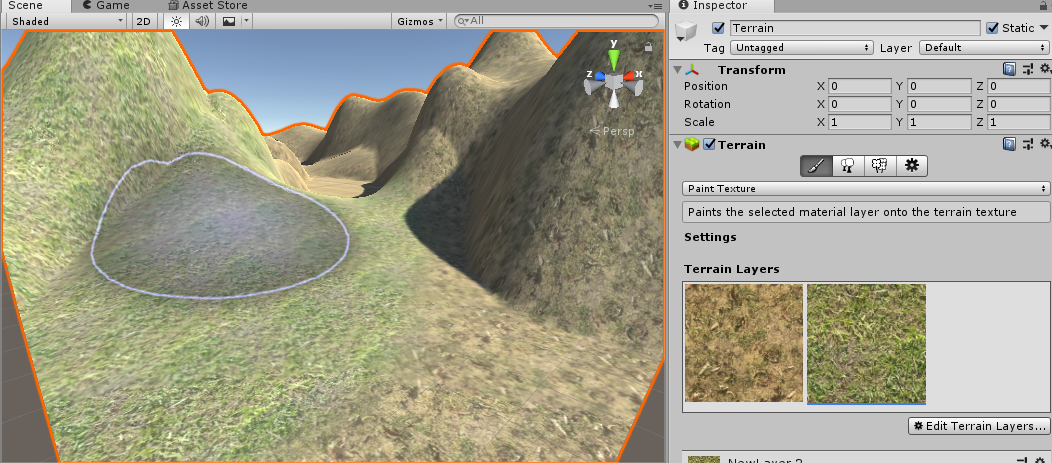
You can add multiple layers to create depth, and you can adjust the brush settings to blend the Terrain Layers together to create unique and realistic landscapes.
6. Conclusion
Now that you know how to create Terrain Layers from terrain Materials, you can experiment with texturing the hills, mountains, plateaus, and valleys that you’ve sculpted. It takes practice to make believable landscapes by blending terrain Materials, so try experimenting with the skills you’ve gained from this workflow.