
Unity NavMesh
Tutorial
Beginner
+0XP
35m
(675)
Unity Technologies
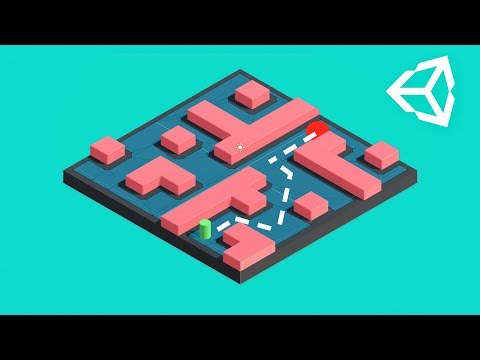
Learn how to create AI pathfinding using the Unity NavMesh components!
This video was produced by Brackeys.
Languages available:
1. Basics
Learn how to create AI pathfinding using the Unity NavMesh components!
This video was produced by Brackeys.
Download the Example Project here.
PlayerController
using UnityEngine;
using UnityEngine.AI;

public class PlayerController : MonoBehaviour {

    public Camera cam;

    public NavMeshAgent agent;

    // Update is called once per frame
    void Update ()
    {
        if (Input.GetMouseButtonDown(0))
        {
            Ray ray = cam.ScreenPointToRay(Input.mousePosition);
            RaycastHit hit;

            if (Physics.Raycast(ray, out hit))
            {
                agent.SetDestination(hit.point);
            }
        }
    }
}2. Making it Dynamic
Learn how to update your NavMesh at runtime!
This video was produced by Brackeys.
ObstacleAnimation
using System.Collections;
using System.Collections.Generic;
using UnityEngine;

public class ObstacleAnimation : MonoBehaviour {

    public float speed = .2f;
    public float strength = 9f;

    private float randomOffset;

    // Use this for initialization
    void Start () {
        randomOffset = Random.Range(0f, 2f);
    }

    // Update is called once per frame
    void Update () {
        Vector3 pos = transform.position;
        pos.x = Mathf.Sin(Time.time * speed + randomOffset) * strength;
        transform.position = pos;
    }
}
LevelGenerator
using UnityEngine;

public class LevelGenerator : MonoBehaviour {

        public NavMeshSurface surface;
    public int width = 10;
    public int height = 10;

    public GameObject wall;
    public GameObject player;

    private bool playerSpawned = false;

    // Use this for initialization
    void Start () {
        GenerateLevel();
                surface.BuildNavMesh();
    }

    // Create a grid based level
    void GenerateLevel()
    {
        // Loop over the grid
        for (int x = 0; x <= width; x+=2)
        {
            for (int y = 0; y <= height; y+=2)
            {
                // Should we place a wall?
                if (Random.value > .7f)
                {
                    // Spawn a wall
                    Vector3 pos = new Vector3(x - width / 2f, 1f, y - height / 2f);
                    Instantiate(wall, pos, Quaternion.identity, transform);
                } else if (!playerSpawned) // Should we spawn a player?
                {
                    // Spawn the player
                    Vector3 pos = new Vector3(x - width / 2f, 1.25f, y - height / 2f);
                    Instantiate(player, pos, Quaternion.identity);
                    playerSpawned = true;
                }
            }
        }
    }
}3. Animated Character
Learn how to link together surfaces and how to add an animated character to our Agent.
This video was produced by Brackeys.
PlayerController
using UnityEngine;
using UnityEngine.AI;
using UnityStandardAssets.Characters.ThirdPerson;

public class PlayerController : MonoBehaviour {

    public Camera cam;

    public NavMeshAgent agent;

    public ThirdPersonCharacter character;

    void Start()
    {
        agent.updateRotation = false;
    }

    // Update is called once per frame
    void Update ()
    {
        if (Input.GetMouseButtonDown(0))
        {
            Ray ray = cam.ScreenPointToRay(Input.mousePosition);
            RaycastHit hit;

            if (Physics.Raycast(ray, out hit))
            {
                agent.SetDesitnation(hit.point);
            }
        }

        if (agent.remainingDistance > agent.stoppingDistance)
        {
            character.Move(agent.desiredVelocity, false, false);
        }
        else
        {
            character.Move(Vector3.zero, false, false);
        }

    }
}