
Use Sound Generator for background audio
Tutorial
Beginner
+0XP
0 mins
(18)
Unity Technologies
Use the Sound Generator to create custom sound effects, which can play at random intervals in the background to make your scene feel more immersive.
Resources
Languages available:
1. Overview
In this tutorial, you’ll use Unity’s Sound Generator to produce ambient sound effects like wind or rustling leaves and play them randomly in your scene. These sounds will help bring the environment to life and make the space feel more immersive.
Below is an example of what your project might sound like. Notice the music and subtle bubbling sounds in the background.
2. What can you do with the Sound Generator?
The Sound Generator creates original audio clips based on a natural-language description or an optional sound reference. It’s great for generating ambient effects like wind, rustling, hums, or other environmental sounds to enhance your scene.
You can adjust how closely the result follows a reference, and export the result directly into your project as a .wav file.
3. Prompting guidance for sound generation
While the Sound Generator doesn’t require complex input, crafting clear and specific prompts can help you get more useful results. The following are general guidelines based on common practices when interacting with large language models — not official rules or requirements.
- Use full descriptive phrases:
- Prompts like "gentle breeze through tall grass" often yield better results than short keyword strings.
- Skip musical terms:
- The Sound Generator isn’t designed for melodies or structured music at this point, so terms like “beat,” “tempo,” or “melody” might not produce meaningful results.
4. Add some background music
Without any background music, random sound effects can be a little jarring or startling. To give the scene a smoother soundscape, you’ll start by adding a background track, then you’ll add the ambient sound effects on top of that.
Unity AI isn’t currently designed for generating music. For background music, you’ll import an existing audio track and set it to loop throughout the scene using a standard Audio Source component.
Instructions
1. Import a background music file:
- Download any of the following sound files, or locate a royalty-free music file.
- Drag the music file into your Project window to import it into the project.
2. Add the music to the scene:
- Drag the music file from the Project window into the Hierarchy window.
- This automatically creates a GameObject with an Audio Source component assigned to the clip.
3. Enable looping:
- With the new GameObject selected, find the Audio Source component in the Inspector window.
- Enable the Loop property to make the music play on repeat.
4. Adjust the volume if needed:
- Enter Play mode to test the audio level.
- Use the Volume slider to set a comfortable ambient music level.
Note: Audio Source components are 2D by default, which is what you want for background music, so you don’t need to change any spatial settings.
The background music will now play automatically and loop continuously in the scene.
5. Generate random background sounds
To make the scene feel more alive, you’ll now add subtle sounds that play randomly in the background from a 3D audio source. Depending on the feel of your scene, these could include birdsongs, spaceship hums, computer beeps, or other ambient sounds that match your setting.
As a reminder, prompting for audio works best when you use clear, descriptive phrases — for example, instead of just "birds", try something like "quiet forest birds chirping".
Instructions
1. Open the Sound Generator:
- Open the AI dropdown from the top toolbar, select Generate New > Sound, then name the new clip something like “Wind_Sound”.
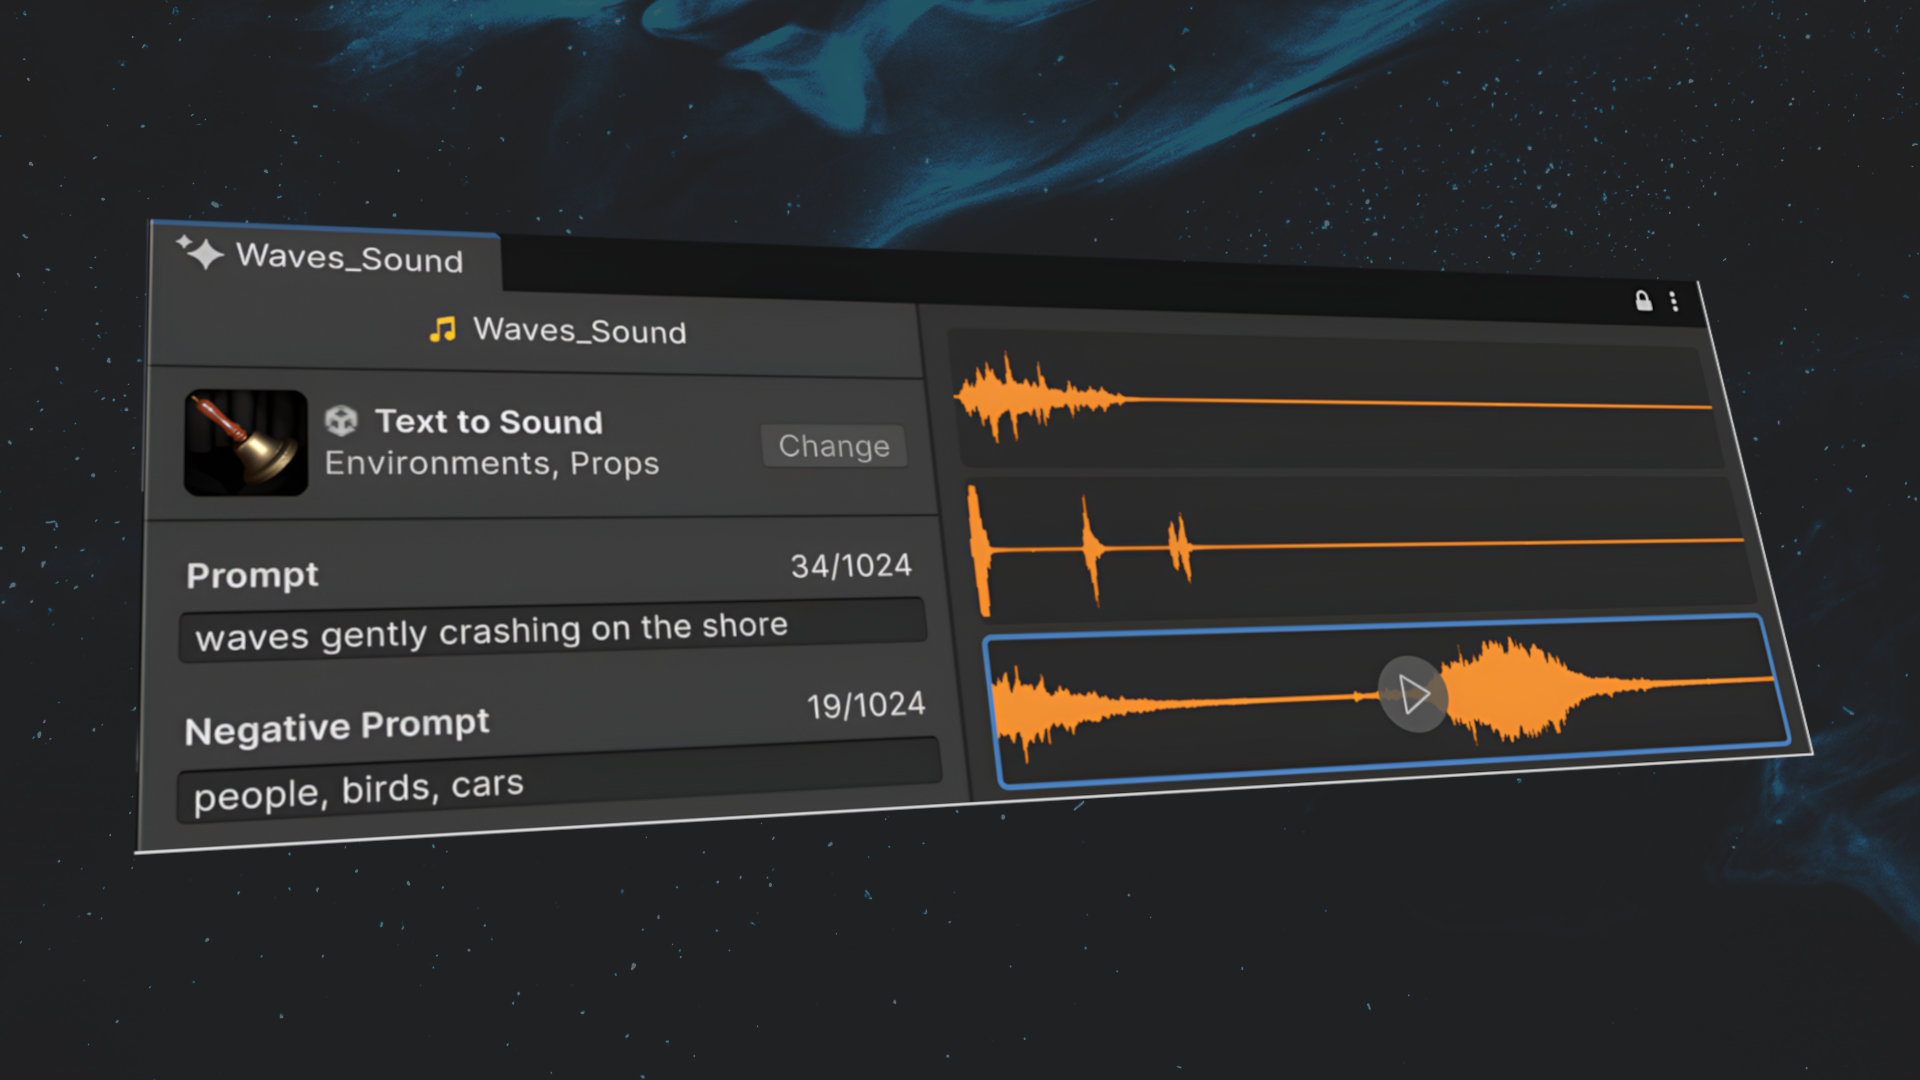
2. Add a prompt and configure the controls:
- Type a descriptive prompt in the Prompt box.
- Optionally, add words to the Negative Prompt box for sounds you don’t want to hear such as ”wind, rustling".
- Set the Duration property of the generated clip and Count for the number to generate.
- Optionally, upload or record a Sound Reference and use the Strength property slider to adjust how strongly the reference affects the final audio.
3. Generate and promote a few sound options:
- Select Generate to preview variations.
- Preview the generated sounds.
- Don’t worry if there is silence at the beginning or end of the clip — you’ll be able to edit the audio soon.
- Right-click a sound that you like and select Promote to Asset.
4. (Optional) Edit the generated sounds:
- Locate a sound you just generated in the Project window.
- At the top of the Inspector window, select Trim to open the Trim window.
- Use your scroll wheel or touch pad to zoom in and out on the audio file.
- Drag the green bars to edit the in and out points of the audio.
- Use the Edit sound envelope feature to fade the sound in or out.
- Select Save to overwrite your current sound with the edited one.
6. Add the sounds to the scene
Now that you’ve generated and exported ambient sound effects, you’ll add them to your scene in a way that makes them feel random and natural. Rather than looping continuously from a single point, these sounds will play at random intervals — and optionally from random nearby locations — to create a more immersive atmosphere.
To make this happen, you’ll use a custom script that randomly selects and plays one of your generated sounds. You can write it yourself using the /code command with the AI Assistant, or just copy and paste the version below.
Instructions
1. Create a new script:
- Right-click in the Project window and select Create > Monobehaviour Script.
- Name the script “RandomSoundPlayer”.
2. Overwrite the default code:
- Open the RandomSoundPlayer script in a code editing application.
- Copy and paste the code below into the file, overwriting all default content.
using UnityEngine;

[RequireComponent(typeof(AudioSource))]
public class RandomSoundPlayer : MonoBehaviour
{
    [Header("Audio Settings")]
    public AudioClip[] clips;
    public float minDelay = 3f;
    public float maxDelay = 8f;

    [Header("Positioning")]
    public float radius = 5f; // Radius around camera for random positioning

    private AudioSource source;
    private Camera mainCamera;
    private float nextPlayTime;

    void Start()
    {
        // Get required components
        source = GetComponent<AudioSource>();
        mainCamera = Camera.main;

        // Warn if no camera found
        if (mainCamera == null)
        {
            Debug.LogWarning("No main camera found! Audio positioning will not work.");
        }

        ScheduleNext();
    }

    void Update()
    {
        // Check if it's time to play next sound and we have clips
        if (Time.time >= nextPlayTime && clips.Length > 0)
        {
            // Move to random position around camera
            if (mainCamera != null)
            {
                Vector3 randomOffset = Random.insideUnitSphere * radius;
                transform.position = mainCamera.transform.position + randomOffset;
            }

            // Play random clip
            source.clip = clips[Random.Range(0, clips.Length)];
            source.Play();

            ScheduleNext();
        }
    }

    void ScheduleNext()
    {
        // Schedule next sound between min and max delay
        nextPlayTime = Time.time + Random.Range(minDelay, maxDelay);
    }
}
3. Save the script
- Select File > Save or press Ctrl+S (macOS: Cmd+S)
4. Create a new GameObject from the script:
- Drag the script from the Project window directly into an empty space in the Hierarchy window.
- This will automatically create a new empty GameObject that shares the name of the script with the script automatically attached.
- The script also has the attribute, [RequireComponent(typeof(AudioSource))], at the top of the class, which will automatically add an Audio Source component as well.
5. Configure the Audio Source component:
- In the Inspector window, under the Audio Source component, set Spatial Blend property to 3D if you want the sounds to feel like they come from a specific point in space.
6. Assign your clips:
- In the Inspector window, under the RandomSoundPlayer component, use the foldout (triangle) to expand the Clips section.
- Add as many new elements as you need for the number of sounds you generated.
- Drag each of your exported audio clips into the empty elements.
7. Enter Play mode:
- Press the Play button in the Editor to hear your scene’s random ambient audio.
- Adjust the Volume property as needed to achieve a good balance between the effects and the music.
- Adjust the Min Delay and Max Delay properties as you see fit to increase or decrease the random intervals between sound effects.
7. Organize your audio assets
Keep your audio files organized by storing them in a single folder.
Instructions
1. Create a new folder:
- Right-click in the Assets folder and select Create > Folder.
- Name the new folder “Audio”.
2. Move your audio files:
- Drag your downloaded music and AI-generated sound effects into the Audio folder.
8. Next steps
You’ve successfully integrated audio into your character customizer prototype. To learn more about the Sound Generator and its capabilities, check out the Sound Generator documentation.
In the next tutorial, you’ll have the option to add additional bonus features to your project. You’ll also make a screen recording of your project or upload it to Unity Play in order to easily share your creation with others.