
Using Live Sync in the Viewer
Tutorial
Beginner
+10XP
15 mins
(6)
Unity Technologies
Unity Reflect maintains a live link between your CAD/BIM application and Reflect Viewer, allowing real-time updates between the applications.
In this tutorial you will explore the real time sync functionality provided by Unity Reflect, using the Autodesk Revit plugin.
Languages available:
1. Introduction
Reflect Viewer’s live link functionality allows you to make changes in Revit and instantly see those changes regardless of the view mode in the Reflect Viewer. This allows for:
- Instant design iteration while exploring the model with the client
- Seamless review of different phases of the project with one click.
Before you begin (Prerequisites)
For this tutorial, you will need:
- The Reflect plugin for Revit
- Reflect Viewer installed
- A Unity account
- A Reflect project assigned to the Unity account you will be using
2. Syncing changes between the Reflect Viewer and Revit
1. Open the project in Revit (Figure 01).
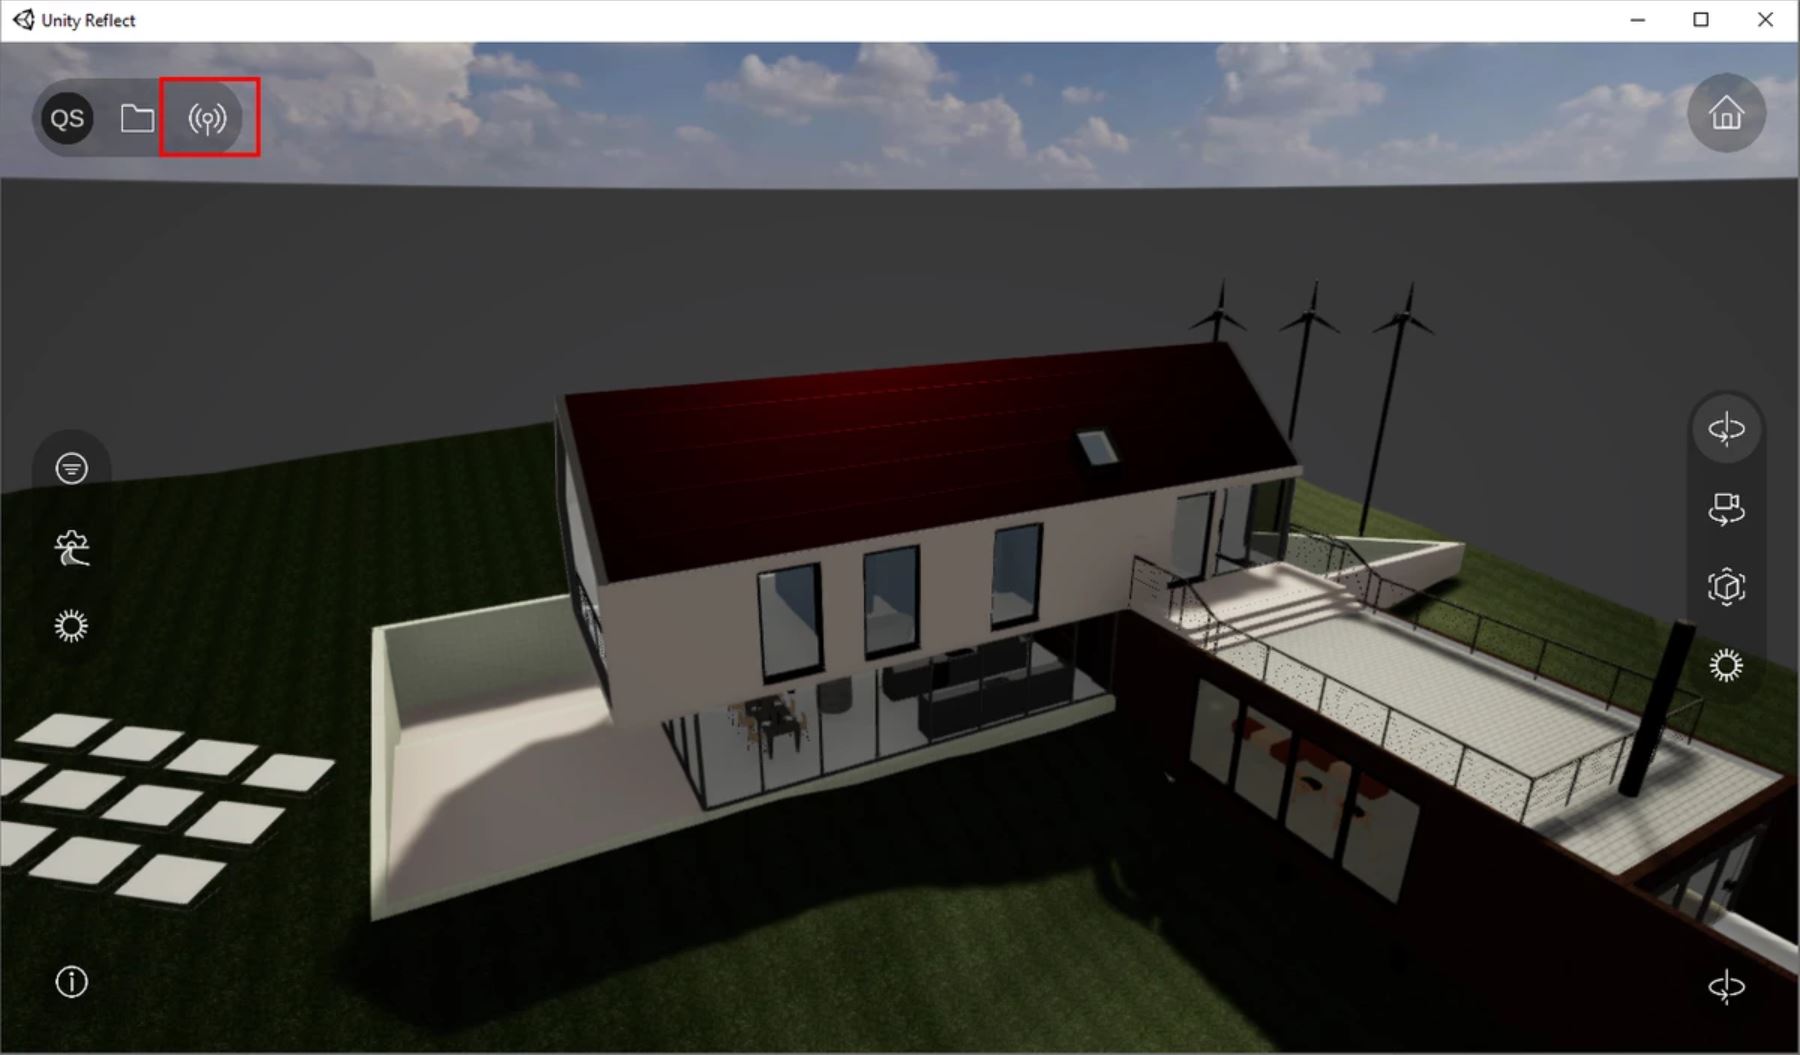
2. Open the same project in Reflect Viewer and make sure that the Sync option is on (Figure 02).
3. To see live link in action, in Revit, delete one of the windows in the model (Figure 03).
4. In Reflect Viewer, you will see that the window is also removed (Figure 04).
3. If Live Sync is not Working
In some cases, you’ll find that the live sync isn’t working. This happens if the Reflect server isn’t running when the project is opened in Reflect Viewer. Activating the server and the live link is a simple process.
1. Open the project in Revit if it’s not already open. Select Sync under the Unity tab (Figure 05).
2. In the Reflect project window, select the project and click Sync (Figure 06).
4. Next Steps
You should have a firm understanding now of how to use the live link functionality provided by Unity Reflect. Employing this feature in your own workflow will allow you to work through design feedback and iterations seamlessly with your client, and show those changes and their effect in real time in the viewer. This will save you time and allow for the exploration of more options in design review sessions.