
Using Sun Study in the Reflect Viewer
Tutorial
Beginner
+10XP
10 mins
(12)
Unity Technologies
The Unity Reflect viewer provides built-in functionality to change the date and time of the current open scene. This allows the user to create sun studies of the proposed design and test the impact of light and shadow on different dates and times.
In this tutorial we’ll explore the interface and setting of this tool in the Reflect Viewer.
For this tutorial, you will need:
- The Unity Reflect Viewer installed
Languages available:
1. Getting started
1. Open the Reflect viewer and open any project.
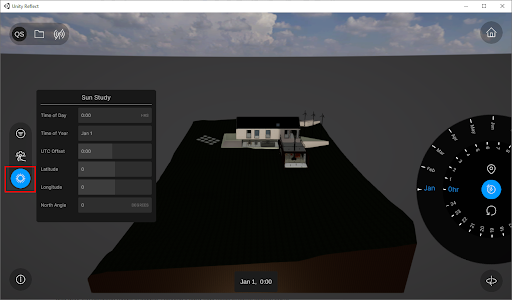
2. To display the date/time settings, select the sun icon on the left side of the screen.
3. To change the date/time settings, select the sun icon on the right of the viewer screen
4. The dial will open and you can use it to change the Month (01) and Time of day (02) while the time icon (03) is active (Figure 04). To change the location of your project select location icon (04).
5. The dial will change and you can now use it to change the Latitude and Longitude of your project (Figure 05).
2. Next Steps
You should now have an understanding of how to change the location, date and time of your project to create an accurate sun study..
Using this tool in the Reflect Viewer will allow you or a client to simulate the sun and shadow scenario for various times throughout the year and test the impact of the current design in real time.