
Using the Reflect View in the Editor
Tutorial
Beginner
+10XP
10 mins
Unity Technologies
In addition to the standalone viewer and integration into popular BIM software packages, Reflect can also be used in the Unity Editor. With Reflect integration in Unity, developers can create customized versions of the Reflect viewer to suit the specific needs of their company, or import Meshes with BIM information intact for further development in the Editor. In this tutorial, you’ll learn how to find and install the Reflect plug-in for Unity.
Languages available:
1. Preparation
Before installing the Reflect plug-in, ensure that you’ve logged into the Editor with your UnityID. You must be logged into the same account with which you created your Reflect project; otherwise, nothing will appear in the projects list inside Unity. You can check if you’re logged in by clicking on the account drop-down on the upper right of the Editor window. If you are logged in, you will see your ID listed. If not, you will be given the option to log into your account (Figure 01).
2. Downloading the Reflect plug-in
- Go to Window > Package Manager and click on the Advanced drop-down at the top of the window. Select Show preview packages.
- Find Unity Reflect in the list of available packages and click Install (Figure 02).
3. Adding Unity Reflect into the Scene
Installing the Unity Reflect package also automatically installs several other packages that are necessary for using Reflect in the Editor. These will all be located in the Packages folder of the Project tab.
- Expand the Packages folder in the Project tab and locate Unity Reflect.
- In the Unity Reflect folder, expand the Runtime Folder.
- Select the Reflect Prefab and drag it into the Hierarchy (Figure 03).
4. Running Reflect in the Unity Editor
Before running Reflect in the Editor, ensure that Revit is open and that its Reflect plug-in has been set to Play. This ensures you will be able to see any changes made through Live Link.
- Click Play in the Unity Editor and the Reflect project window will launch (Figure 04).
- Select your project of choice and click on the cloud download icon, then the Open button in order to download and show the project in the Game view (Figure 05).
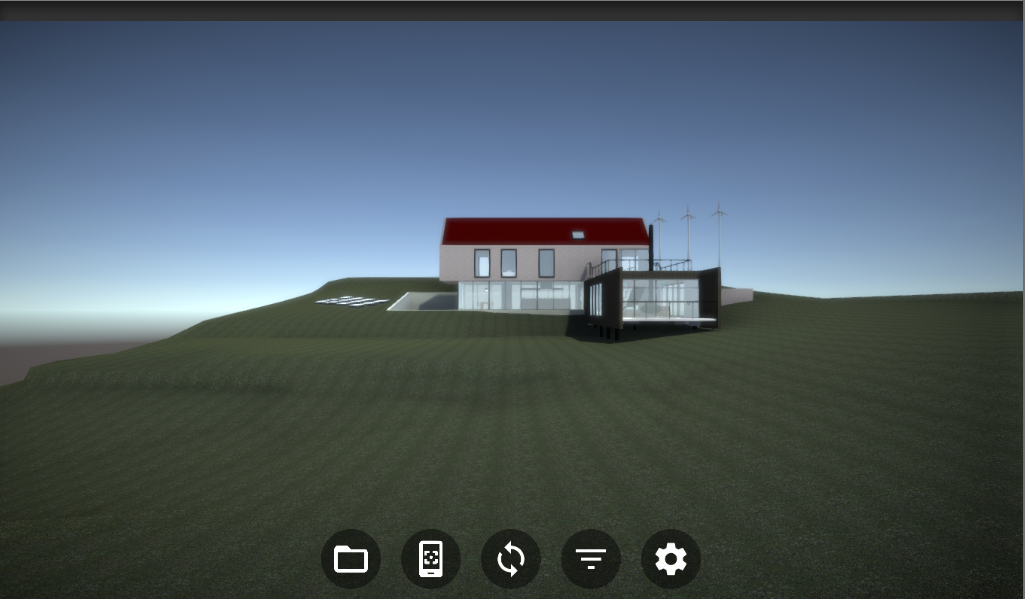
- The Reflect viewer is ready for use inside the Unity Editor.
Like the standalone Reflect viewer, Revit data isn’t actually hosted in the Unity engine itself, but instead is simply streaming it. Using the viewer in Unity will allow you to preview Meshes and collaborate with the rest of the team, but as soon as Play is pressed again, all model data will disappear.
5. Conclusion
With the Reflect package now installed in your project, you can use Unity to collaborate with the rest of your team, or move on to customizing Reflect or import model data.