VR Interaction
Tutorial
Beginner
+10XP
30 mins
14
Unity Technologies
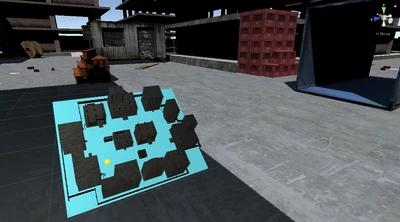
In this tutorial, you will learn how to manipulate different GameObjects via a controller-button interaction pattern (rotating, scaling, moving, and spawning objects with touchpad input, throughout the 3D space).
Materials
Languages available:
1. Why VR Interaction?
VR Interaction is the process of manipulating the virtual world around you with specific inputs, such as buttons, collisions, and gestures.
Virtual environments with dynamic objects respond to the user’s touch, which means you can pick up, drop, bump, throw, hit, push, and pull these surrounding objects.
One key characteristic of immersive virtual reality design is consistency. The user should be able to explore, manipulate, and interact with their surrounding environment. In fact, this ability to interact is one of the key advantages of VR, compared to standard displays and 360 videos.
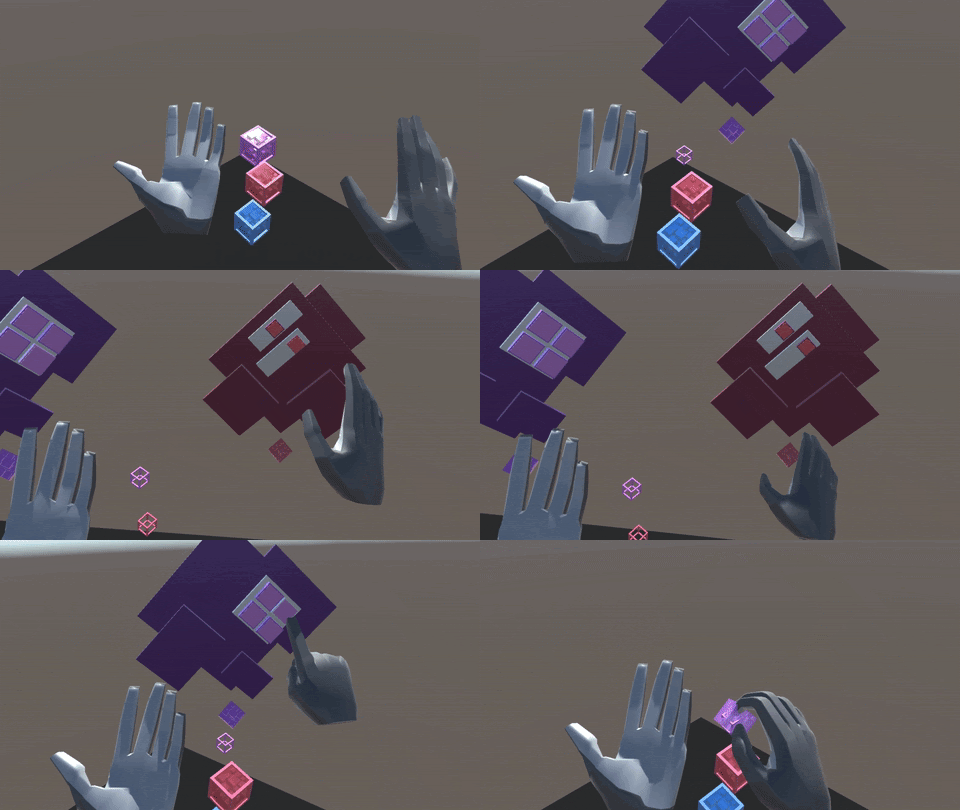
In essence, an increase in accessibility and interactivity increases the utility of virtual reality. The GIF below demonstrates interactivity and accessibility well. The user accesses different UI menus and tools by dragging and dropping (interacting) the cubes.
This tutorial will introduce you to using a basic interaction script, which will allow you to interact with selected objects using your controller’s touchpad. You will connect the interaction script to your controller, link the example object as a reference, and manipulate the object. By the end of this tutorial, you will be able to use this interaction script in any context.
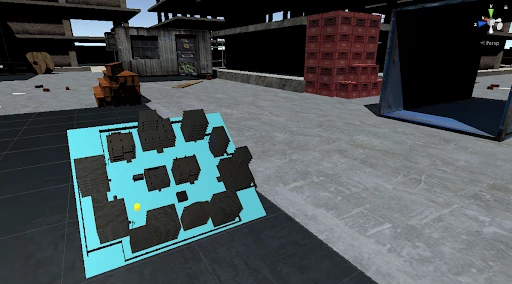
In this tutorial, you will:
- Replace the default camera in Unity with an OVRCameraRig. This will function as our first-person viewer.
- Configure the Rotate component
- Add the model as the reference
- Use the touchpad to rotate the object
2. Add the VR-ready Camera
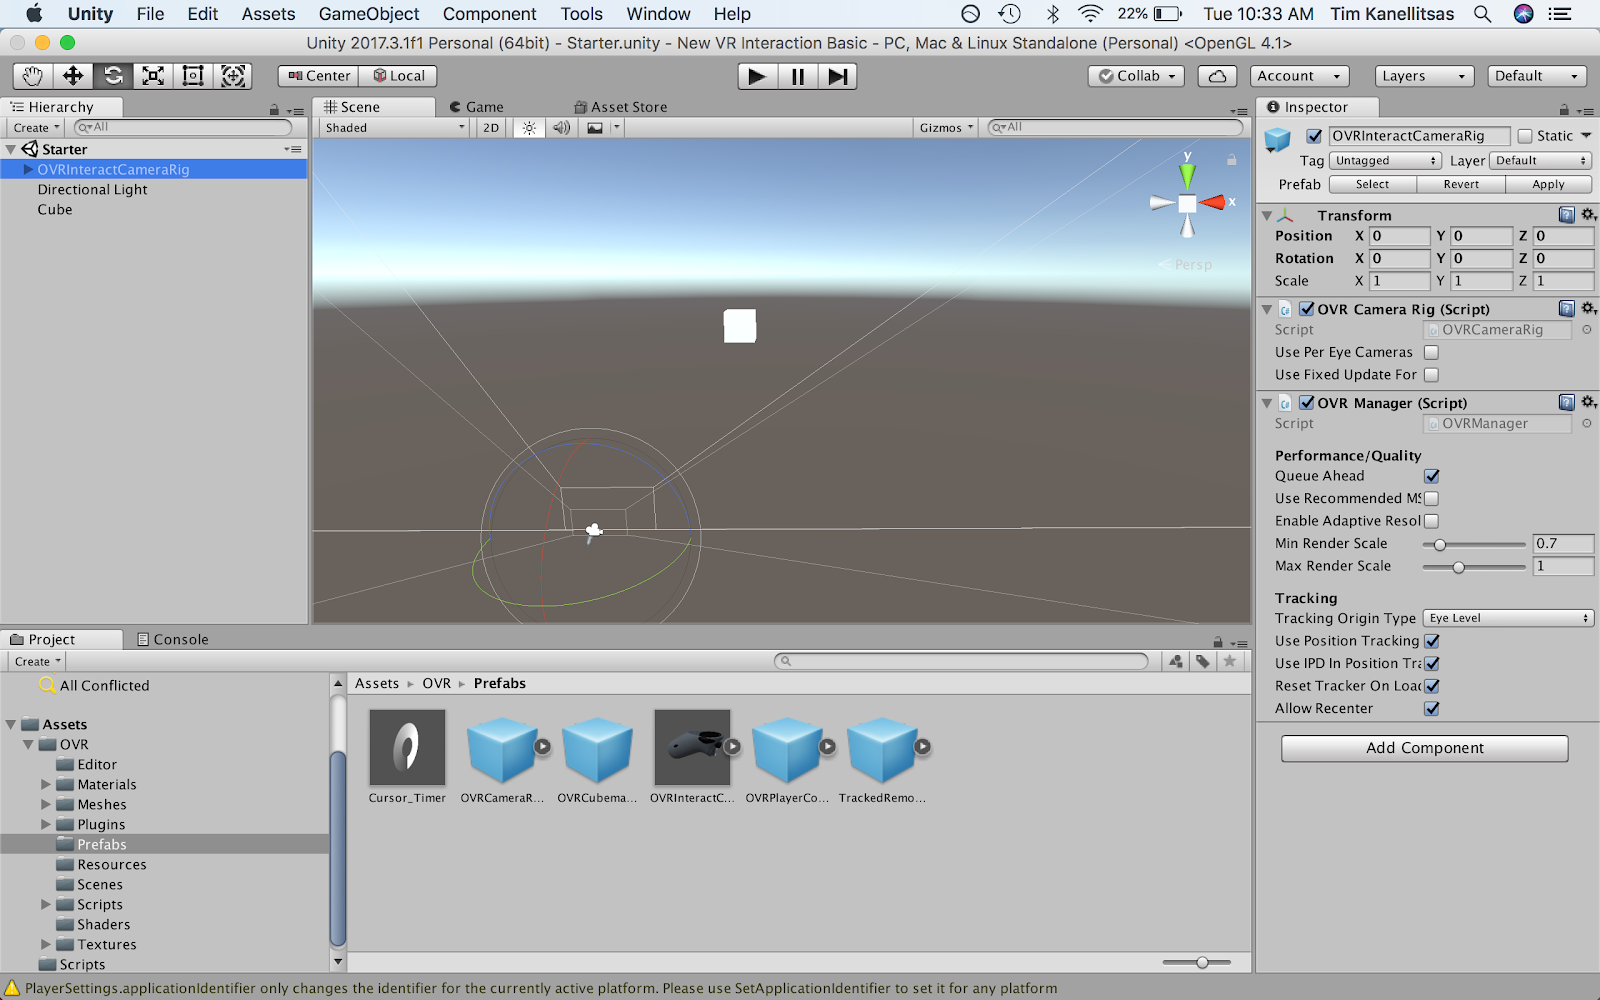
Replace the original camera with the OVRCameraRig Prefab so we can see and access our controllers.
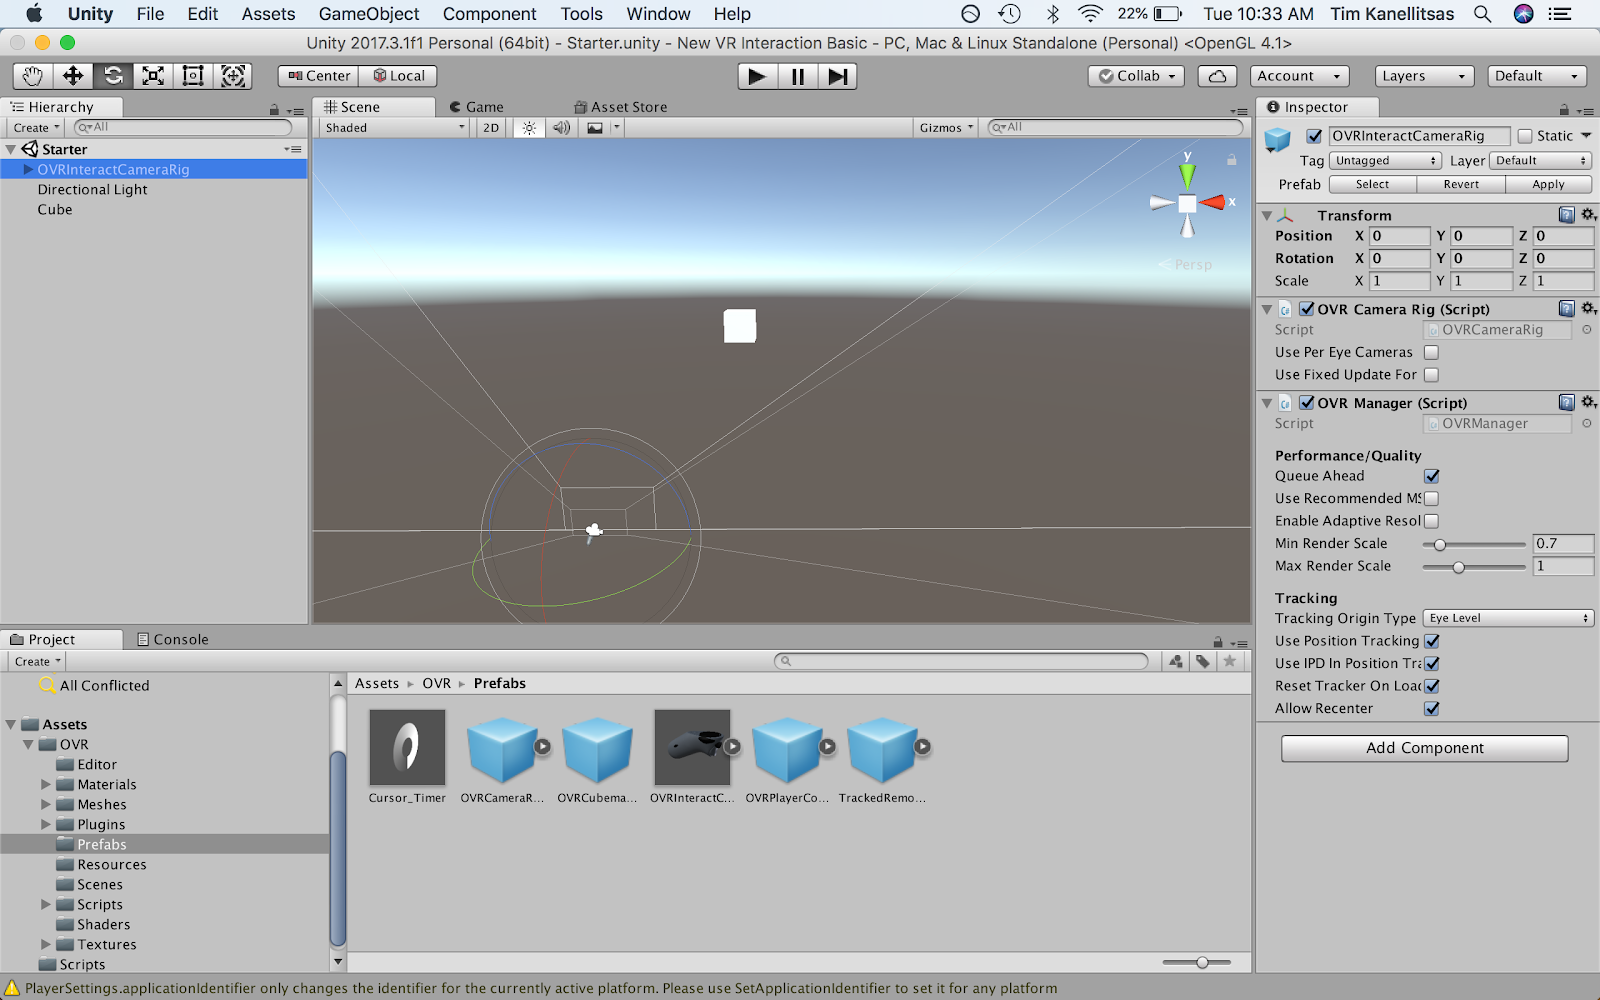
- Delete the default Camera in the Scene
- Add the Oculus camera by going to the Assets folder in your Project window and dragging OVRInteractCameraRig into the Hierarchy (Assets > Oculus > Prefabs > OVRInteractCameraRig).
- Adjust the OVRInteractCamera’s Transform to (0, 0, 0). It’s best practice to reset the position to (0, 0, 0).
3. Add Functionality to Your Touchpad
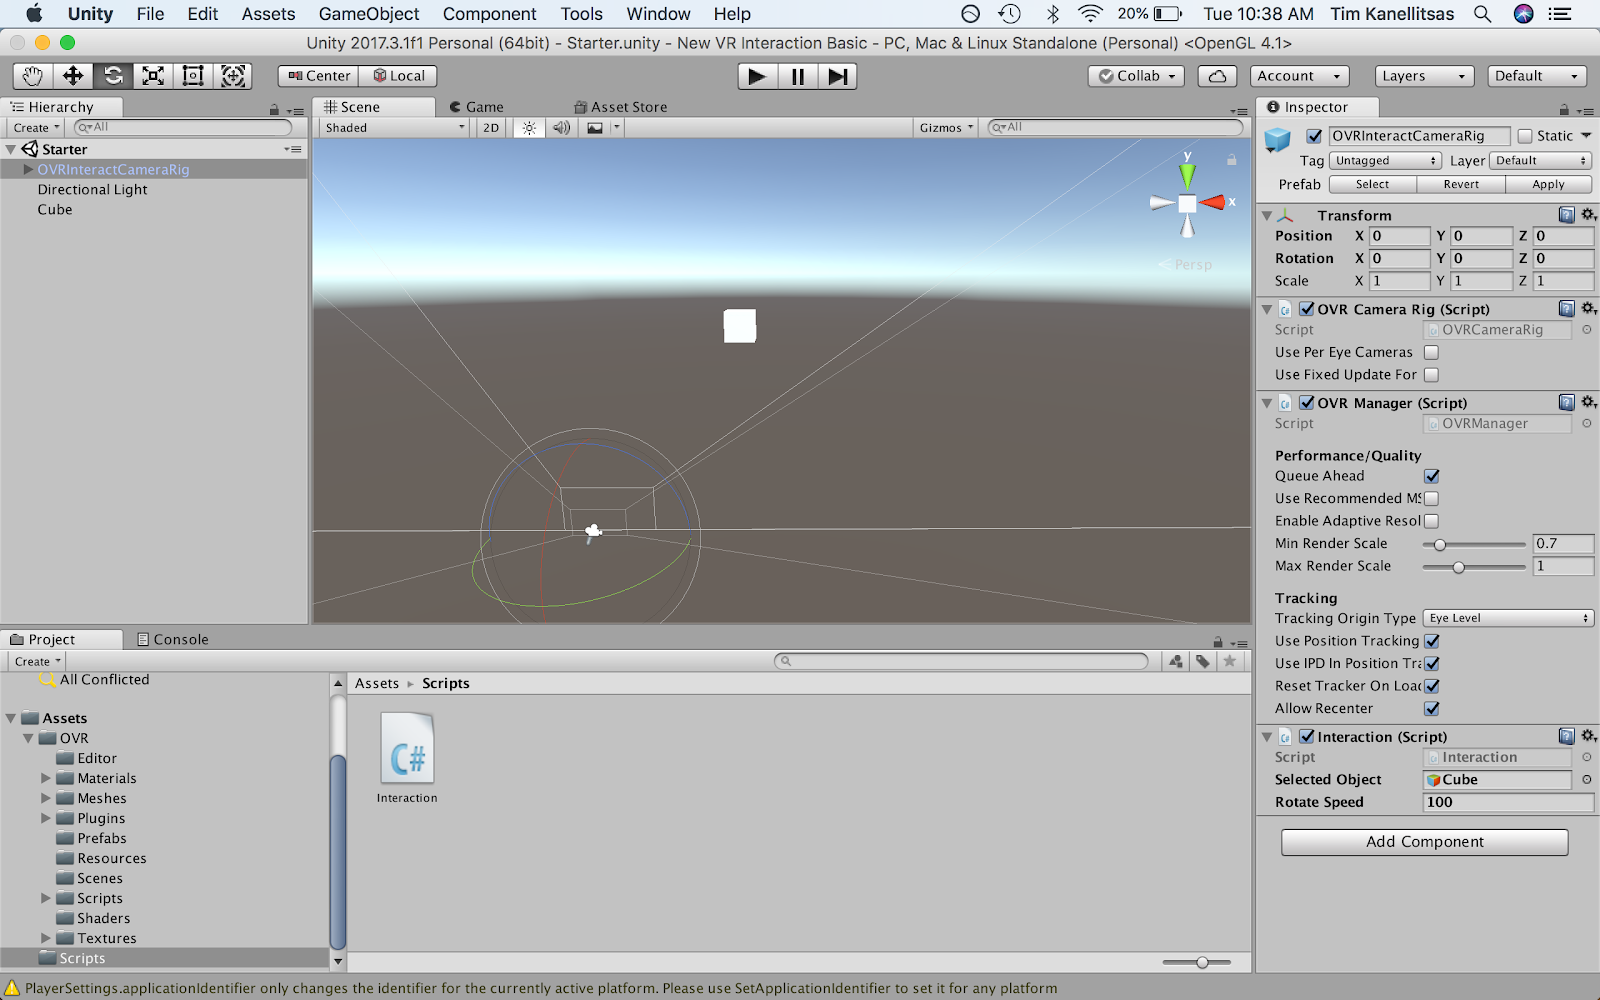
Add the interaction script, called Interaction.cs, onto the new camera and link the Cube GameObject as the reference so we can control the cube.
- Add the interaction script, Interaction.cs, onto the new player by dragging the script onto OVRInteractCameraRig (Assets > Scripts > Interaction).
- In the OVRInteractCameraRig’s inspector, drag the GameObject, Cube, into the Selected Object slot. (Note: This slot determines which object we will manipulate. We can add any object we'd like to modify to this slot.)
- In the OVRInteractCameraRig’s Inspector, adjust the Rotate Speed value to greater than 0 (we recommend 100, as the value makes for efficient prototyping).
What is the Interaction Script?
So what exactly is happening with this script? How does it manipulate an object in the Selected Object slot? There’s no need to get too deep in the code, but here’s a high-level overview: The script is written so that one button input turns the selected object on/off, and other buttons adjust the Scale, Rotation, and Position.
- The script finds the object in the Selected Object slot and activates or deactivates the object with the on/off button on the controller.
- The script adds or subtracts a fixed value from the Selected Object’s Rotation Y value every time you click on the right or left side of the touchpad.
- The script adds or subtracts a fixed value from the Selected Object’s Scale X, Y, and Z values every time you click on the top or bottom of the touchpad.
If you would like to learn more about scripting, check out the following link.
4. Key Takeaways
By setting up the Interaction script in your Scene, you can now manipulate pre-selected objects with controller input. This means you can Scale and Rotate these objects with your controller, but more importantly, you can now take this script and apply it to any of your projects.
By completing thistutorial, you are now able to:
- Set up your Scene for OVRInput/Oculus input
- Use the Interaction script in your application to Scale and Rotate objects.