
Working with Activation Tracks
Tutorial
Beginner
+10XP
15m
(130)
Unity Technologies
Activation Tracks are special tracks in the Timeline Editor that contain animation within a clip. You can use them to play an animation — for example, an explosion — at a specified position. In this tutorial, you'll add an Activation Track to your animation.
Languages available:
1. What are Activation Tracks?
This tutorial has been verified using Unity 2019 LTS
Activation Tracks are special tracks within the Timeline Editor window that contain an animation within a clip. You can use them to add additional, complete animations to your Timeline that play at a specified position, such as a barrel explosion in the background or a dust cloud being blown across the screen. Activation Tracks are useful for tying multiple animations together and having them activate or become inactive at a set time. This gives you control over when you want animations to begin or stop while maintaining a streamlined editing experience in a single Editor window.
2. Open the Timeline Window
To open the Timeline window:
- Click the Window dropdown on the main Editor window.
- Click Sequence > Timeline.
- A new window will open up; this is the Timeline Editor window. (Figure 01)
3. Adding an Activation Track
There are two ways to add an Activation Track:
- Click a GameObject from the Hierarchy and in the Timeline window click Create. When prompted, pick a place to save the new Timeline. Then click the “+” icon and select Activation Track.
- Right-click anywhere in the Timeline window and select Activation Track.
With either route, you should see an Activation Track added to your Timeline Editor window (Figure 02).
When you select the Activation Track, you’ll see the following properties in the Inspector (Figure 03).
The first is the display name at the top where you can rename your Activation Track to whatever you desire. In the Post-playback state dropdown, you can choose the following options:
- Active: Select to activate the bound GameObject when the Timeline Asset finishes playing.
- Inactive: Select to deactivate the bound GameObject when the Timeline Asset finishes playing.
- Revert: Select to revert the bound GameObject to its activation state before the Timeline Asset began playing. For example, if the Timeline Asset ends with the GameObject set to inactive, and the GameObject was active before the Timeline Asset began playing, then the GameObject will revert to active.
- Leave As Is: Select to set the activation state of the bound GameObject to the same state at the end of the Timeline Asset. For example, if the Timeline Asset ends with the GameObject set to inactive, the GameObject will remain inactive.
If you select the Track Clip inside the Timeline, the Inspector changes to show the Clip Timing. (Figure 04).
Here you’ll be able to see the Start, End, and Duration of your Activation Track and adjust the values accordingly. You’ll notice that the Start, End, and Duration field have two columns, marked “s” and “f”. The “s” field is in terms of seconds, while the “f” field is in terms of frames.
4. Using Activation Tracks
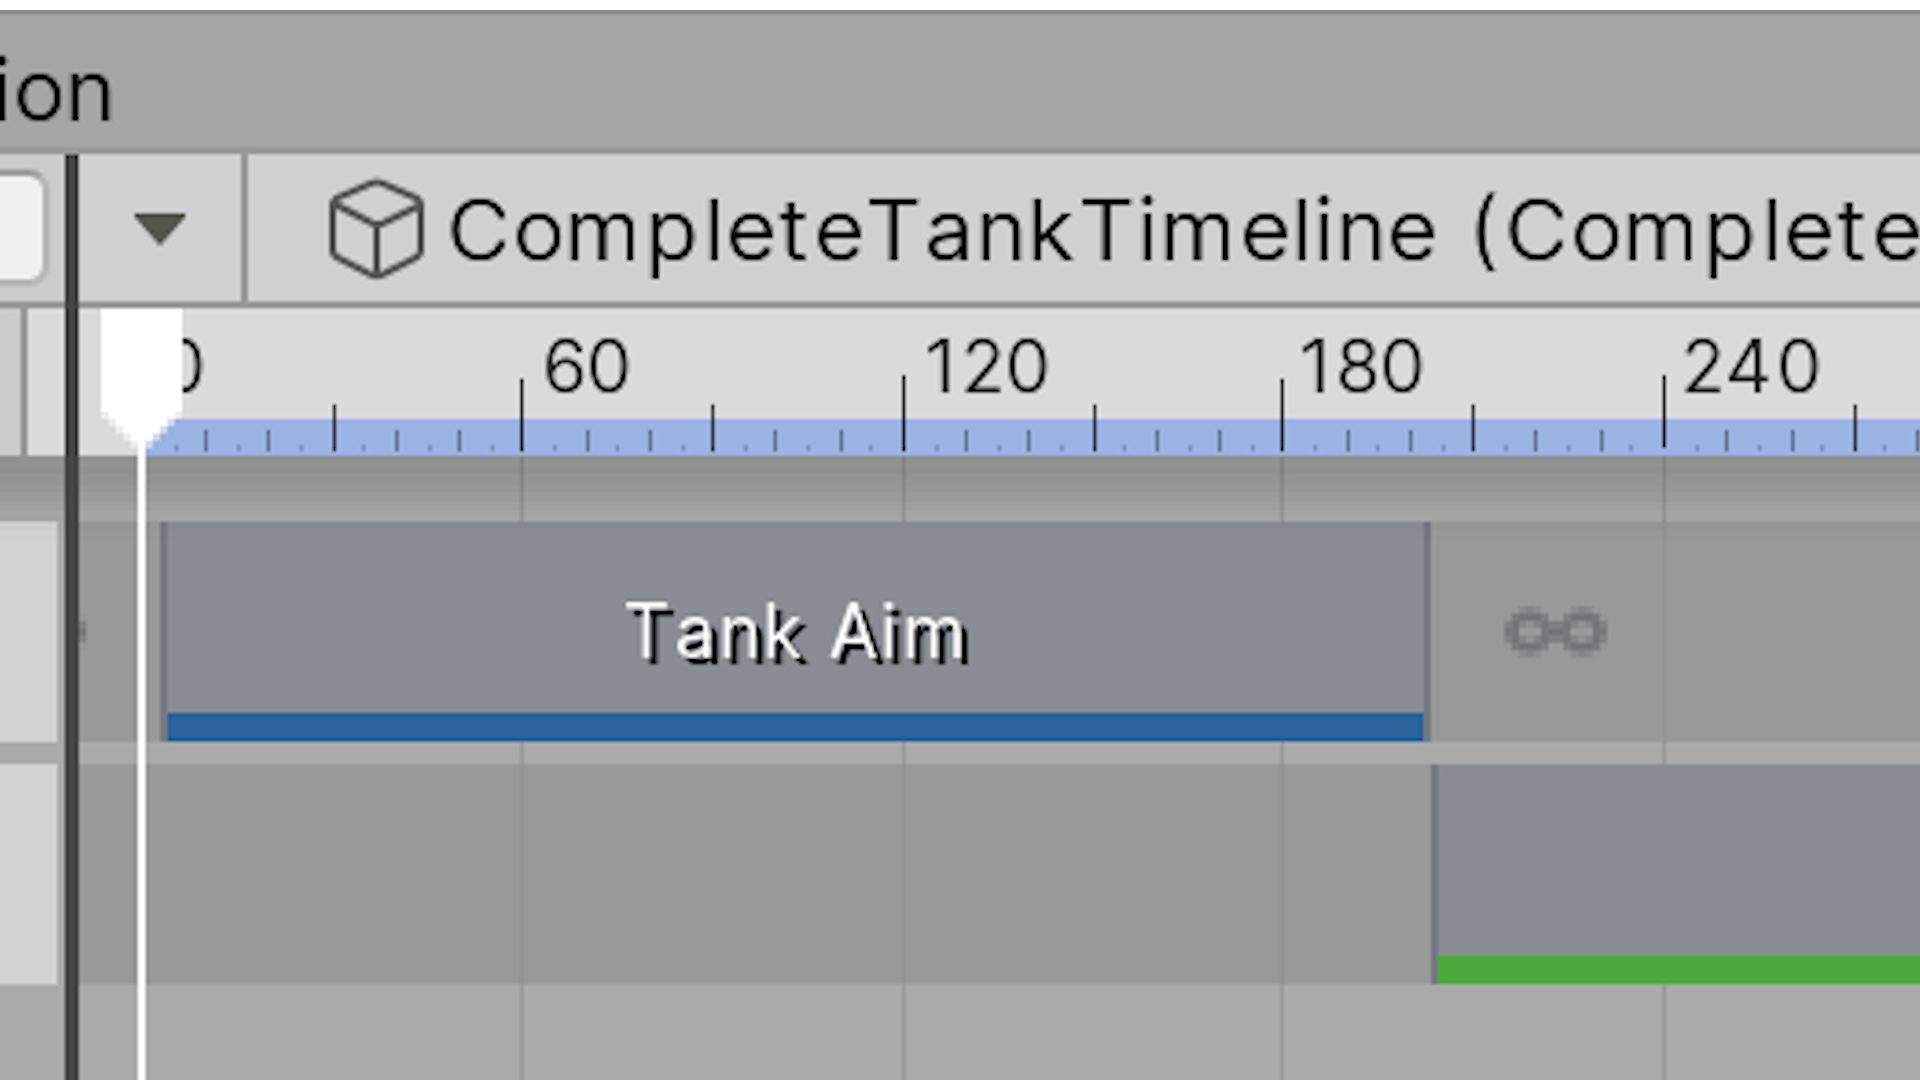
Just like any other tracks within the Timeline Editor, you can position and move the Activation Track Clip to begin playing where you position it. In the example below, there are two separate animations (a tank and a shell explosion) that are bound together for a cutscene (Figure 05).
When Timeline plays, it will hit the Activation Track and activate the separate animation of the tank shell explosion.
When Timeline plays, it will hit the Activation Track and activate the separate animation of the tank shell explosion.
5. Conclusion
Activation Tracks are incredibly useful when you need to control the visibility of a GameObject, or when you’re building complex sequences or cutscenes that leverage multiple animations. They allow you to incorporate pre-existing animations into your Timeline without bloating your workflow and they also protect animations from inadvertent editing.