Working with Animation Clips
Tutorial
Beginner
+10XP
20 mins
356
Unity Technologies
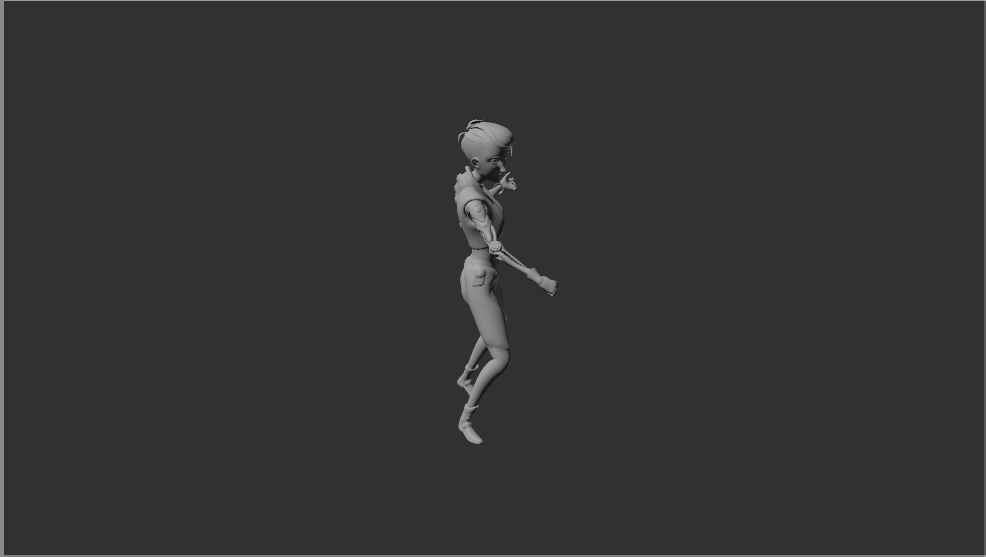
In this tutorial, you will learn how to set up animation clips in Unity after they have been imported from an external application, such as Maya, 3ds Max, or Blender, via an FBX file.
Languages available:
1. Working with Animation Clips
Depending on the project, it might be necessary to use animations. Animations are typically created in two ways for Unity projects. The first is through external applications like Maya, 3ds Max, or Blender. These animations are created by an animator who typically exports the files as .fbx. Once imported into Unity, those files need to be set up properly. For example, 3D characters will most likely have a rig — a set of bones that drives the animations. The Import Settings will allow a user to determine which Animation Type the rig will use: Generic or Humanoid.
2. Setting up the Rig
For this tutorial, we used the Ellen character from the GameKit 3D project. You can download it from the Asset Store.
1. Once the character has been imported into Unity, select it in the Project window
2. In the Inspector, select the Rig tab
3. Change the Animation Type to Generic or Humanoid (Figure 01).
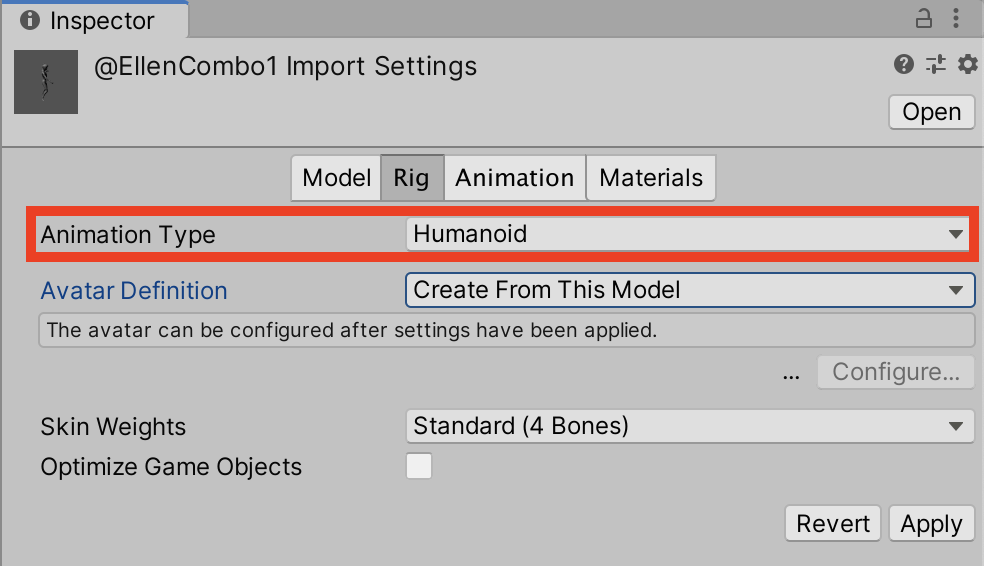
The Generic Animation Type is best used for characters that have very specific rigs that cannot be used on other characters, such as creatures. The Humanoid Animation Type is used for humanoid characters. It’s especially useful when animations have to be used across multiple characters.
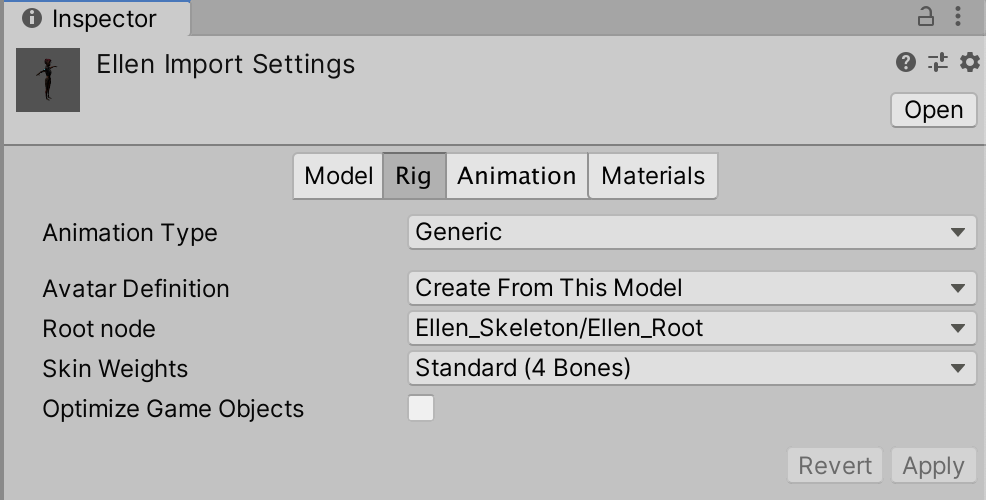
4. Set the Avatar Definition to ‘Create from this Model’
5. Set the Root Node. The word ‘Root’ is typically in the name
6. Enable Optimize Game Objects and press Apply (Figure 02).
7. Select the animation files for the character in the Project window
8. In the Inspector, select the Rig tab
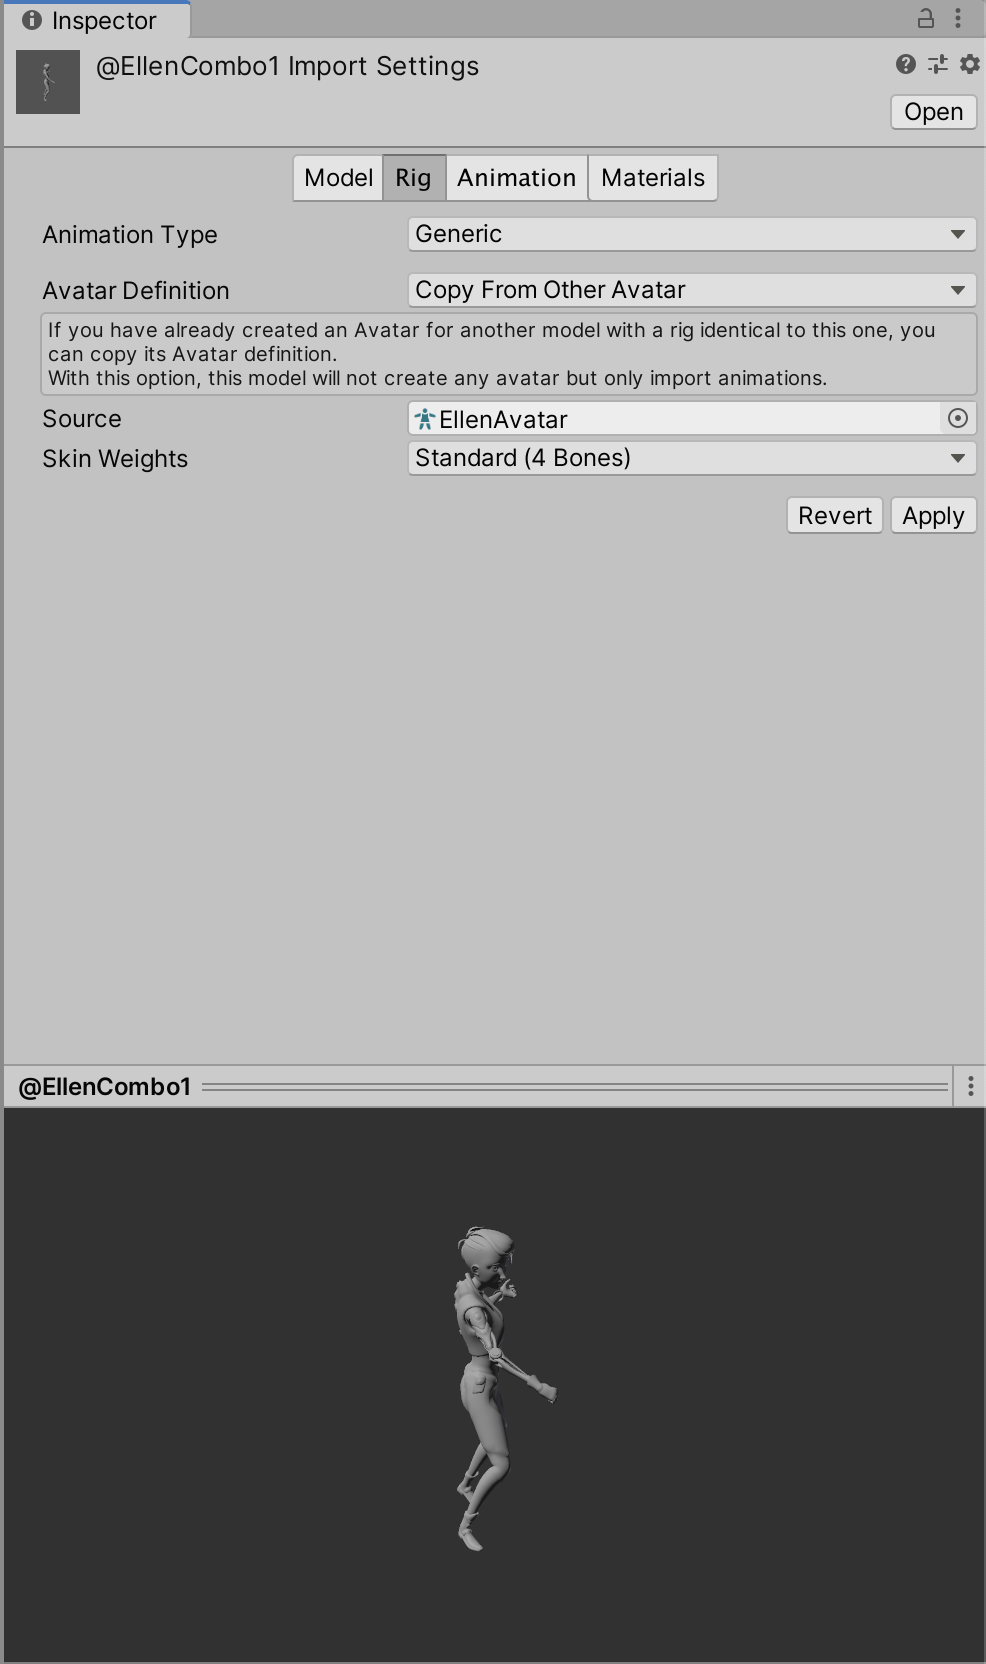
9. Change the Animation Type to match the character rig settings from the previous steps
10. Set the Avatar Definition to ‘Copy from Other Avatar’
11. Click on the radio button next to Source
12. Choose the Avatar Definition that was created from the previous steps and press Apply (Figure 03).
3. Setting up Animation Clips
Now that the rig has been set up, it’s necessary to set up the Animation Clips. Typically, users will determine if the animation should loop, as well as how the root of the Animation Clip is aligned to the character rig. When using the Generic Animation Type, setting up the root isn’t necessary because the Animation Clips were created for a specific model. If the character Animation Type is set to Humanoid, the root must be set up, especially if the user is using animations that weren’t created specifically for the character being used in the project. Using the Humanoid rig is common, especially if the animations were purchased from the Asset Store.
1. Select the animation files for the character in the Project Window.
2. In the Inspector, select the Animation tab (Figure 04).

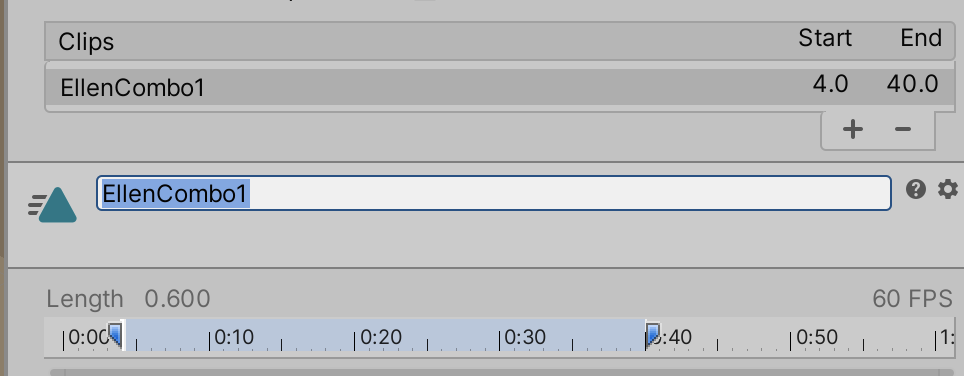
3. Rename the Animation Clip to something that describes the animation (Figure 05).
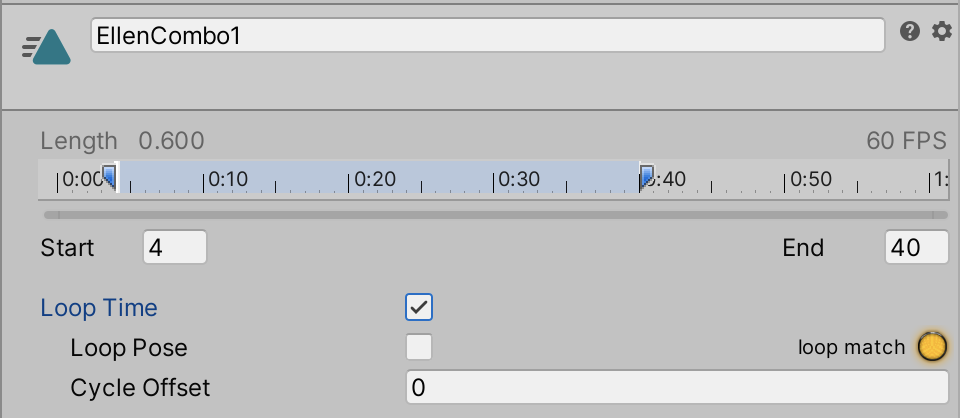
4. If the animation is a looping animation, like a walk cycle, ensure that “Loop Time” is enabled (Figure 06).
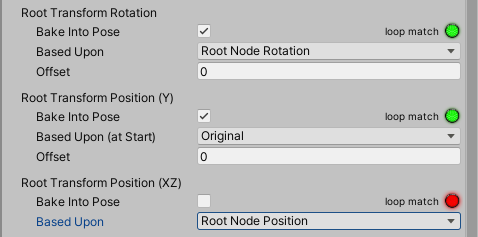
5. In the “Root Transform” parameters, enable Bake Into Pose to ensure the first and last frames of the Animation Clip match (Figure 07).
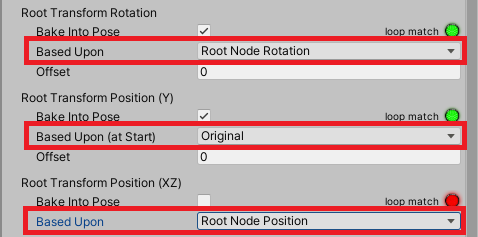
6. Set the Based Upon parameter to the proper setting using the dropdown list. (Figure 08).
7. Press Apply.
8. Press the Play button in the Editor to preview the animation.
4. Creating Animation Clips
Characters are not the only thing in Unity that can have animations. In fact, almost any GameObject can be animated using the Animation window.
1. In the Menu Bar, select Window > Animation
2. Dock the Animation window next to the Project window by dragging and dropping it (Figure 09).
3. Select the GameObject you desire to animate in the Scene View
4. In the Animation Window, press the Create Animation Clip button. (Figure 09)
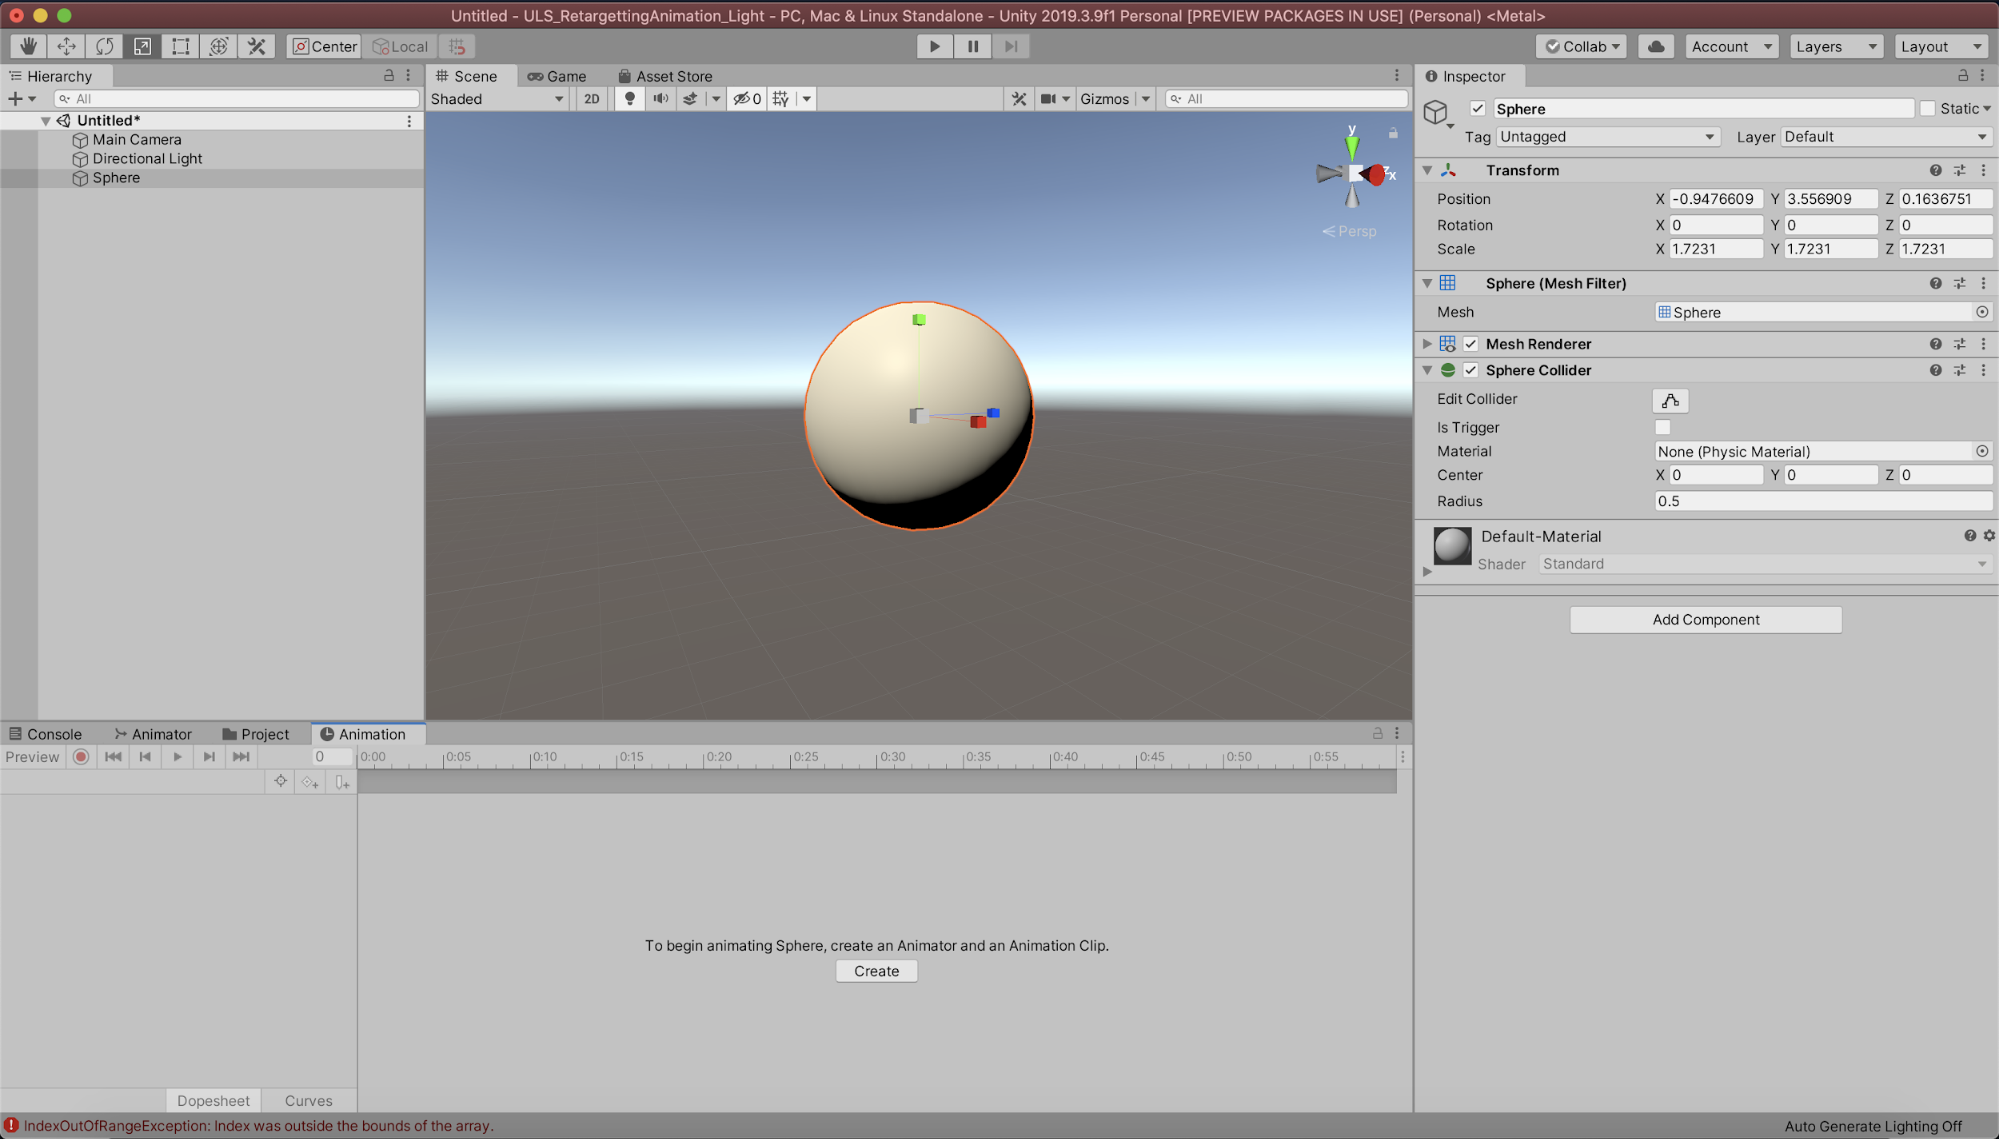
5. Save the Animation Clip somewhere in the project directory
6. Press the Record button in the Animation window (Figure 10).
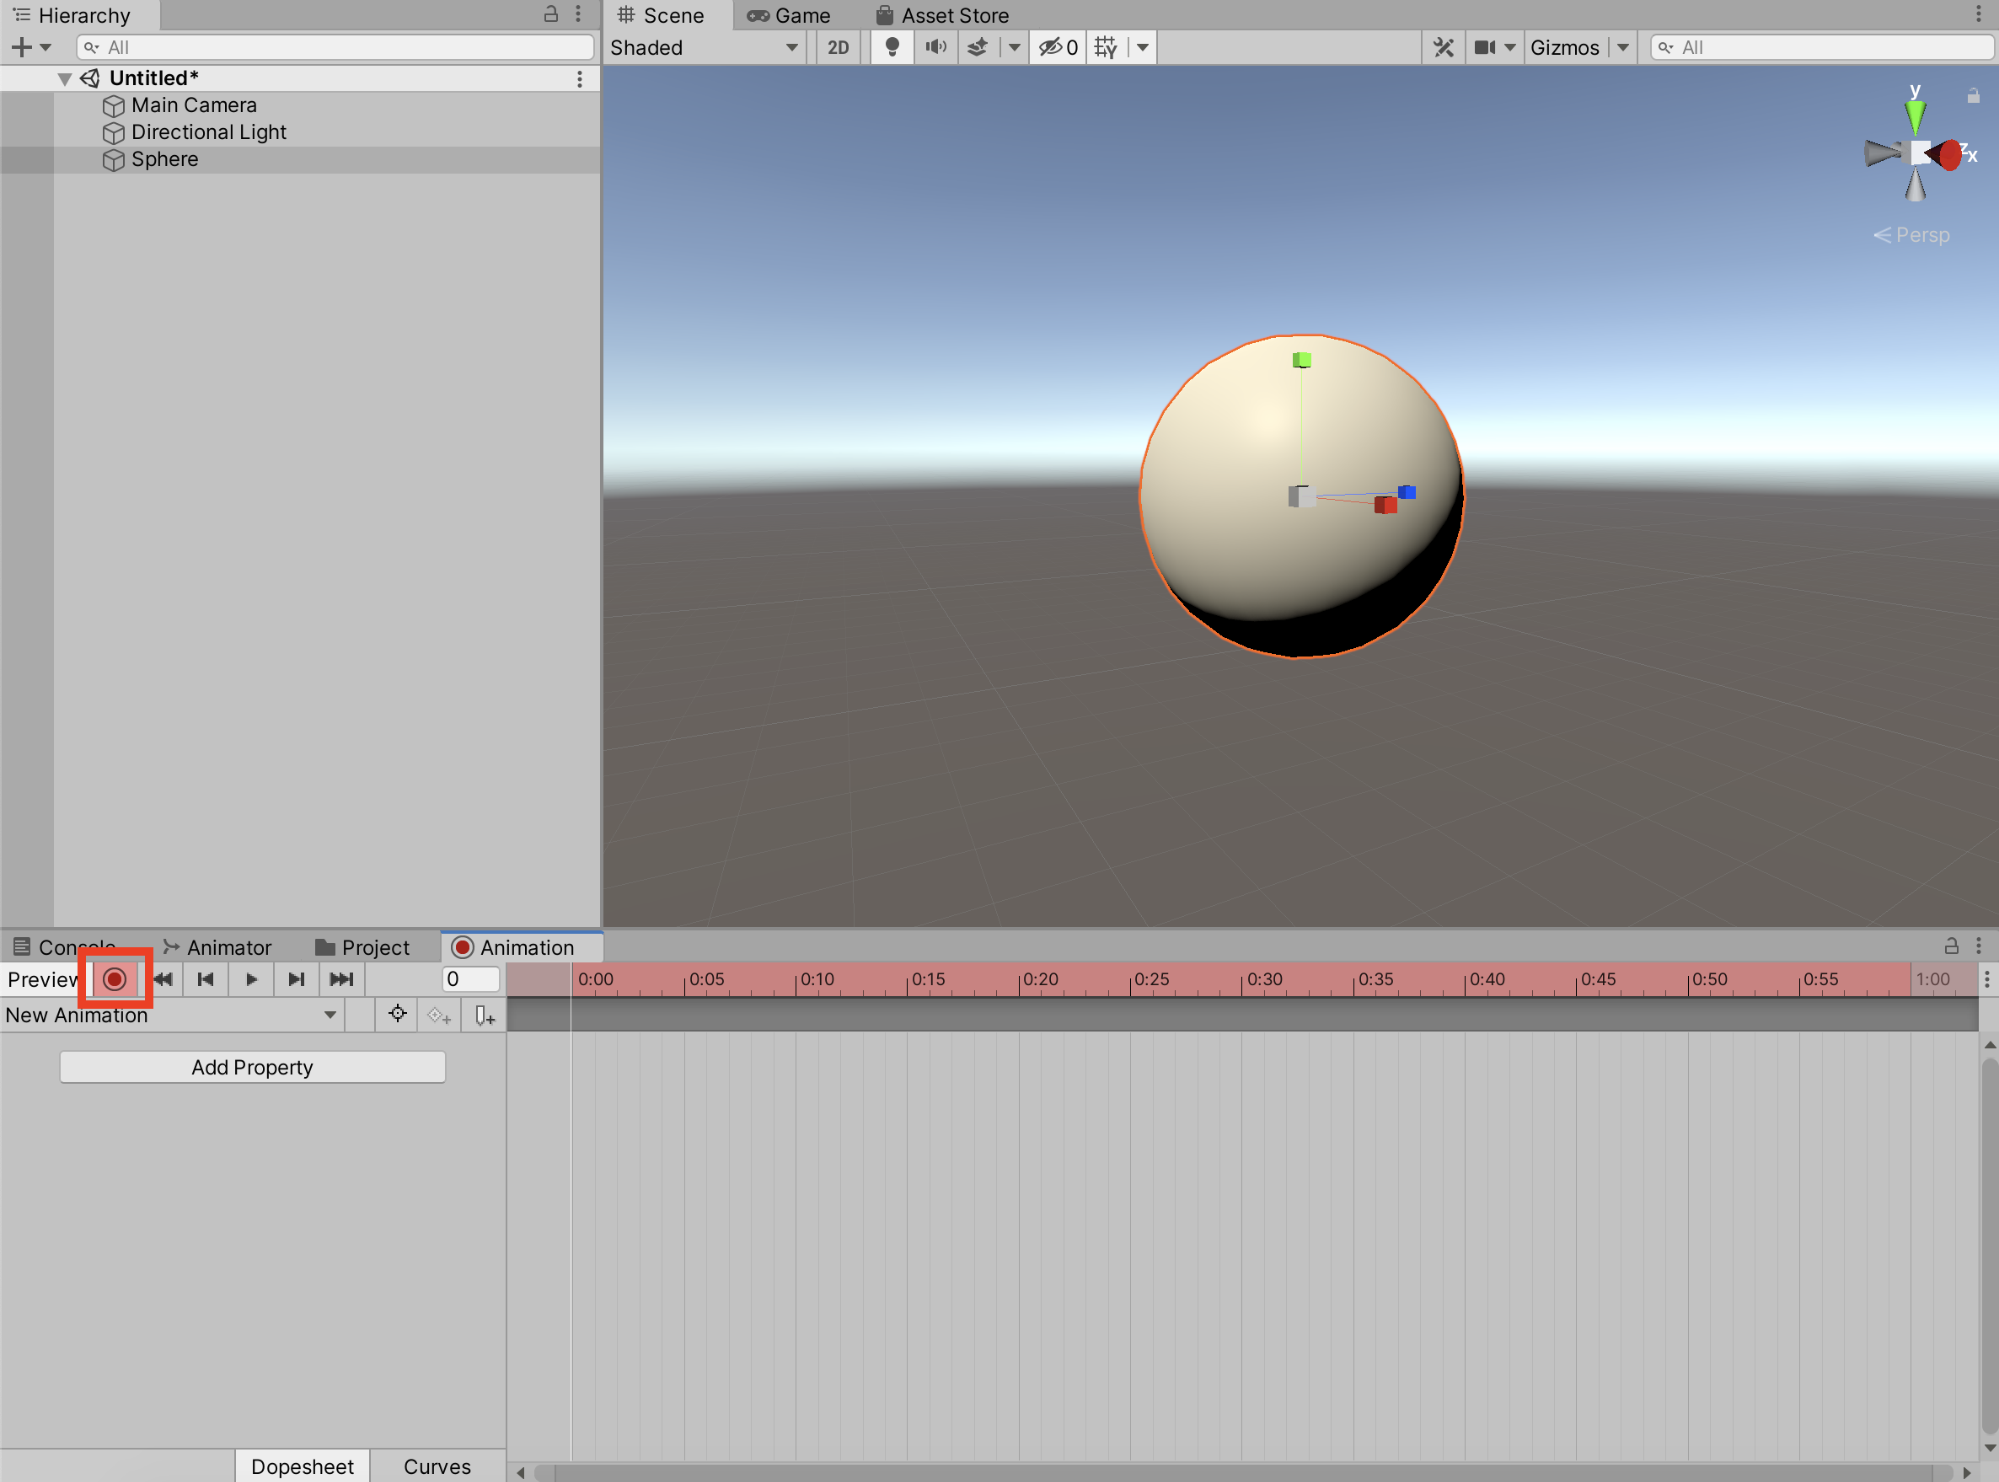
7. Move the Time Slider to the desired frame location
8. Use the Move, Rotate, or Scale tool to create a Keyframe at the location of the Time Slider (Figure 11).
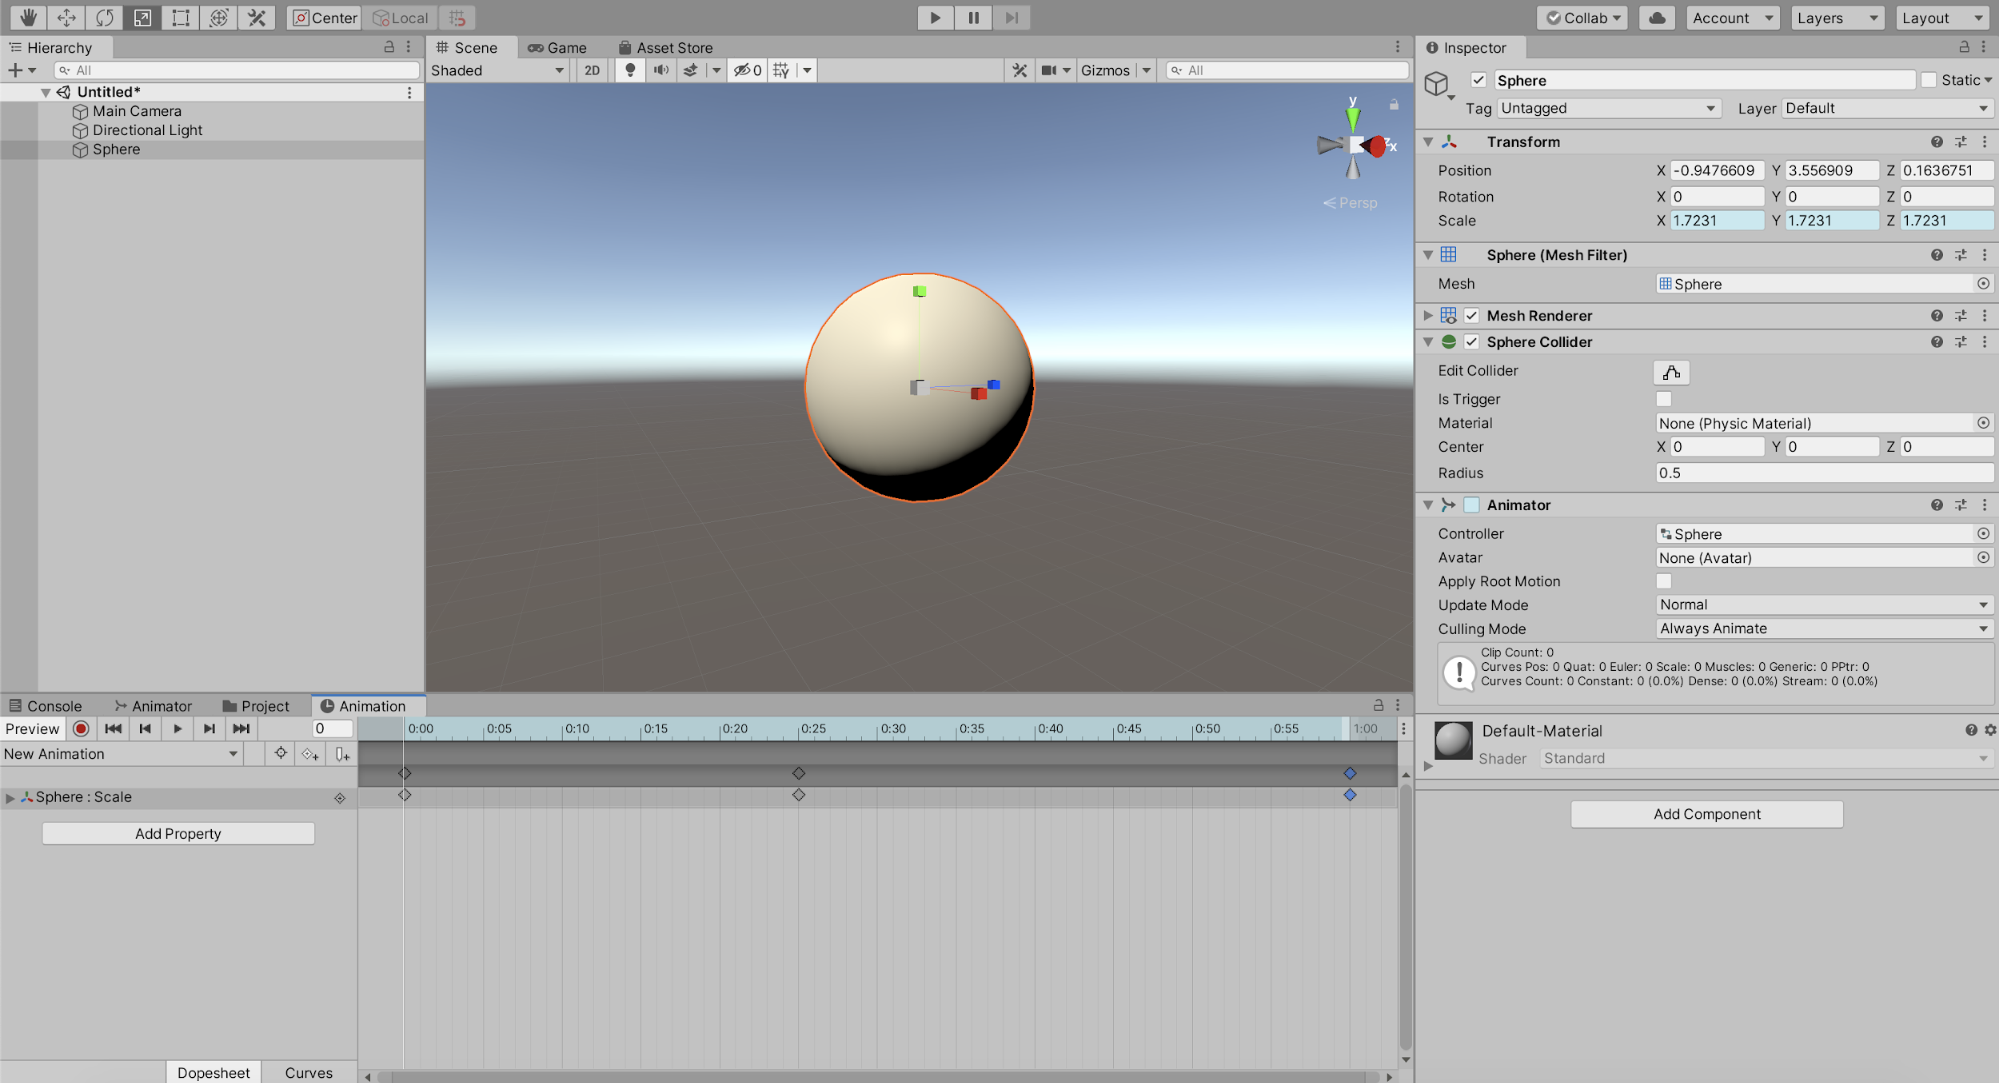
9. When finished animating, turn off the Record button.
5. Conclusion
Animations can come from external software like Maya, 3ds Max, or Blender and simple animations can be created in Unity. Try creating a custom animation on a GameObject in your own Scene.