Working with Animations and Animation Curves
Tutorial
Beginner
+10XP
20 mins
738
Unity Technologies
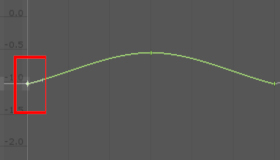
Unity allows you to create simple animations using a standard set of tools. In this tutorial, you'll use Unity's keyframes, Playhead, Animation Timeline, and Animation Curves to create simple animations.
Languages available:
1. Working with Animations and Animation Curves
Verified: 2019.4
Verified: 2019.3 - https://learn.unity.com/tutorial/working-with-animation-curves-2019-3
There are various ways to create Animation Clips in Unity. One way is to import an Animation Clip created in a Digital Content Creation (DCC) package like Maya, 3ds Max, or Blender. These animations are typically very specific and require the expertise of an animator. However, not all animations need to be as complex as character animations. Unity allows users to create simple animations without the expertise of an animator. The Animation window provides the standard set of tools necessary for animation like keyframes, Playhead, Animation Timeline, and Curves. These tools allow users to get the look and feel they desire out of their animations.
2. Creating Keyframe Animation
GameObjects can be animated in Unity via the Animation window, using traditional keyframe animation techniques. Keyframes are points on an Animation Clip timeline that contain data about the GameObject, like its Transform data (Figure 01). These keyframes indicate some sort of change in that data to produce an animation. When the animation plays, Unity interpolates the data from one keyframe to the next to play the animation.

1. From the Window menu, select Animation > Animation. Dock the Animation window behind the Project window for ease of navigation.
2. Select the necessary GameObject in the Hierarchy.
3. In the Animation window, click on the Animation Clip drop-down menu and select Create New Clip (Figure 02).

4. Browse to the desired folder to save the Animation Clip and rename it.
5. Save the Animation Clip.
6. Unity uses Automatic Keyframing, meaning that once in Animation Mode, any movement applied to the GameObject in the Scene View will be recorded in the animation. In the Animation window, press the Record button to begin creating keyframes (Figure 03).
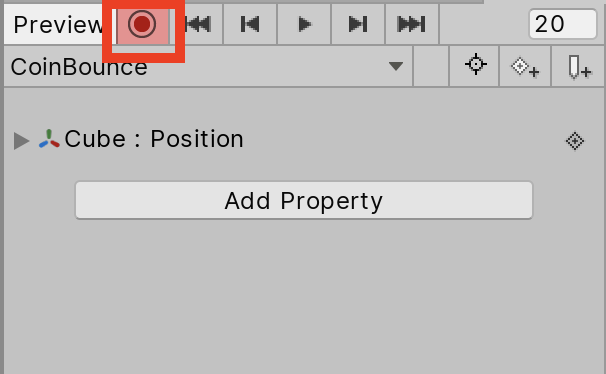
7. The white line in the Animation Timeline is called the Playhead and it indicates where a keyframe will be added. To move it, simply left-click and drag the Playhead to the desired frame (Figure 04).

8. In the Scene view, move the selected GameObject using the Move tool to change its current position. A keyframe will be added where the Playhead is located. If it’s a new animation, it will create a keyframe at the beginning of the Animation Clip Timeline (Figure 05).
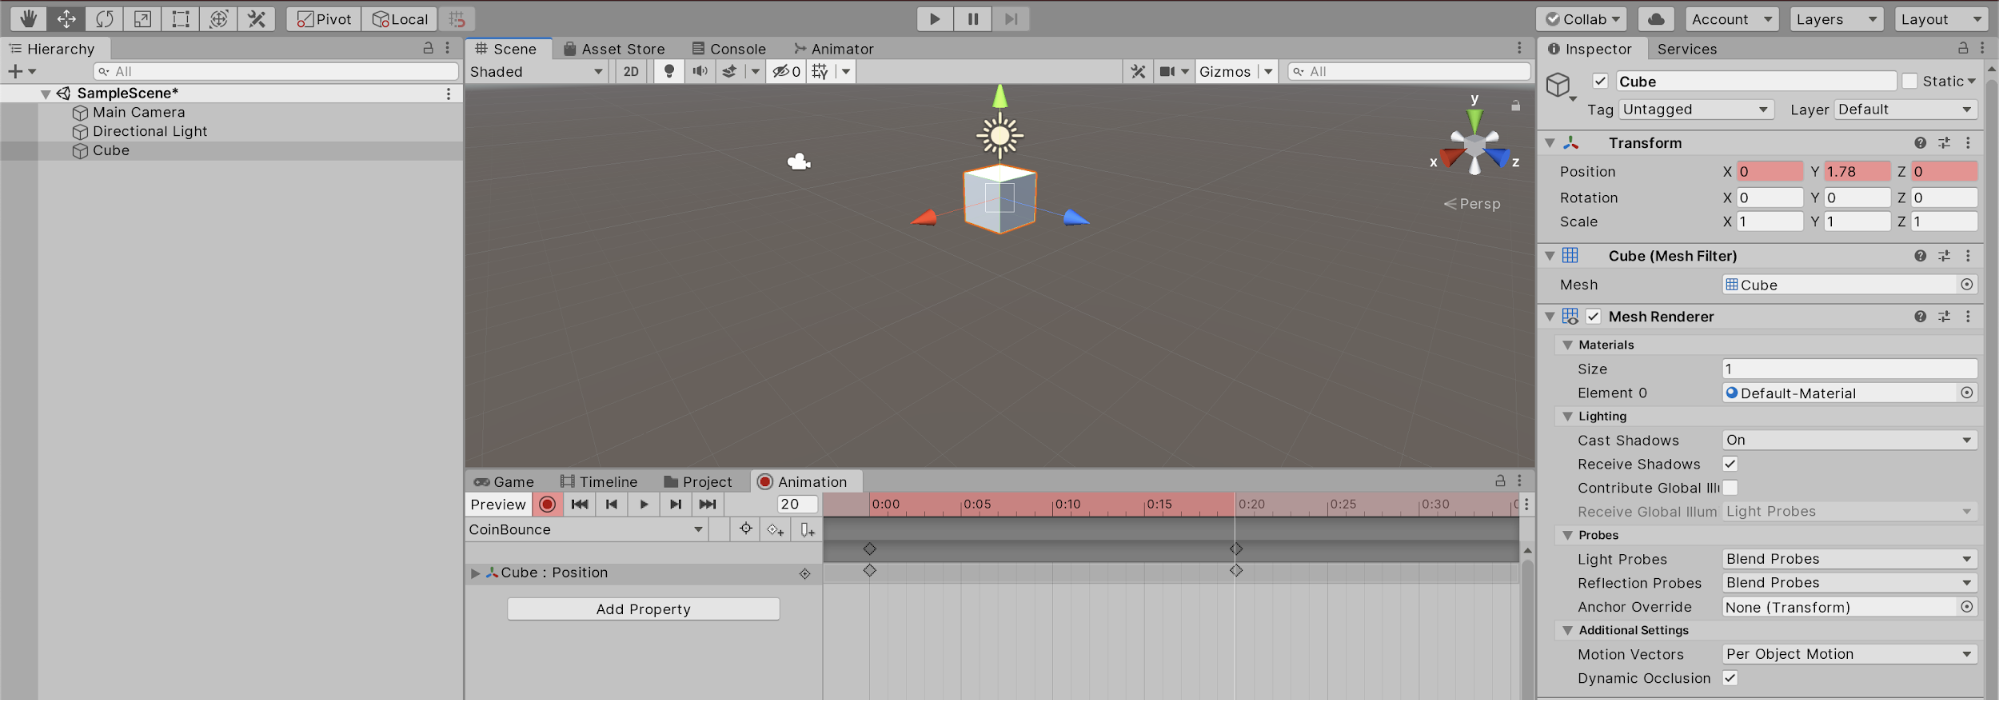
9. Click the Record button to deactivate it and press the Play button in the Animation window to preview the Animation Clip.
3. Modifying Animations using Curves
Unity interpolates the data from one keyframe to the next, but sometimes the timing of that interpolation doesn’t quite capture the motion a user might have in mind. For example, creating a bouncing animation requires three keyframes for the Y Position: one at the beginning for when the object is on the ground, a second in the middle for when the object is at the height of the bounce, and a third at the end when it’s grounded again. Unity automatically determines the interpolation to be Smooth In and Smooth Out on each keyframe. Doing so causes the GameObject to float up and down rather than bounce. Unity provides access to Curves to control exactly how keyframes will interpolate from one keyframe to the next.
1. At the bottom of the Animation window, select the Curves Tab (Figure 06).
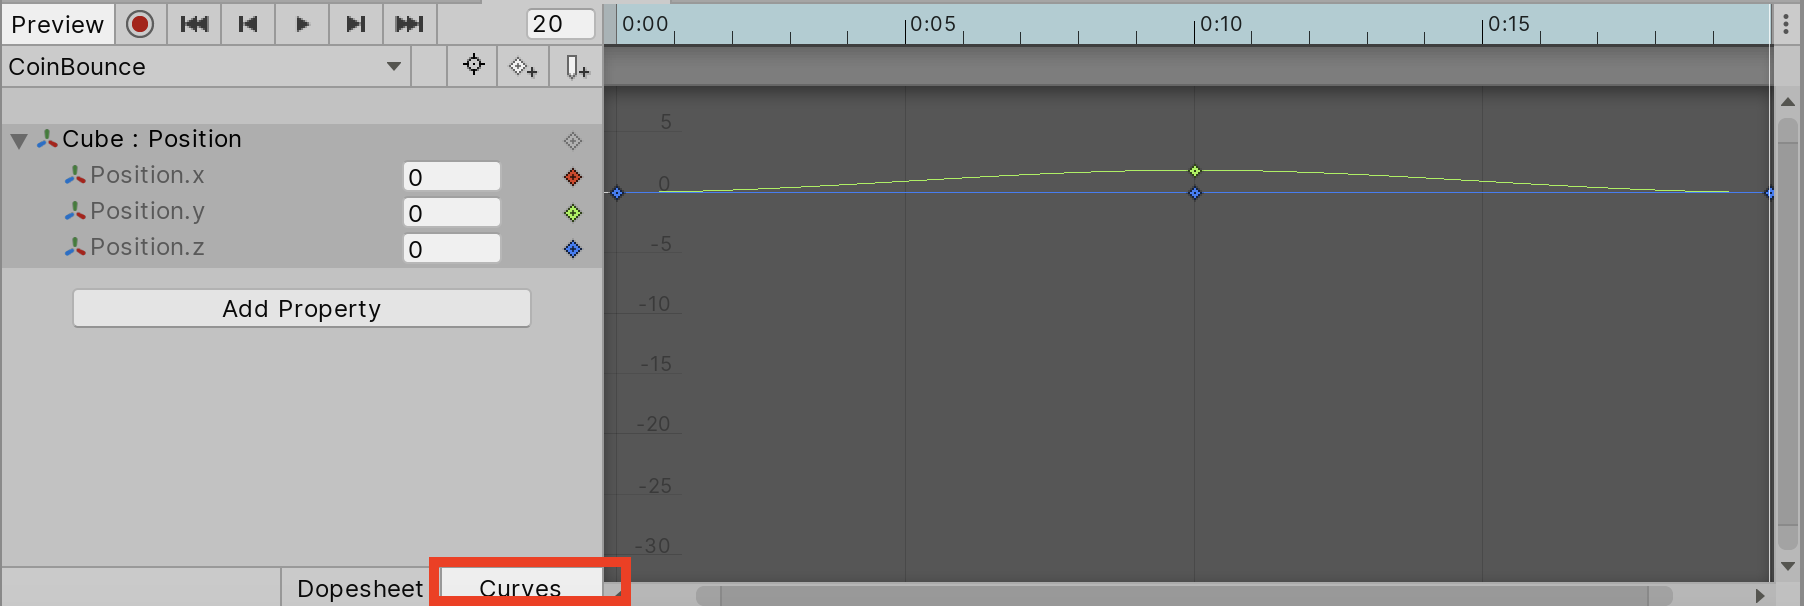
2. Unity will automatically create properties in the Curves tab based on the data in the keyframes. Expand the Property by clicking on the arrow next to the property name (Figure 07).
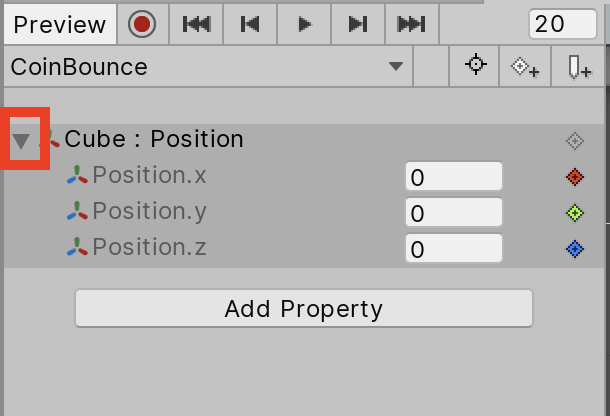
3. Select the Property to show the Curve that directly affects it (Figure 08).

4. Select the desired keyframe on the Curve by left-clicking on it. This will reveal a Tangent Handle that can be used to modify the trajectory of the Curve (Figure 09).

5. Modify the Curve until you achieve your desired outcome.
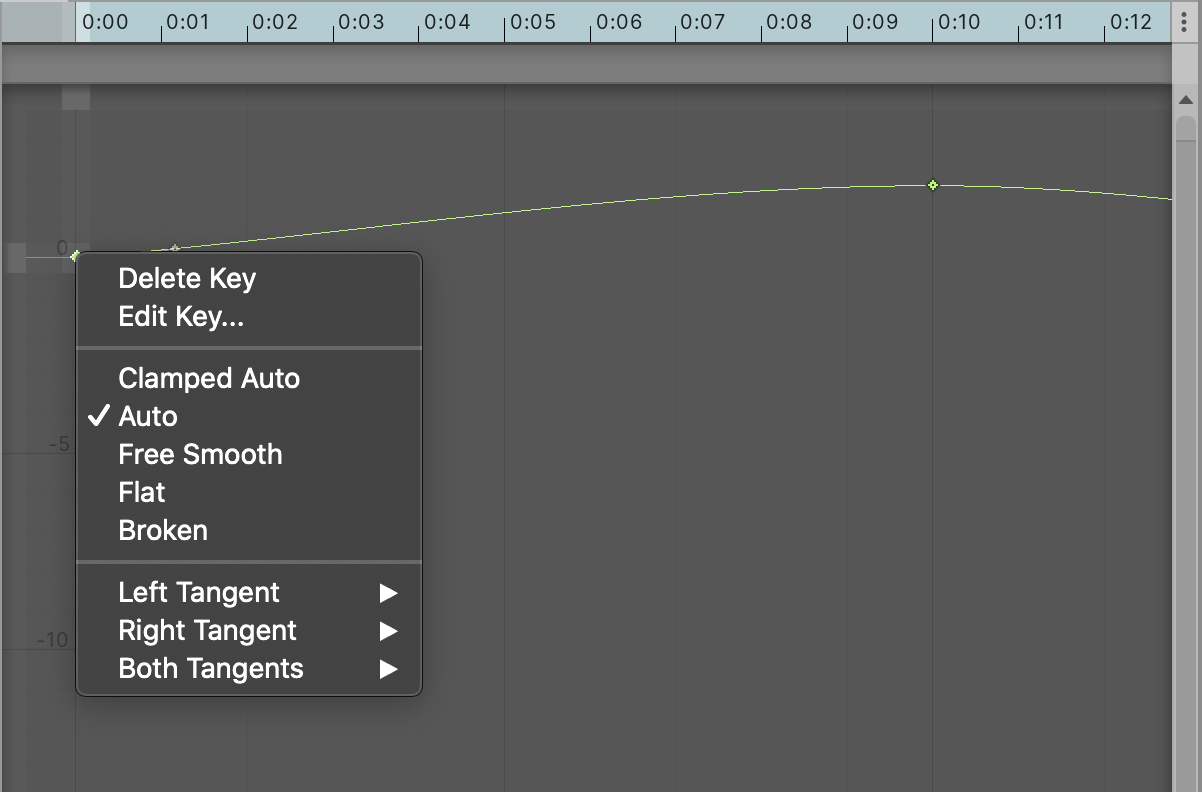
6. There are a number of preset Tangent types that can be used on every keyframe. Simply select the desired keyframe or keyframes and right-click to reveal a context menu (Figure 10).
Animations can be quickly created right in Unity using the Animation window. Unity provides all of the tools necessary to give animations the look and feel desired. Now try to create a custom animation in your own project.