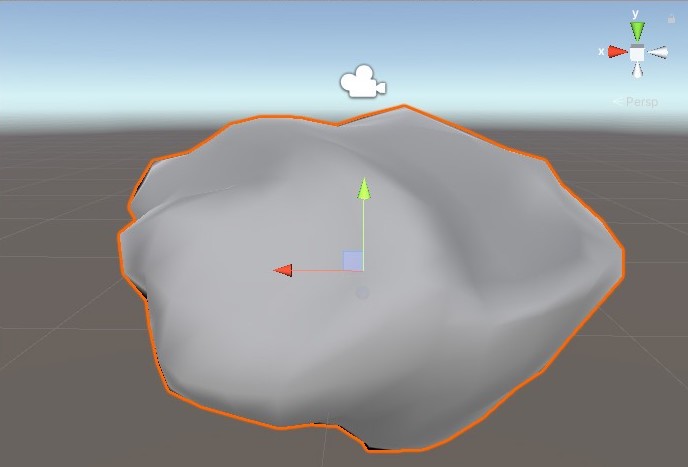
Working with the FBX Exporter Setup and Roundtrip
Tutorial
Beginner
+10XP
25 mins
30
Unity Technologies

Unity and Autodesk collaborated to create a plug-in that allows for easy transfer of 3D models between Digital Content Creation (DCC) applications (currently Maya and 3ds Max, with others on the way) and Unity. This allows artists to test their models in the engine, make changes when necessary in their DCC of choice, and have those changes update real-time in Unity. What previously required multiple cycles of exporting from a DCC application and importing into Unity has now been reduced to two clicks of the mouse.
Languages available:
1. Exporter Setup
Verified with 2021.3 LTS and FBXExporter v4.1.3
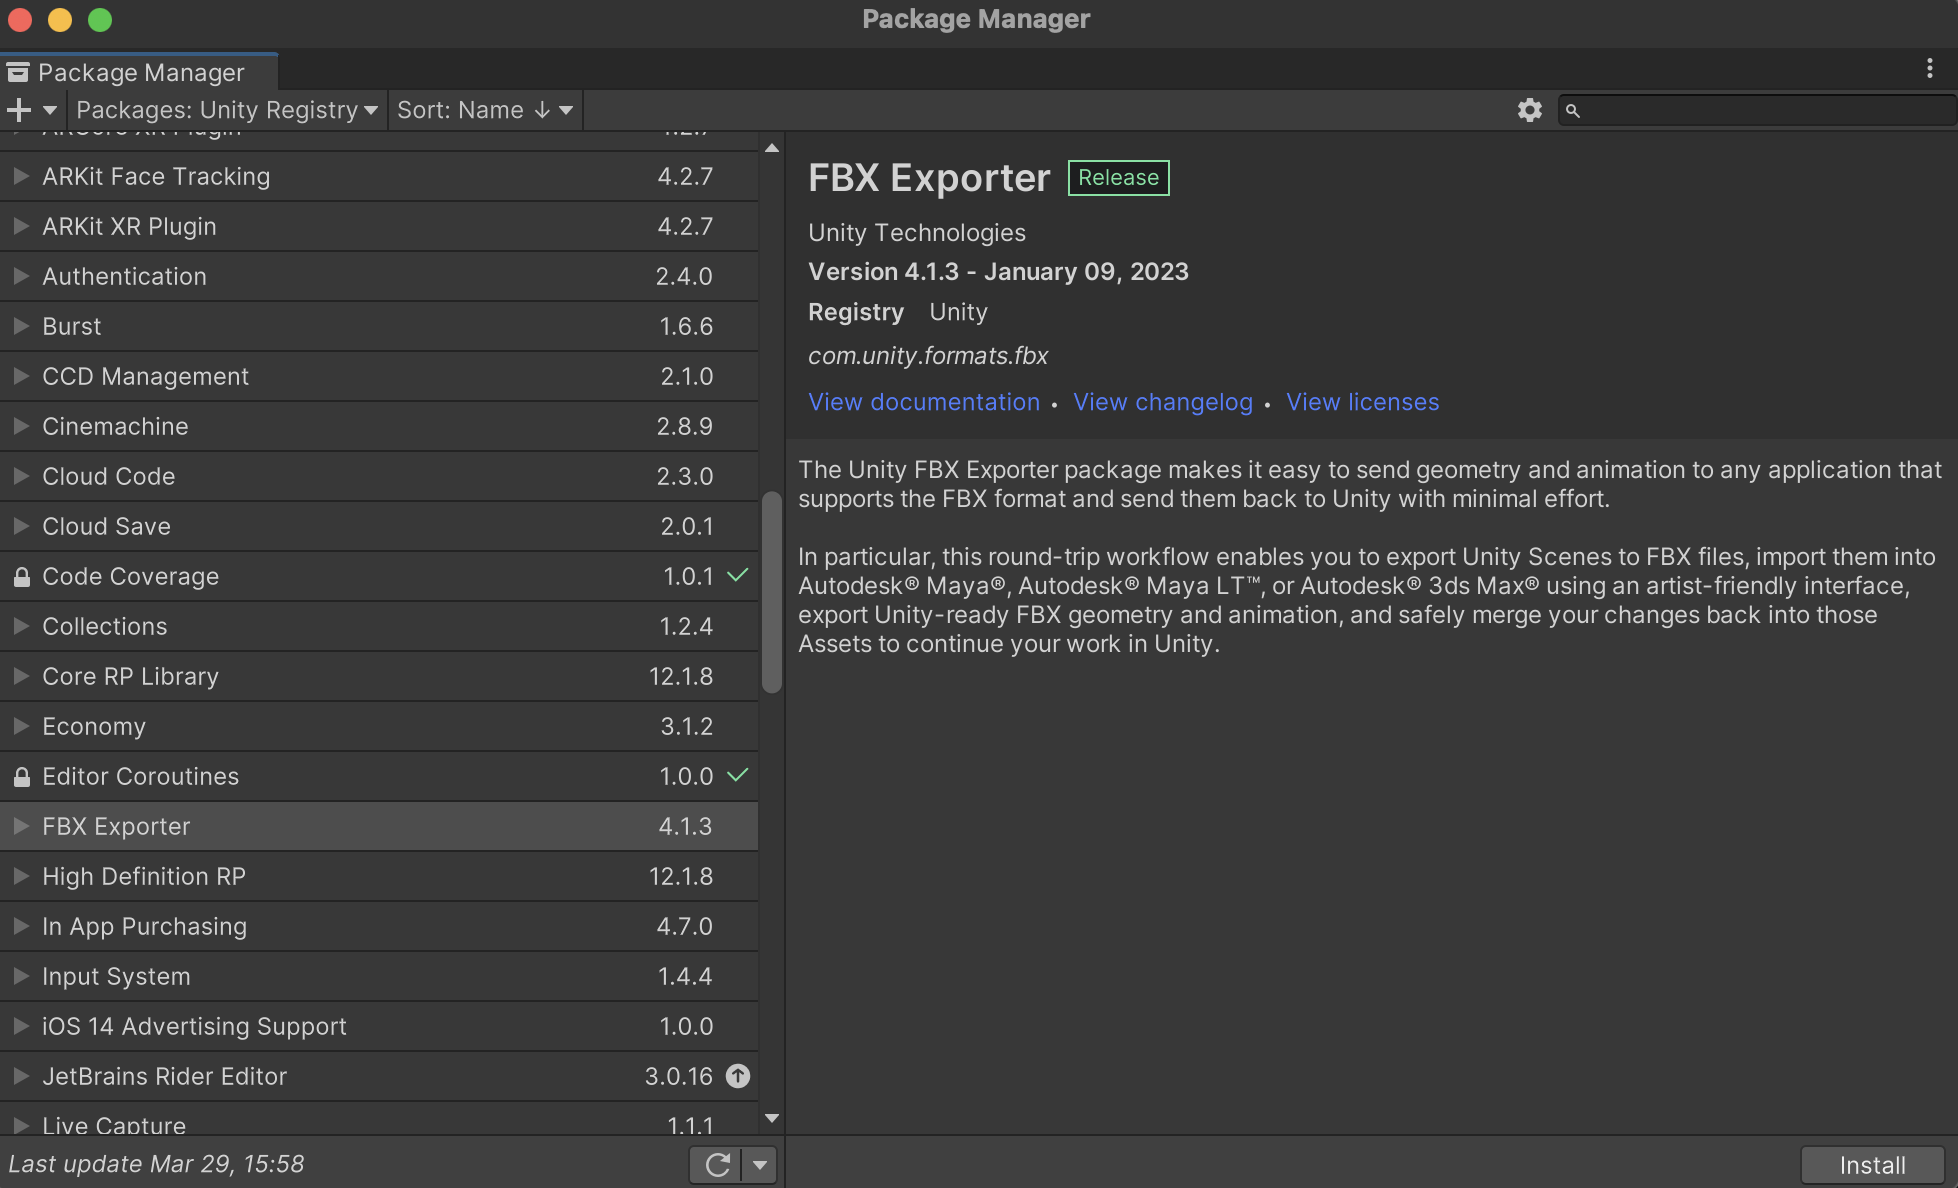
1. Add the FBX Exporter package by opening Window > Package Manager.
2. Search for FBX Exporter and click Install (Figure 01).
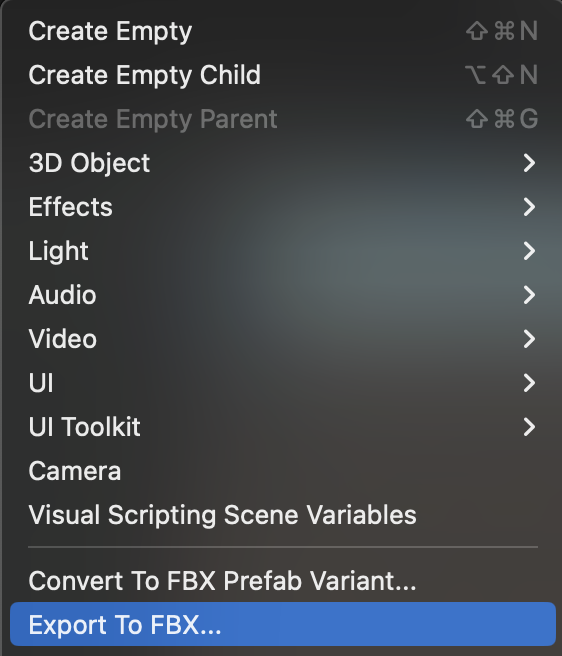
3. From the GameObject dropdown select Export to FBX... (Figure 02).
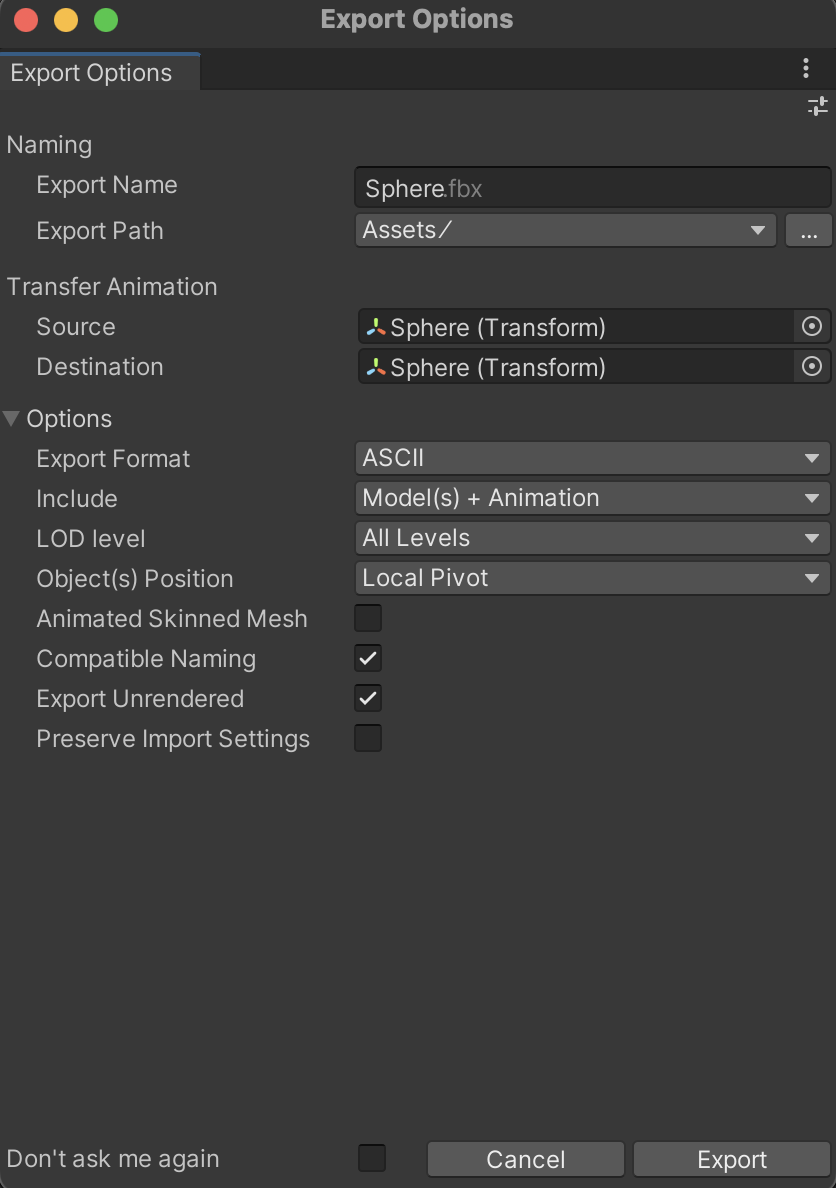
4. The export settings will appear in a pop-up window (Figure 03).
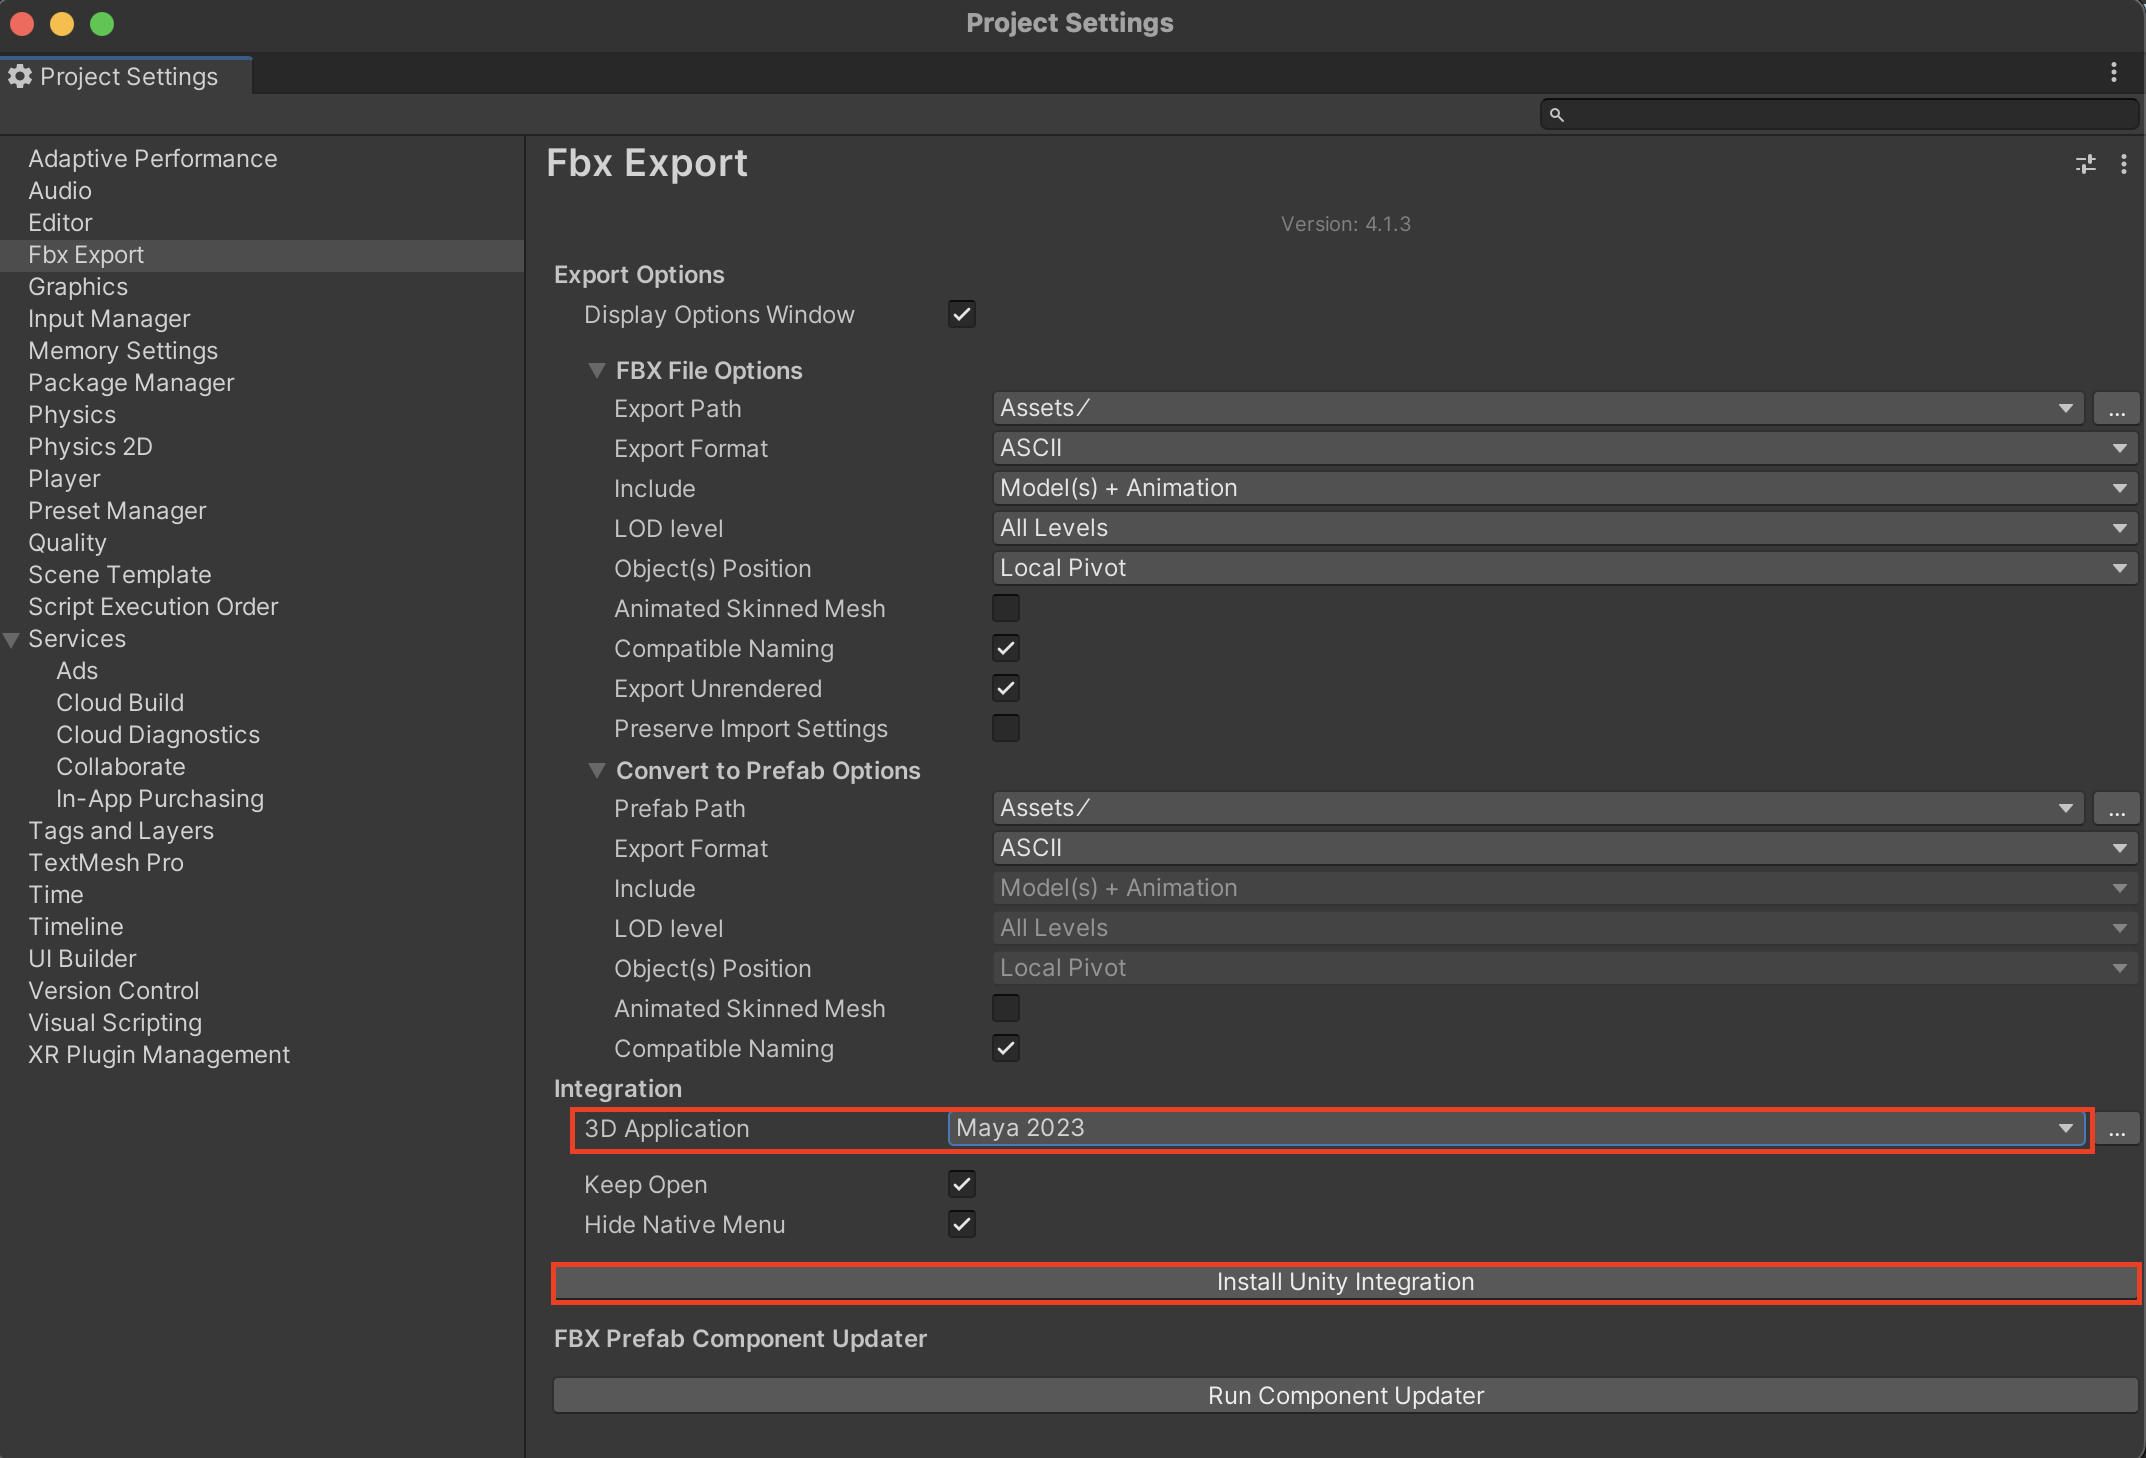
5. Integration settings are now in the FBX Exporter settings. To access these, select
Edit > Project Settings and select FBX Exporter in the left column.
6. In the Integration section, select the 3D application you have installed on your machine
7. Before installing Unity Integration, close all instances of the selected 3D modeling software that matches the specified version.
8. Click Install Unity Integration (Figure 04).
9. When prompted, select a target folder where you want to extract the Unity Integration. The target folder can be outside of your current Project.
10. Click Select Folder.
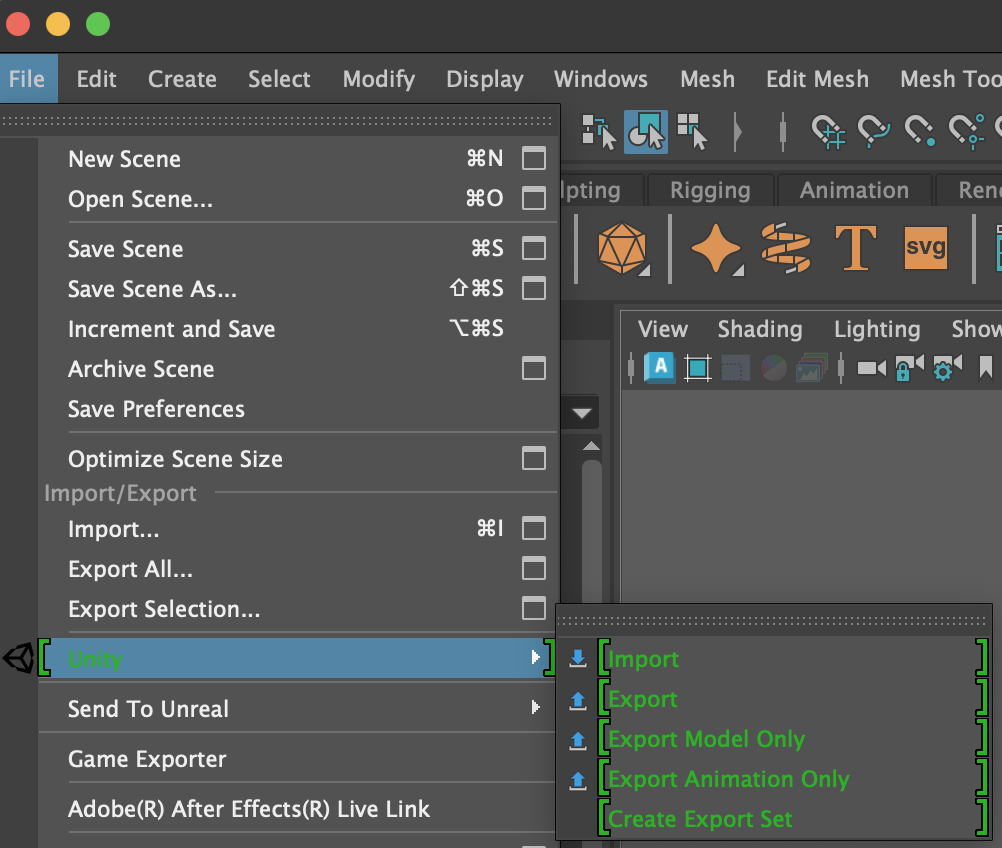
11. The plug-in will install and open the selected DCC application. The FBX Exporter options will be located in the File drop-down under a custom Unity flyout (Figure 05).
2. The FBX Exporter roundtrip
1. Select the object in the Scene that you wish to send back to the DCC.
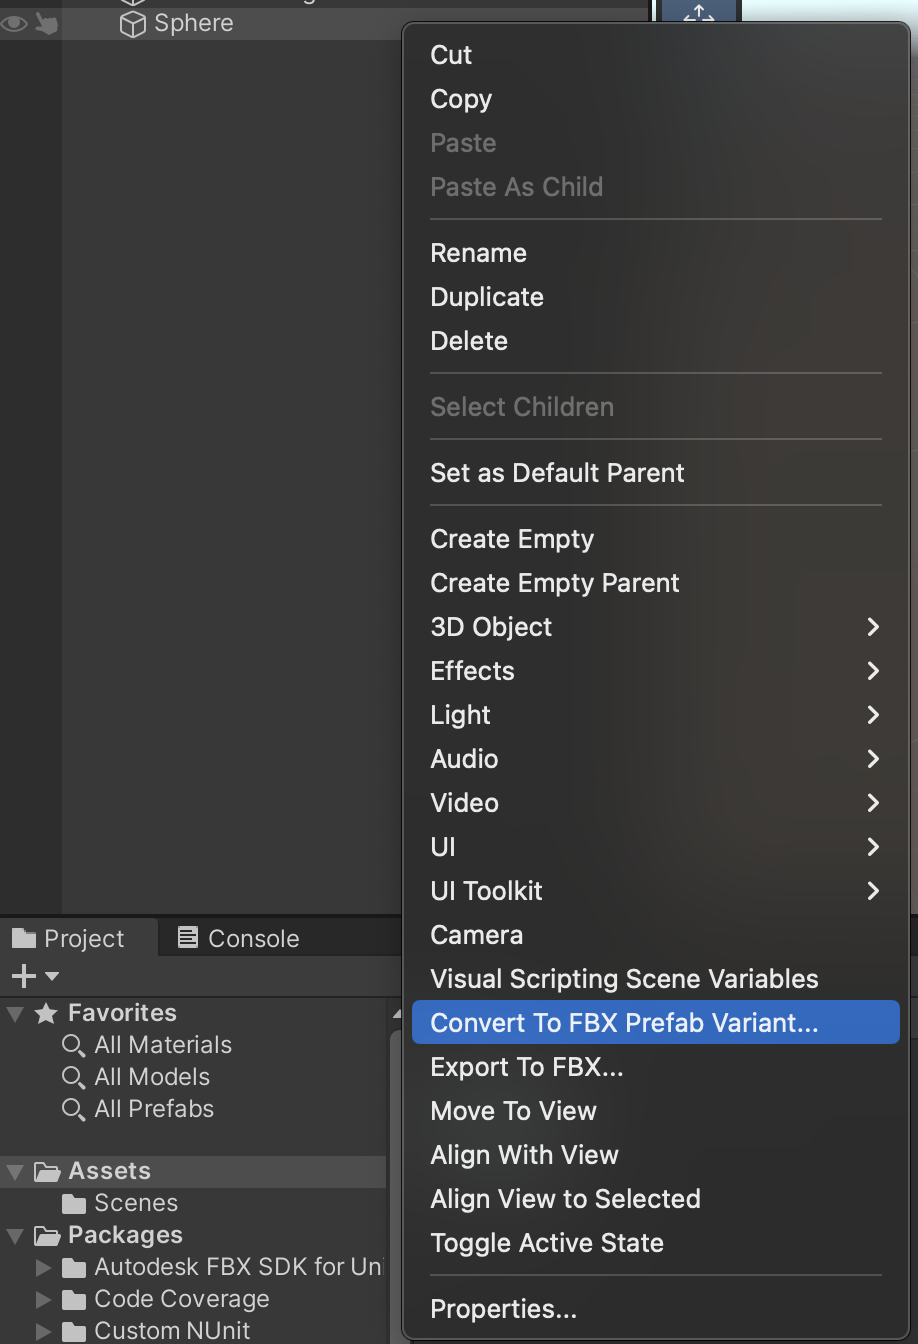
2. In the Hierarchy, right-click over the object and select Convert to FBX Prefab Variant (Figure 06).
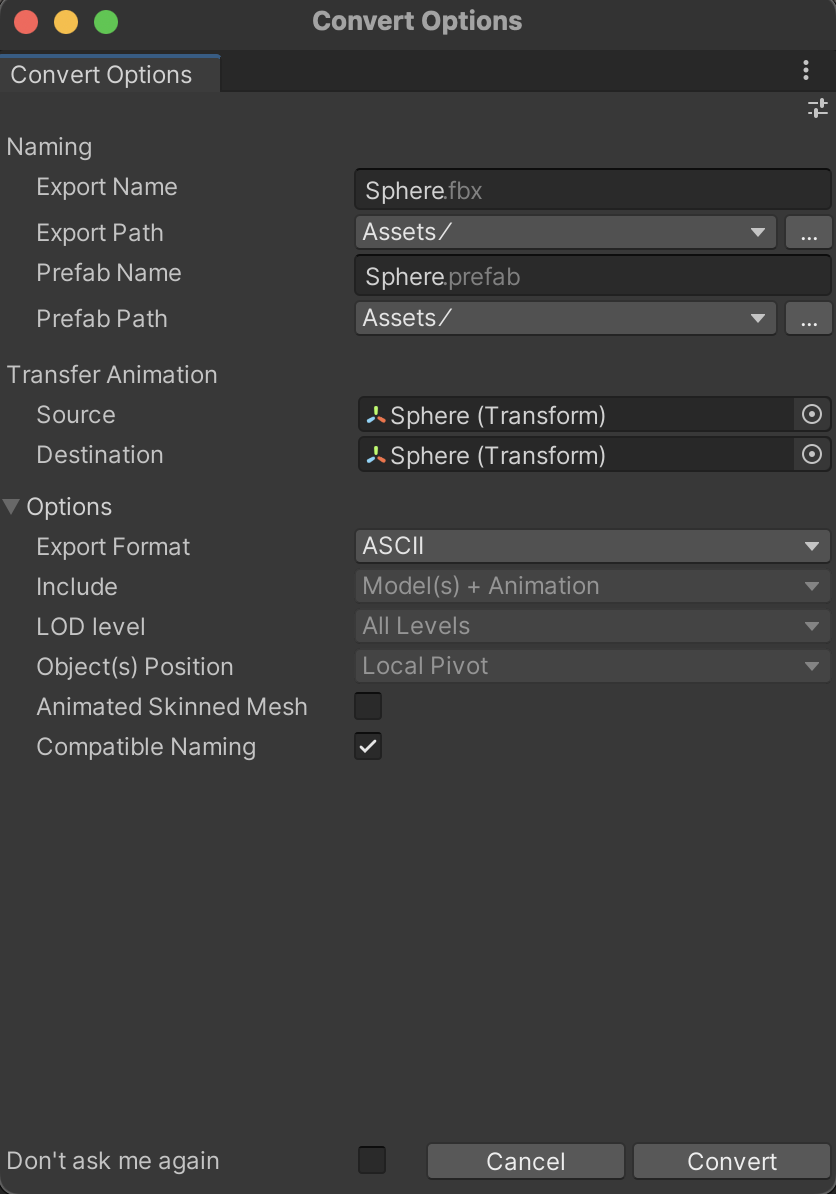
3. A Convert Options window appears (Figure 07). Set your options according to your project's needs and click Convert.
4. In the DCC application, navigate to File > Unity > Import. The DCC will automatically open to the appropriate project path. Select the generated FBX.
5. Make any desired changes to the model (Figure 08).
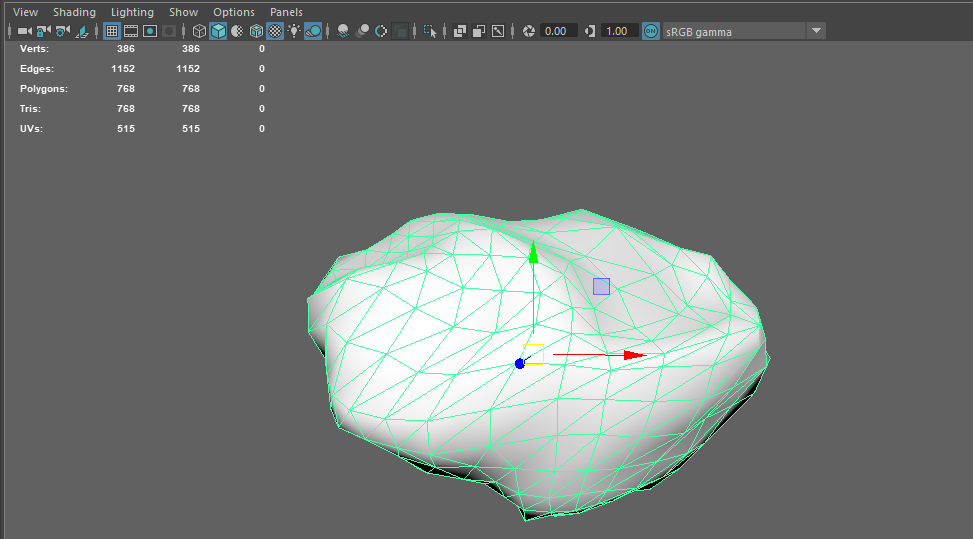
6. With the object selected, navigate to File > Unity > Export.
7. Return to Unity and the changes will automatically update to the Mesh (Figure 09).
