Working with existing projects
Tutorial
foundational
+0XP
10 mins
Unity Technologies
Overview:
Unity EdLab has many projects to inspire and teach you the fundamentals of real-time 3D game development. This tutorial will teach you how to bring those projects into the EdLab Editor.
Project Outcome:
Understand how to access existing projects from various sources.
Languages available:
1. Accessing projects from the Class Drive
The projects in the ‘Class Drive’ have been submitted by your instructor for class-wide use.
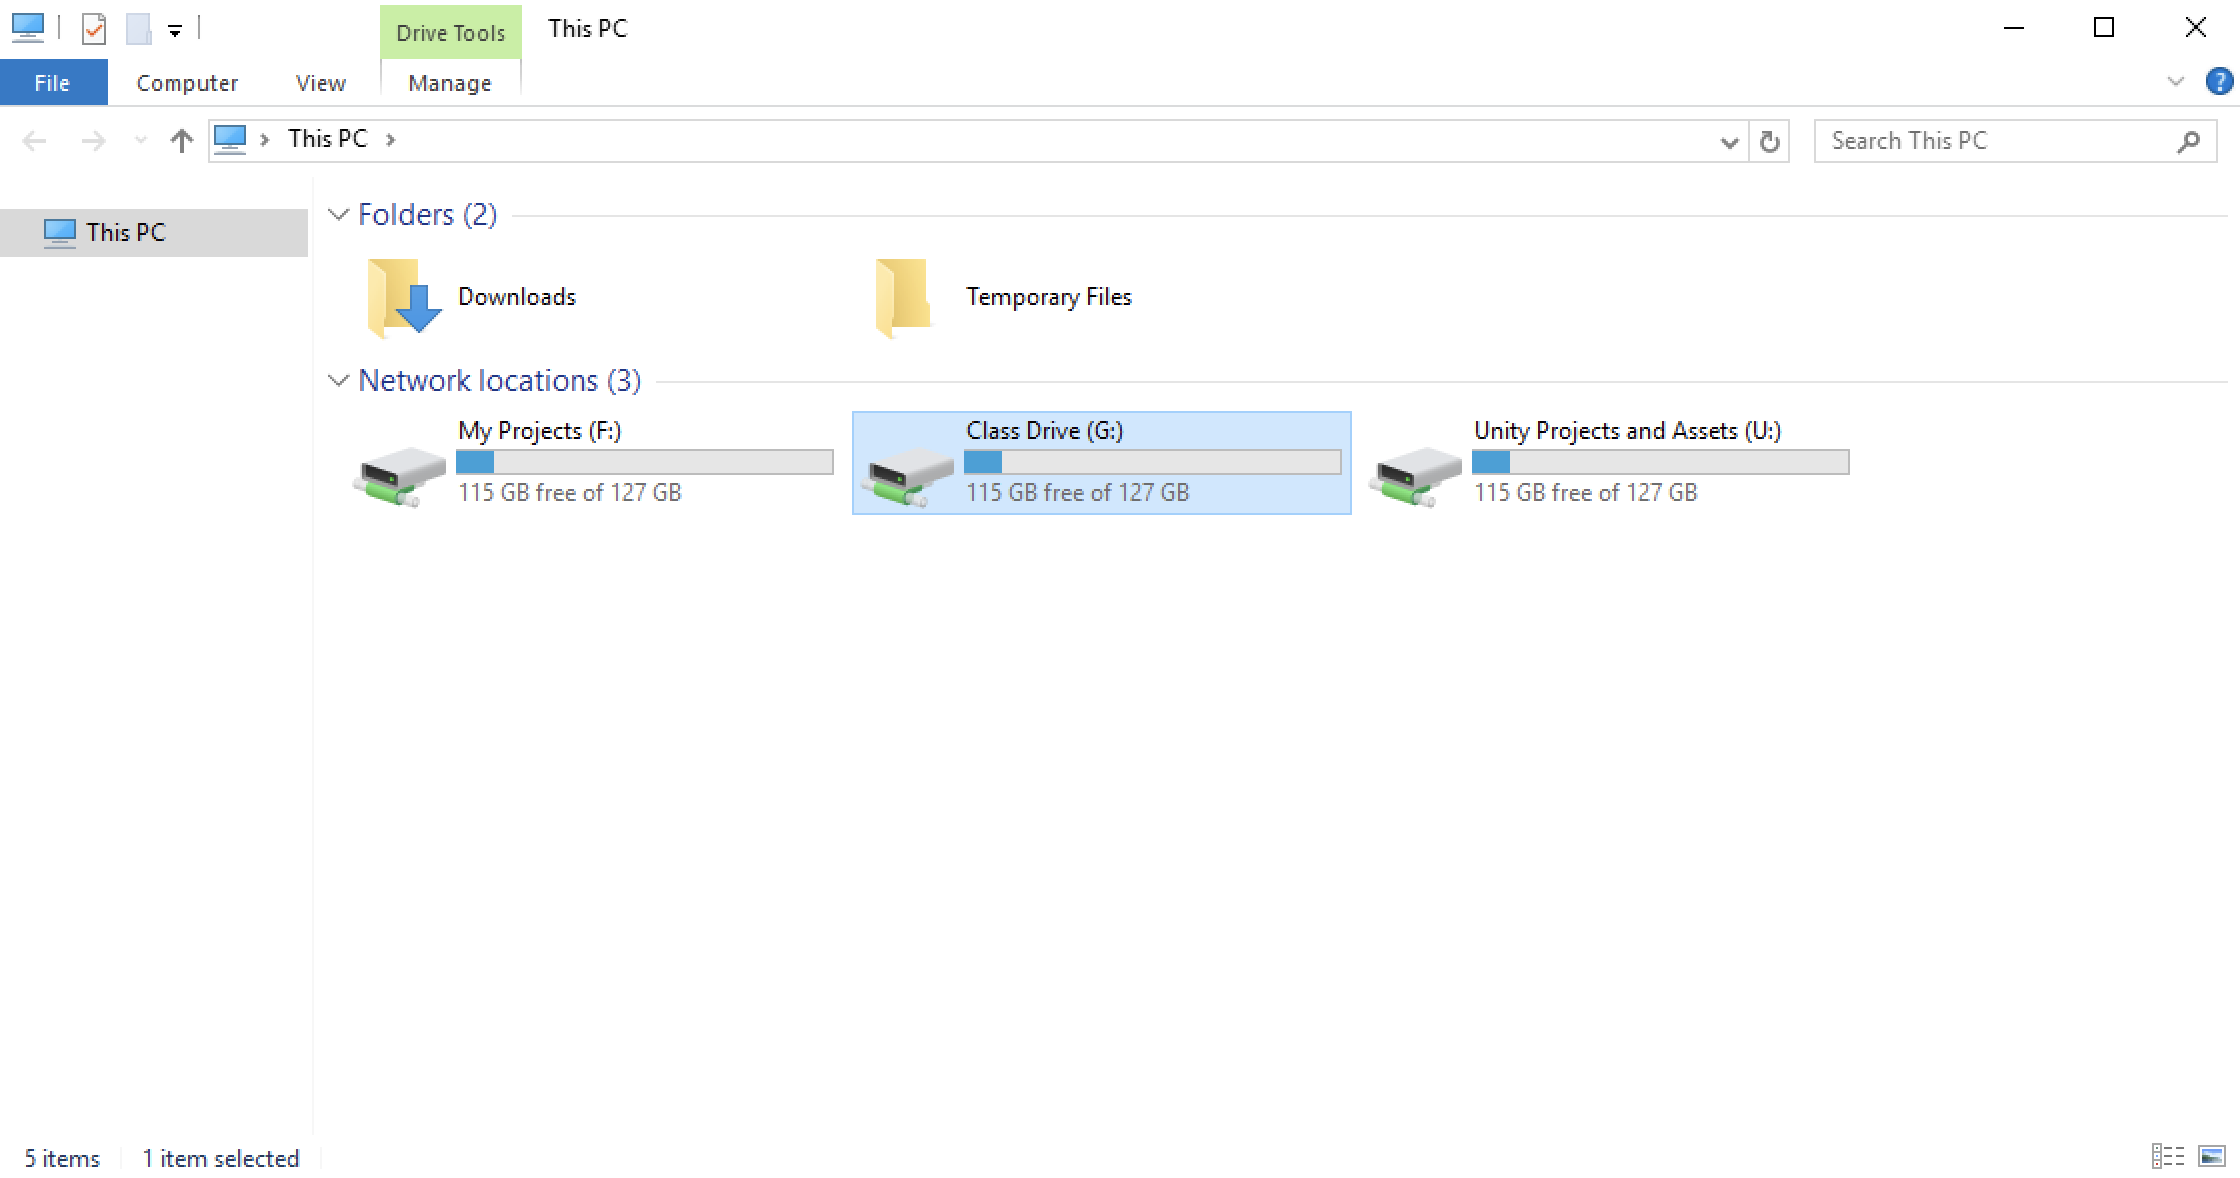
To bring them into the Editor, you must first open the File Explorer and navigate to the ‘Class Drive’ folder. From there, find the project you want to work with, right-click it, and select ‘Copy’.
Then navigate back to your ‘My Projects’ folder, right-click, and select ‘Paste’. If it is a zipped folder, click it to select it, then under the ‘Extract’ tab click ‘Extract All’. Remember to choose the ‘My Projects’ folder as the destination for unzipped files.
Once you’ve done this, go into the Unity Hub window and click the ‘Open’ button to find and add the project folder to the project directory. Once it’s been added to the directory it will open automatically.
2. Accessing projects from the Unity Projects and Assets folder
The resources in the ‘Unity Projects and Assets’ folder are Unity package files and not project folders. Unity package files can be imported into new and existing projects.
To do this, start by opening the project you would like to import the package file into. With the EdLab Editor open, use the File Explorer to navigate to the package you would like to import.
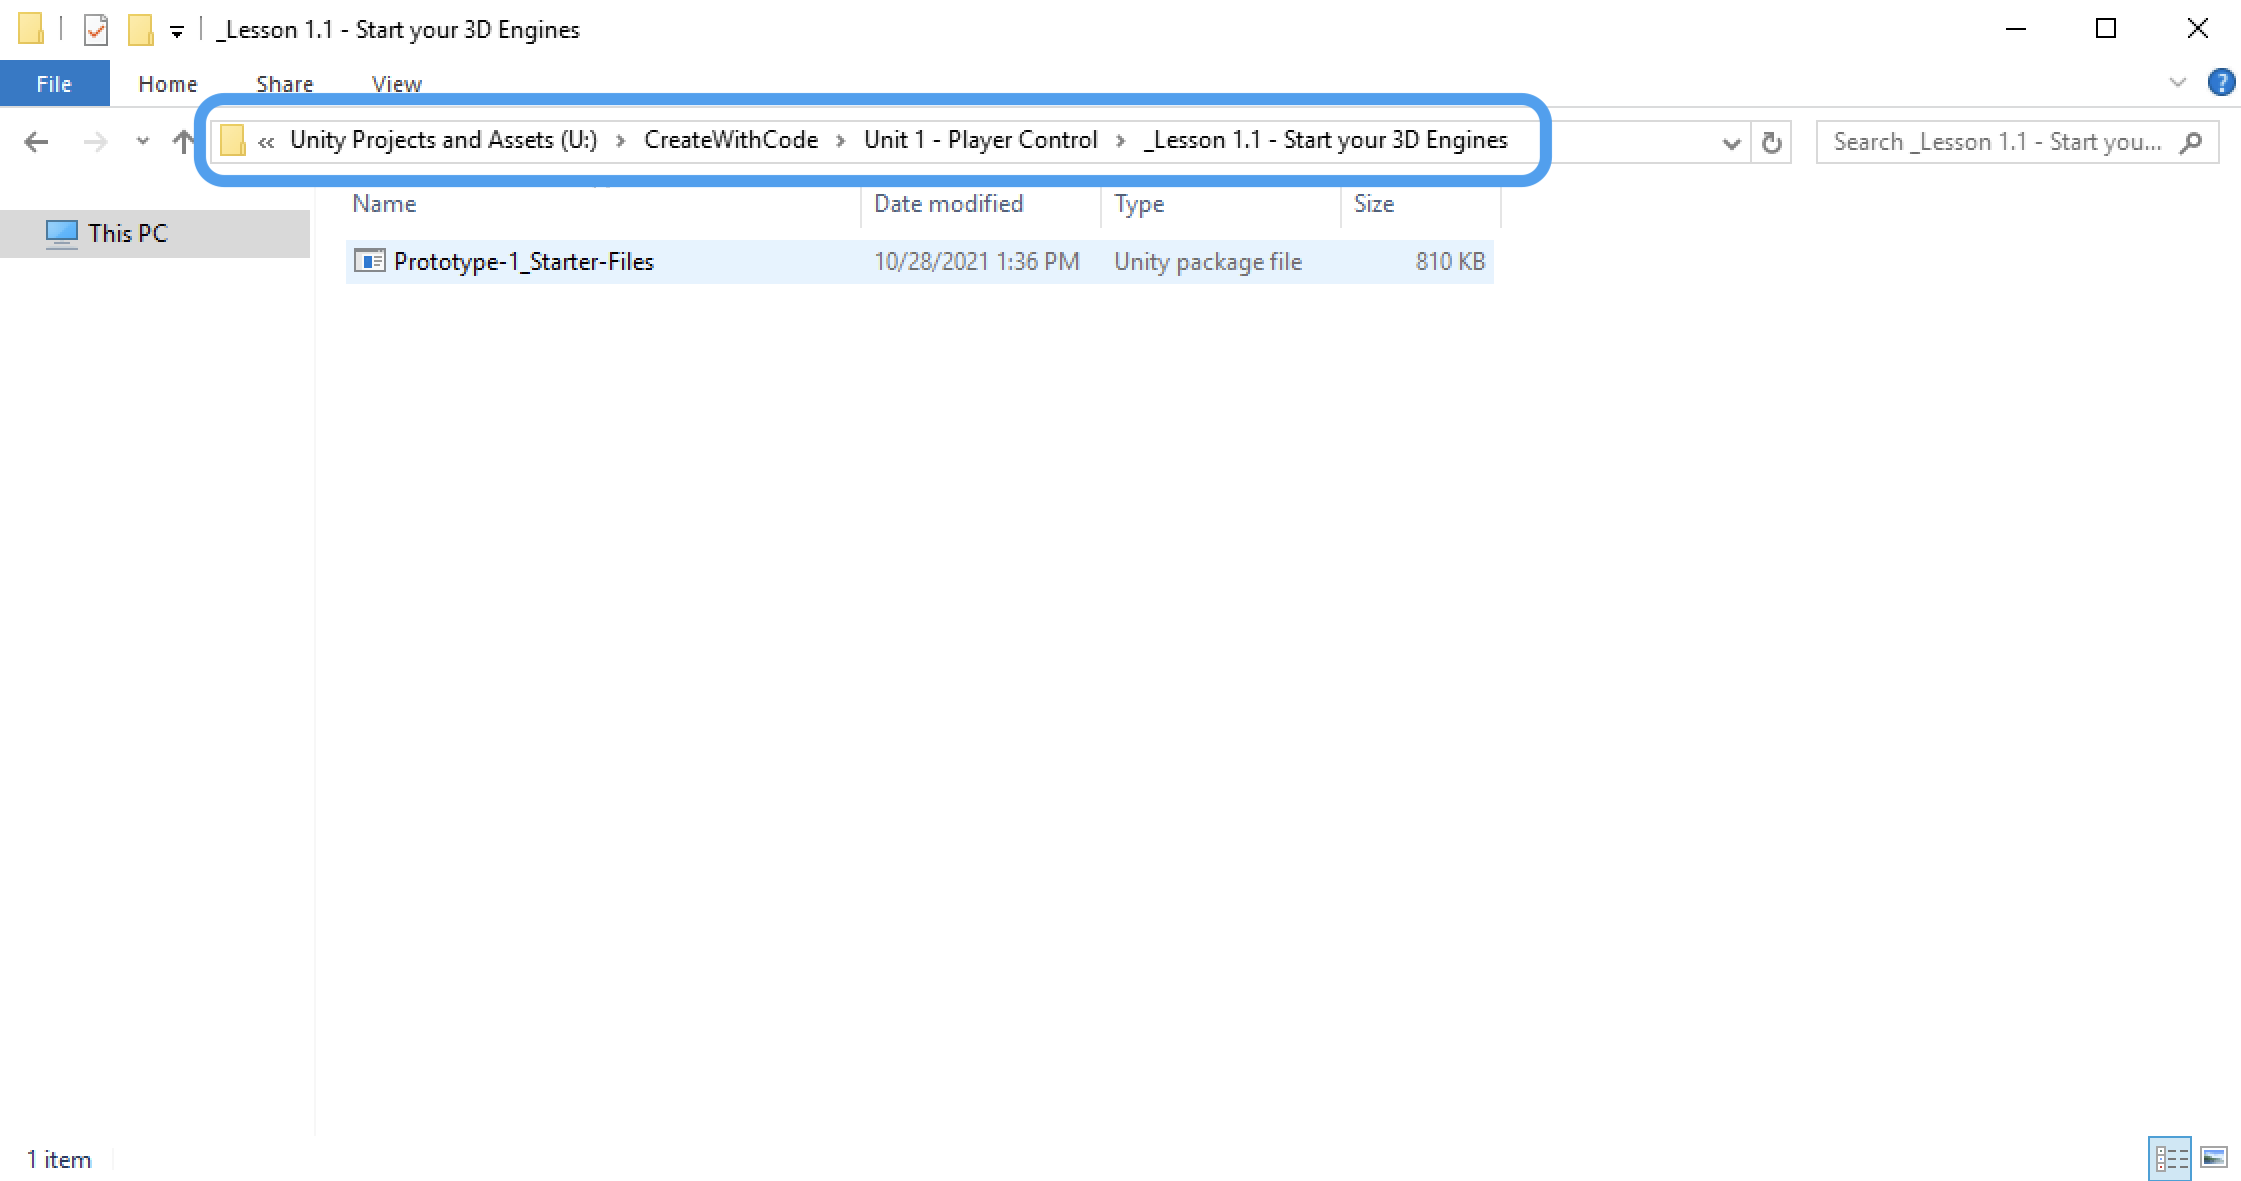
Once you’ve found it, double-click it and an 'Import Unity Package' prompt like the one below should appear in the Editor window.
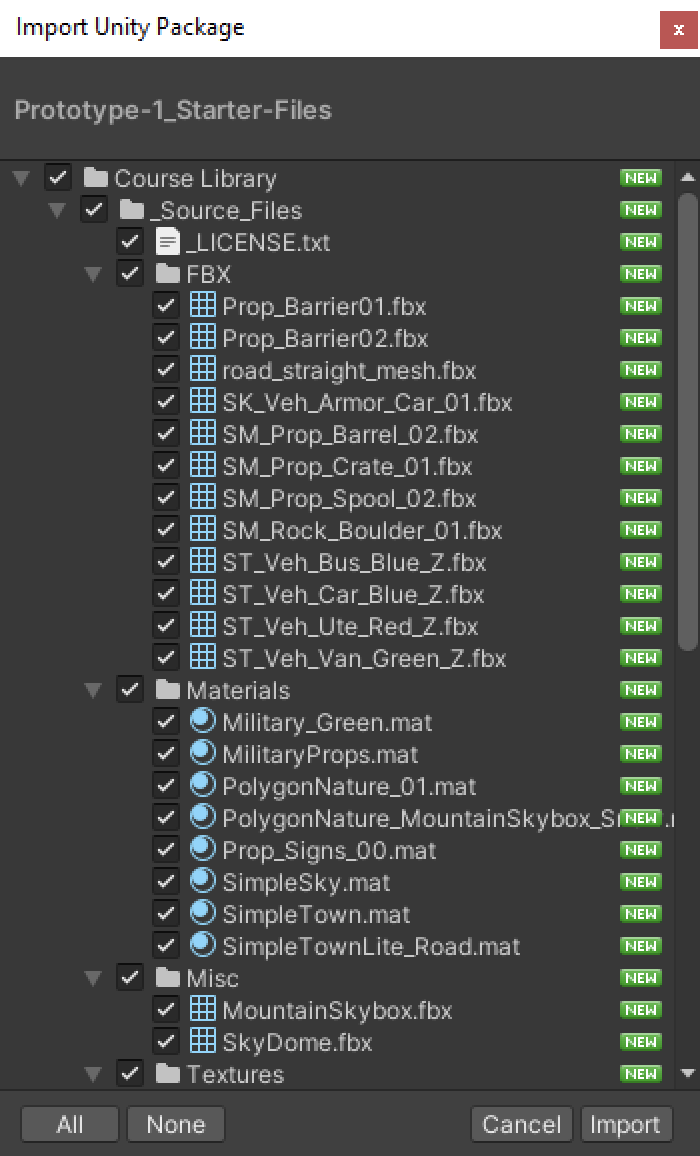
Press the ‘Import’ button, and all of the assets will be added to your project’s ‘Asset’ folder for you to work with.
3. Accessing projects from the Learn tab
Additional projects can be found under the ‘Learn’ tab in the Unity Hub window.
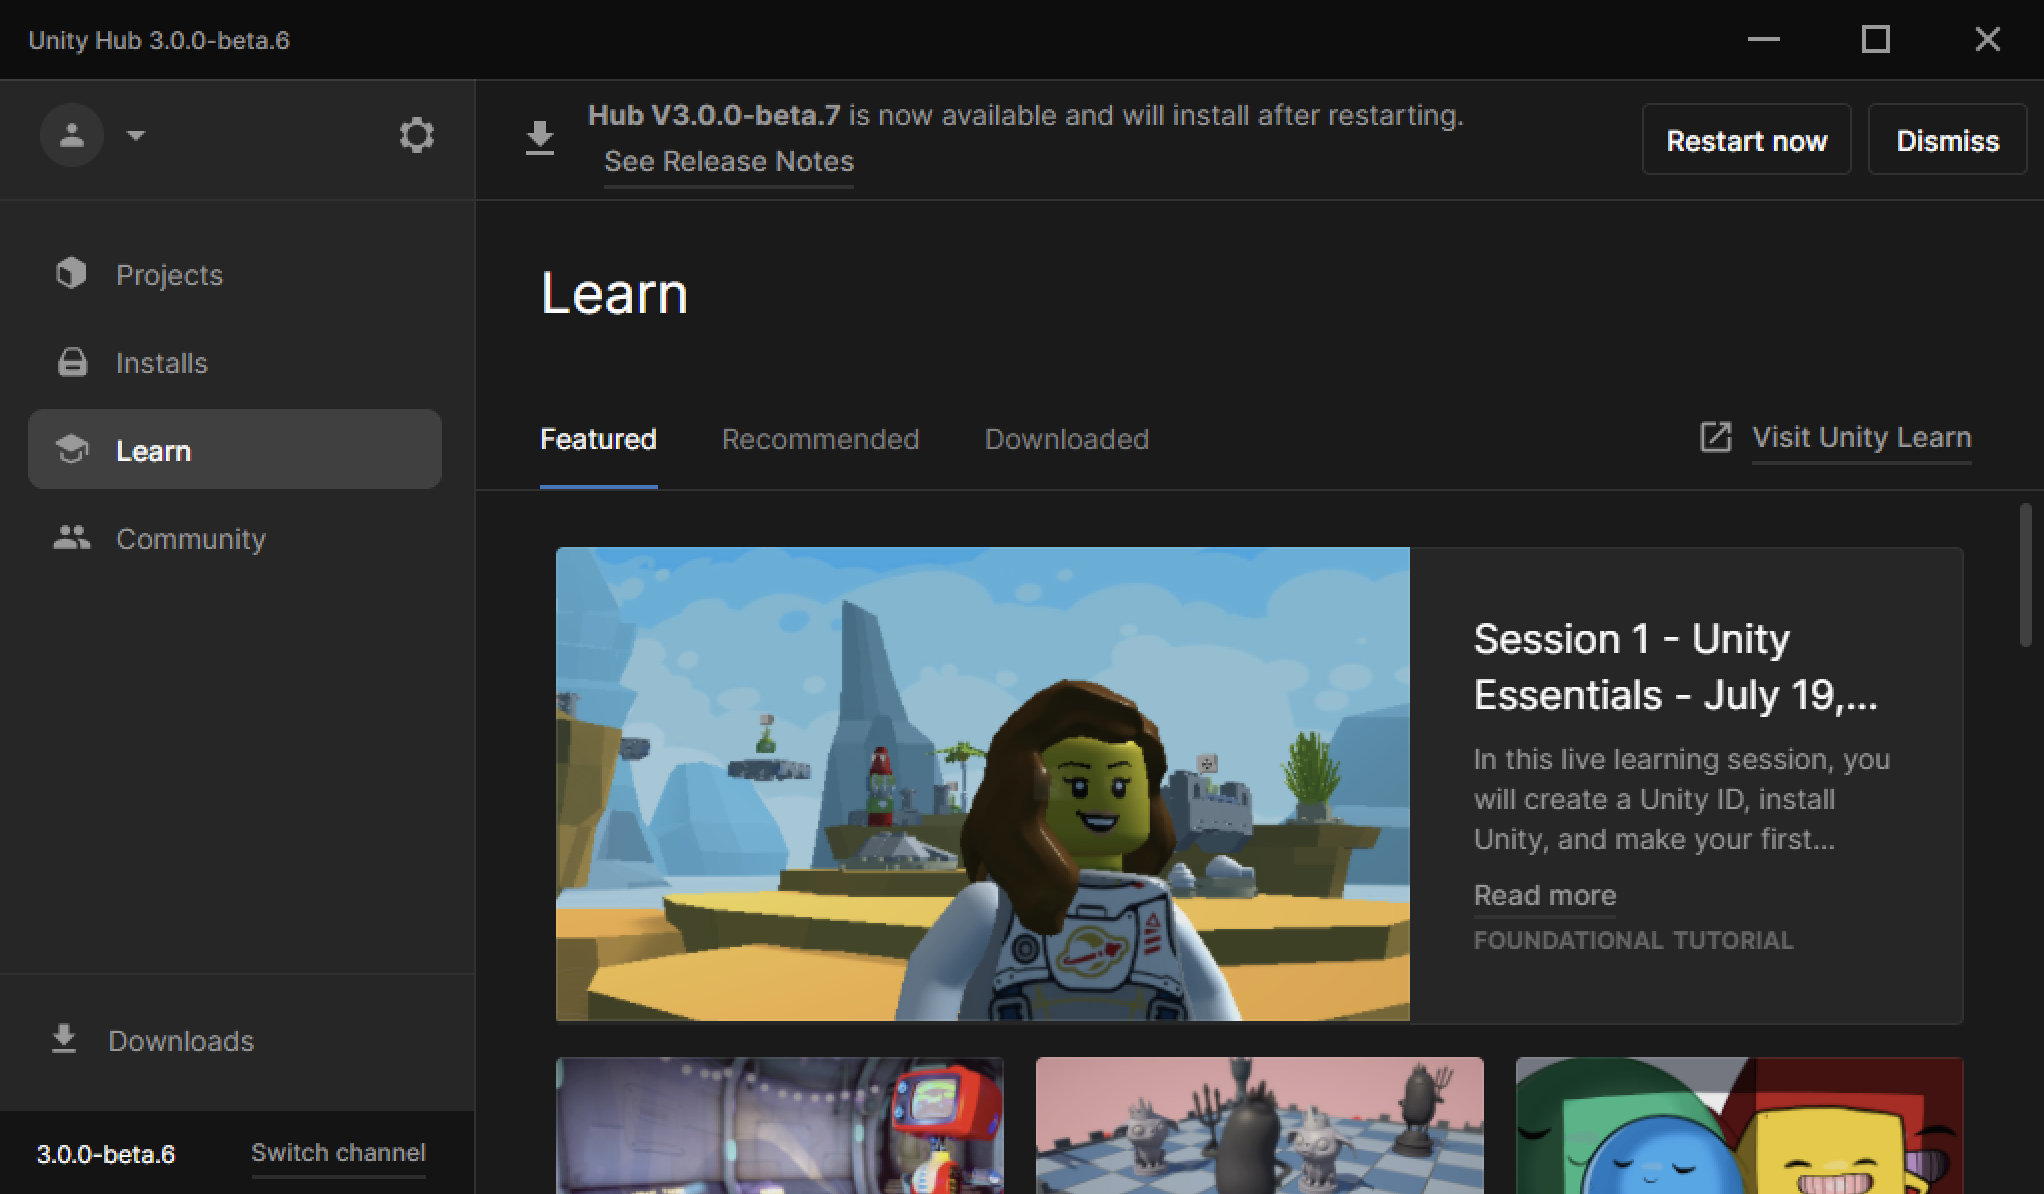
From there you can select a game and click the ‘Download project’ button.
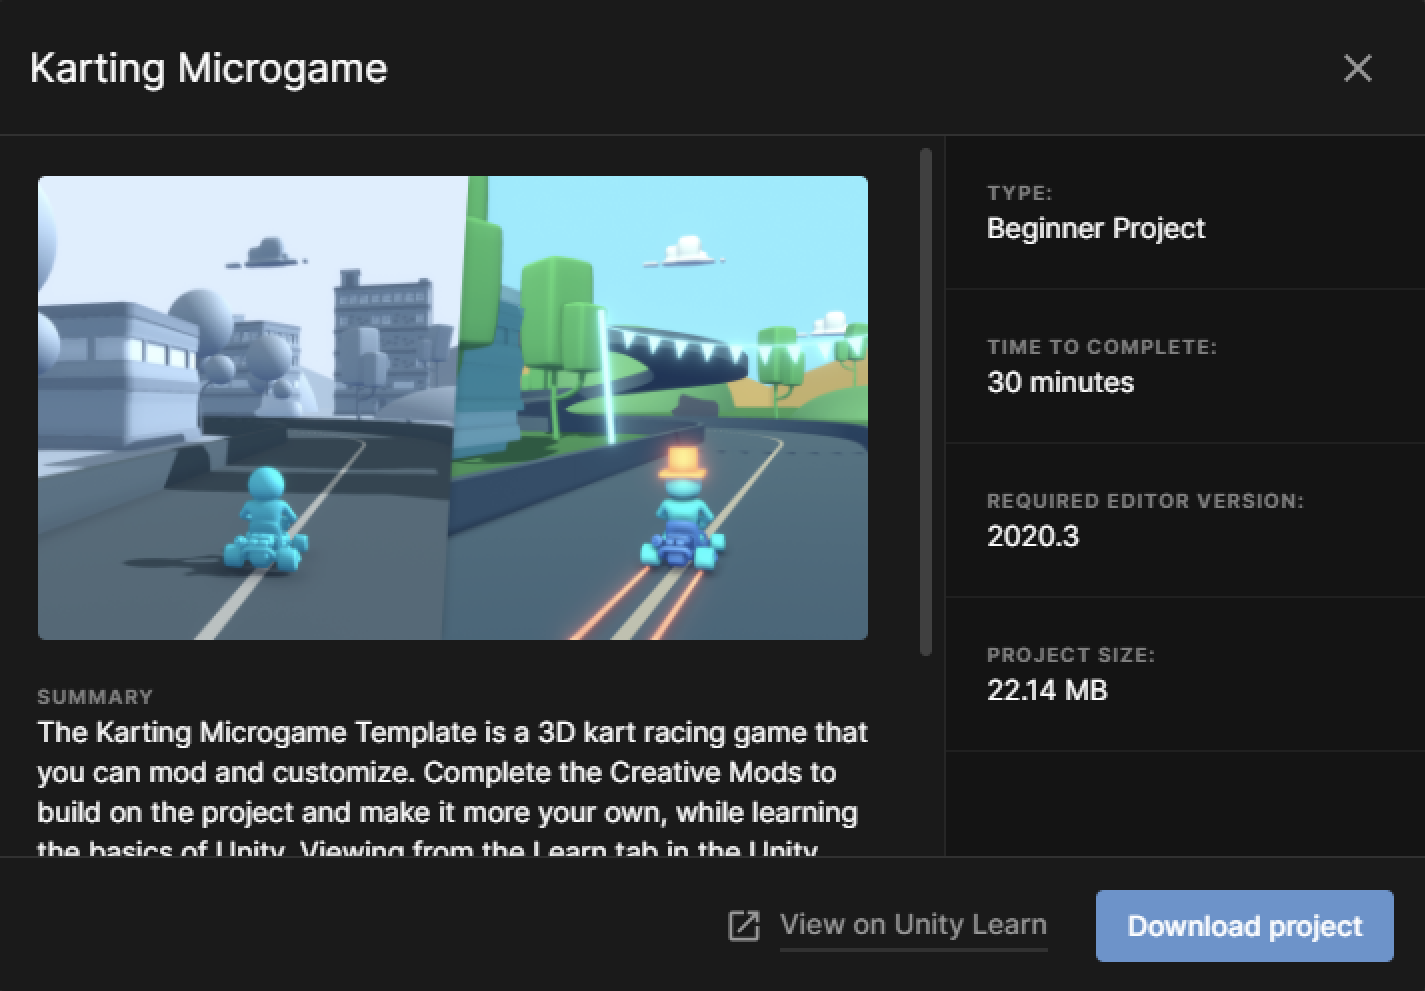
Once the project has downloaded, press the ‘Open’ button. This may take 5–10 minutes depending on the size of the project.
When you’ve come to a point where you’d like to stop and save your work, go to the toolbar and click ‘File’ > ‘Save’.
Once you’ve saved your work, click the ‘X’ button in the upper-right corner to close the EdLab Editor. You will see the following prompt:Click ‘Keep’, give your project a memorable name, and save it in your ‘My Projects’ folder.
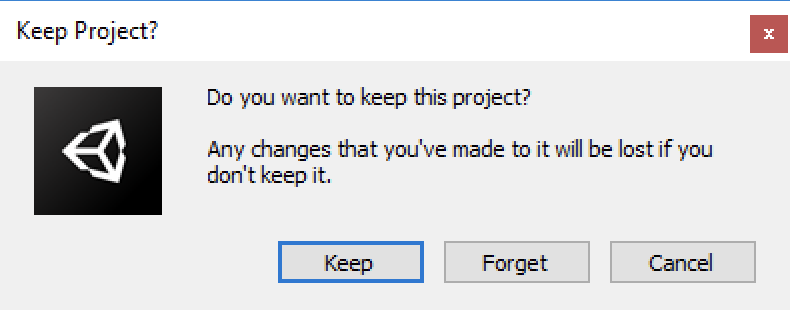
Click ‘Keep,’ give your project a memorable name, and save it in your ‘My Projects’ folder.