Ch 12 - Navigation & Pathfinding - Option A [TEST]
Tutorial
·
Beginner
·
+0XP
·
60 mins
·
Unity Technologies
![Ch 12 - Navigation & Pathfinding - Option A [TEST]](/_next/image?url=https%3A%2F%2Fconnect-mediagw.unity.com%2Fh1%2F20230411%2Flearn%2Fimages%2F6fe32585-421a-405c-aff2-bbc1a0fd4b66_navigation_A.png&w=3840&q=75)
In this tutorial, you'll learn about Navigation and Pathfinding
Languages available:
1. Overview
In this chapter, you will learn about Navigation and Pathfinding.
AI navigation and pathfinding are important for game design because they enable non-player characters (NPCs) to move around the game world in a realistic and believable manner. This can greatly enhance the player's immersion in the game and make the world feel more alive. Additionally, well-designed AI navigation and pathfinding can also make gameplay more challenging and engaging, as players may need to navigate complex environments or outsmart intelligent NPCs.

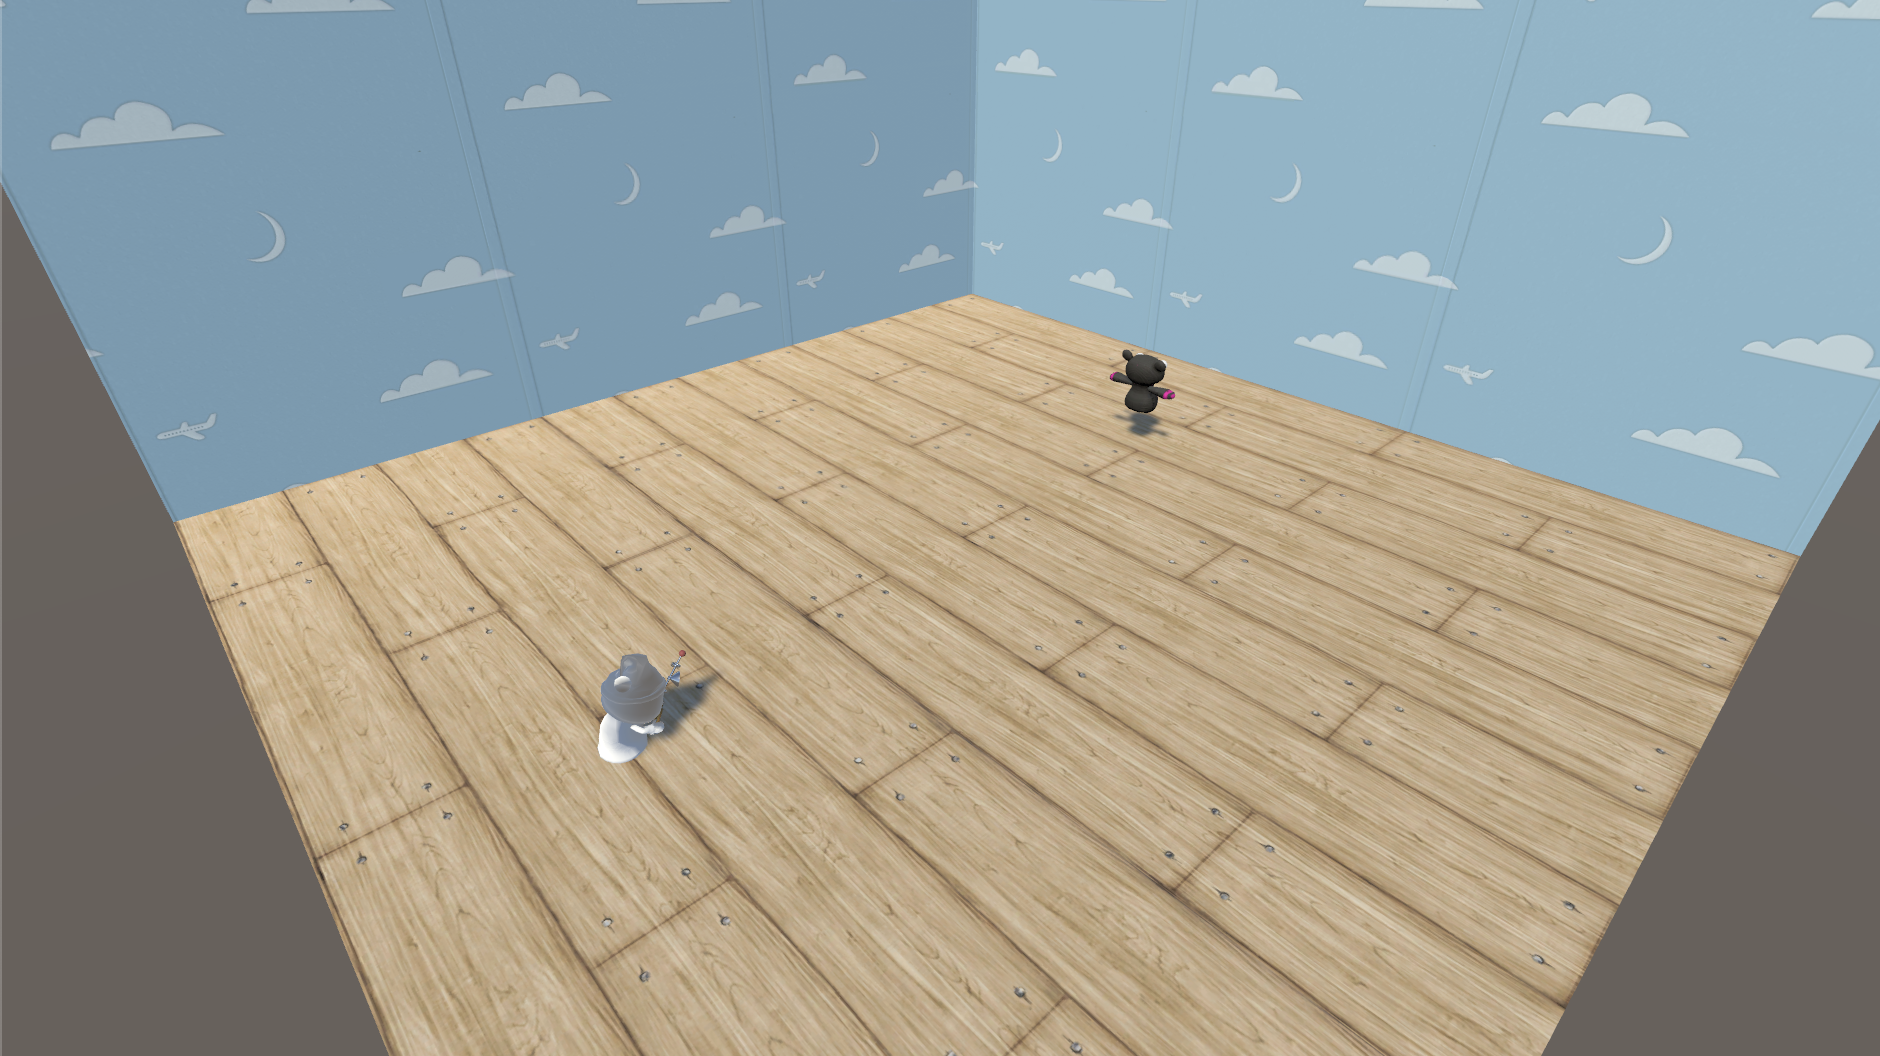
By the end of this chapter, you will build a scene that looks similar to the one below, where an enemy follows the player around the room, but avoids static and moving obstacles.
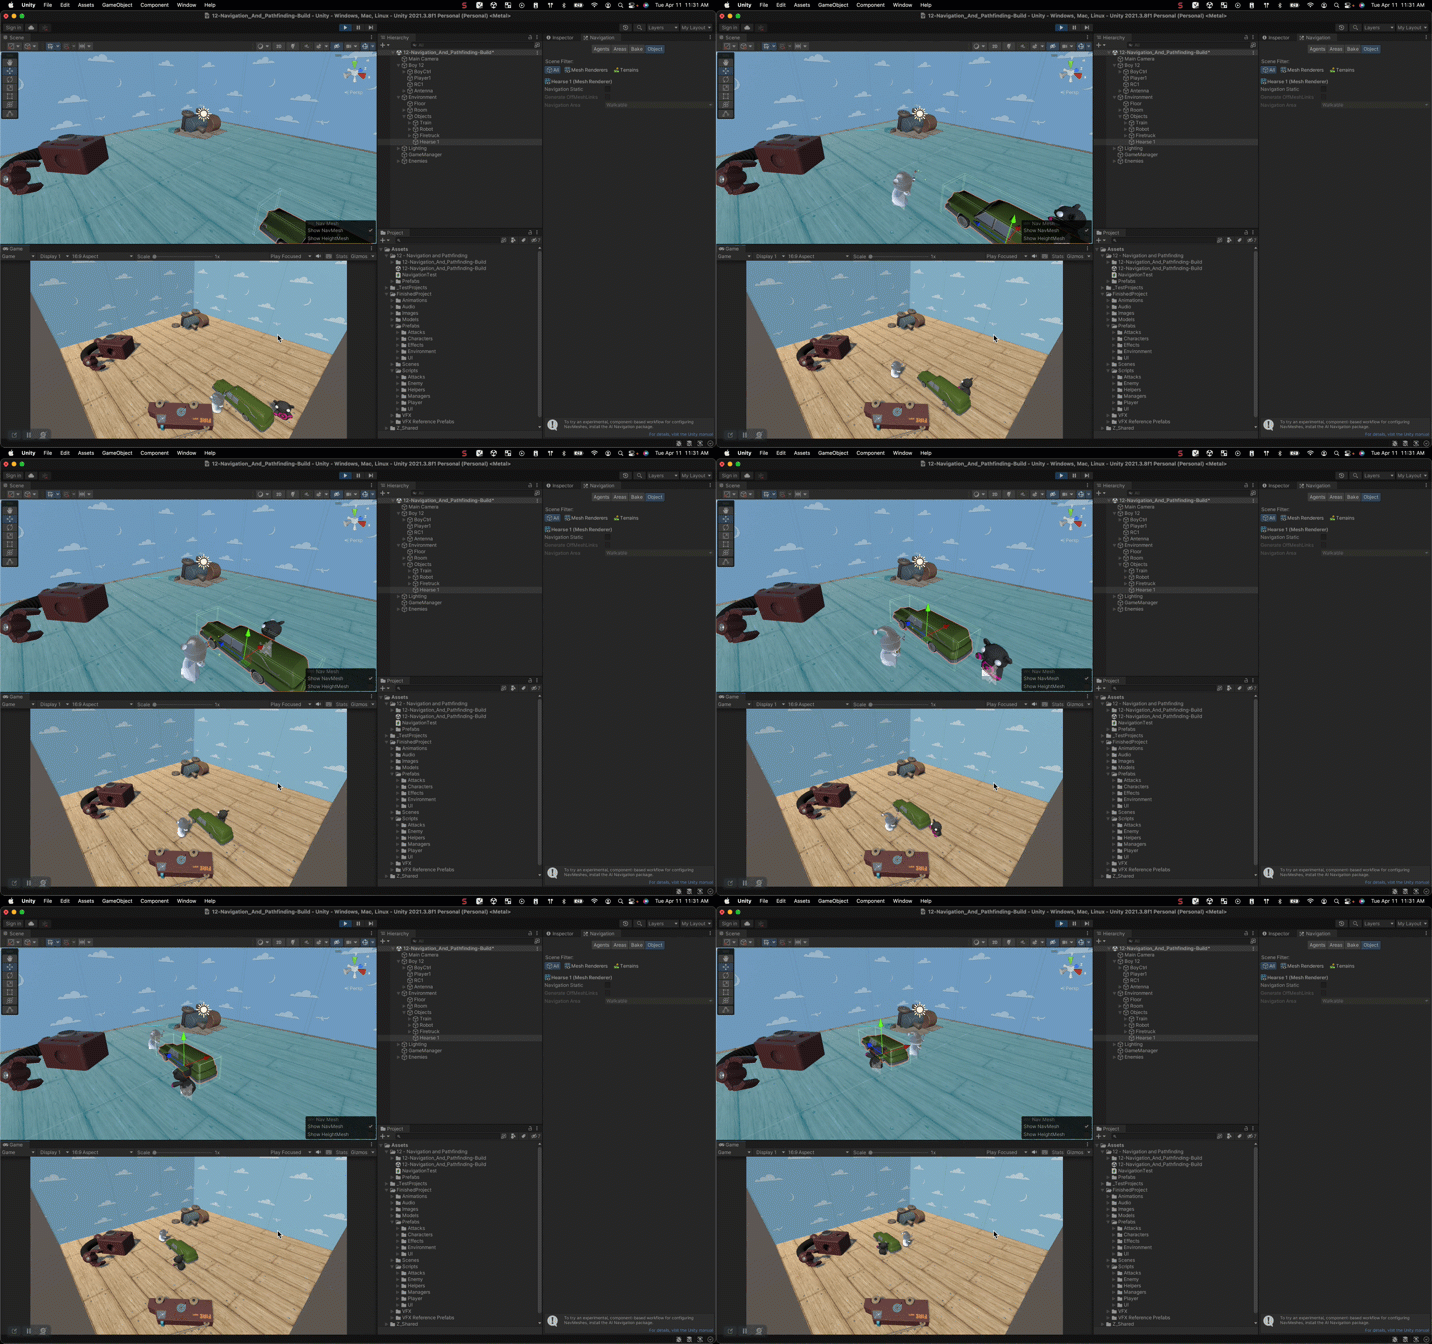
NOTE - gif will be replaced by silent video - just for demo purposes
2. Before you begin
1. Open the Associate Game Dev project:
- Make sure to have the Associate Game Dev Unity project open and ready to go
2. Open the Build scene for this chapter:
- In the Project window, go to 12 - Navigation and Pathfinding > Scenes, then open the 12-Navigation_And_Pathfinding-Build scene.
3. Describing a NavMesh
Watch the video
Now you try
1. Open the scene:
- If you don't already have it open, in the Project window, go to 12 - Navigation and Pathfinding > Scenes, then open the 12-Navigation_And_Pathfinding-Build scene.
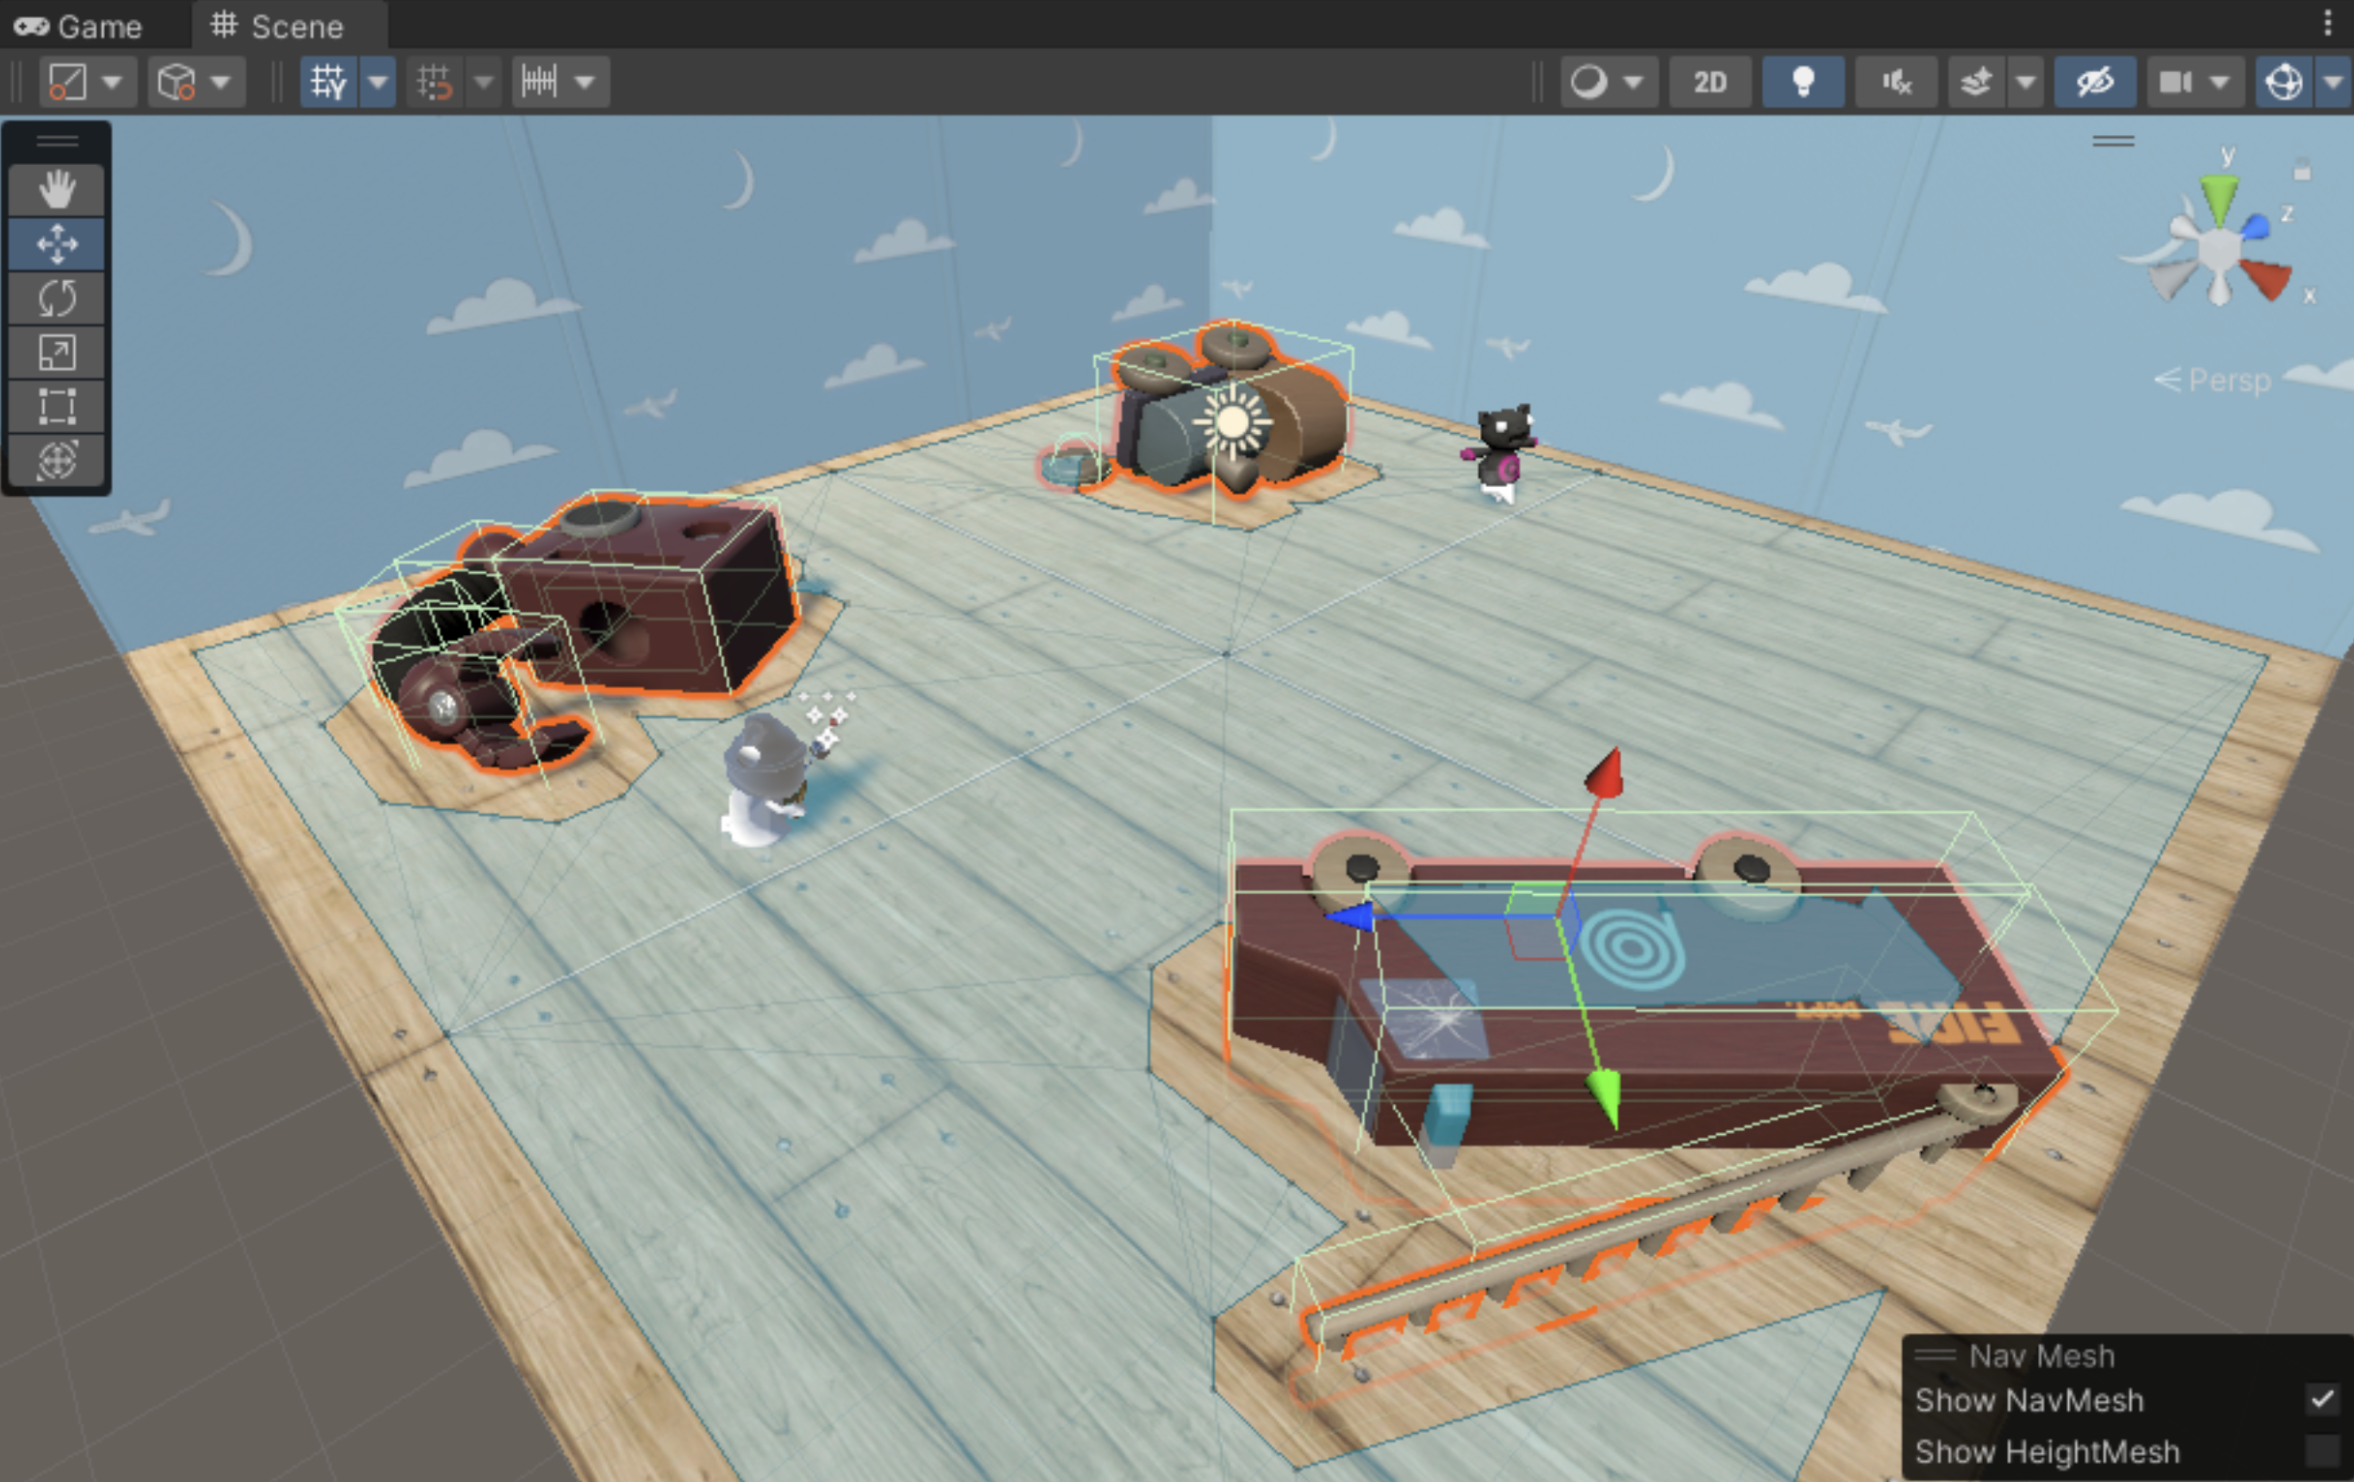
2. Mark all objects you want included in the mesh as static.
- In the Hierarchy, select the floor object as well as any object you want included in the nav mesh.
- In the Inspector, use the Static dropdown to set them as Navigation Static. This means they will be incorporated as static objects in the NavMesh.

3. Open the Navigation window:
- From the main menu, select Window > AI > Navigation.
4. Bake the NavMesh:
- Configure your desired settings and select Bake.
Reference the documentation:
If you need help or want to learn more about this step, you can reference the following documentation:
4. Defining a NavMesh Agent
Watch the video
Now you try
1. Add a NavMesh component to the enemy.
Select the Zombear and then add a new Nav Mesh Agent component.
2. Create and assign the new navigation script
Create a new script inside the 12 - Navigation and Pathfinding folder called “NavigationTest”, assign it to the Zombear, then copy and paste the code below into it.
3. Assign the player as the target
After saving the script, assign the Player to the Target property.

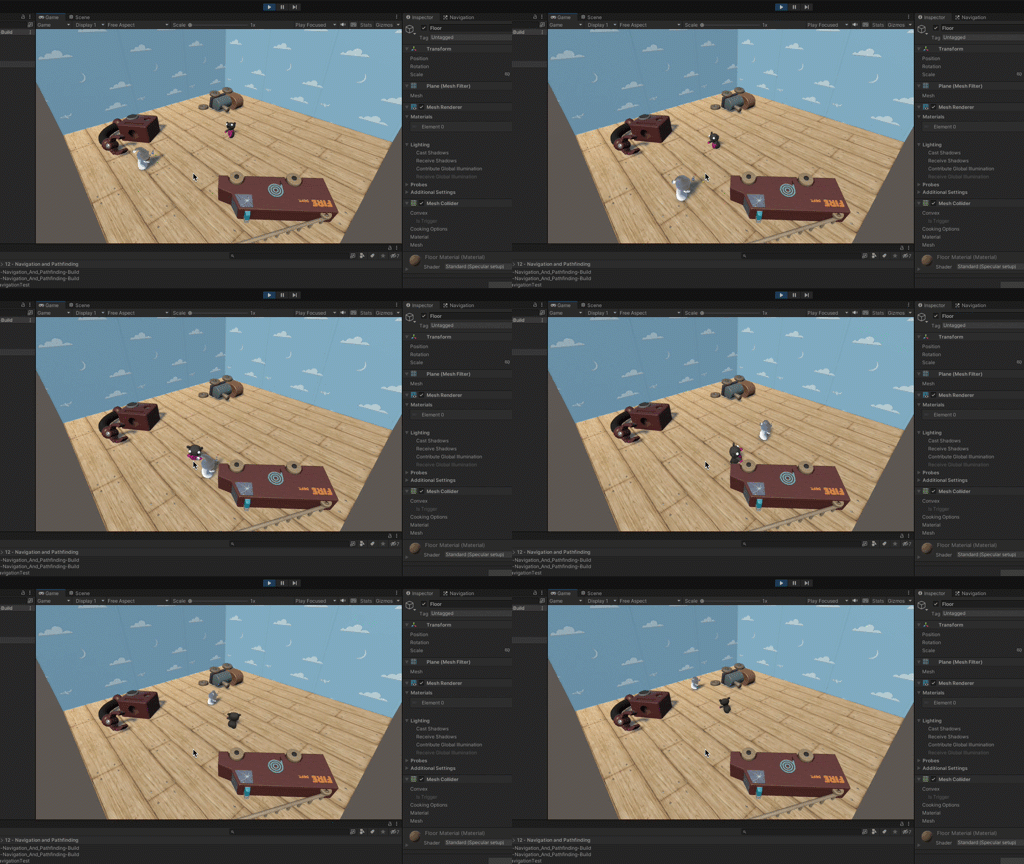
4. Test the game
When you have completed the steps above, the game should look like the video below.
NOTE - gif will be replaced by silent video - just for demo purposes
Reference the documentation:
If you need help or want to learn more about this step, you can reference the following documentation:
5. Describing a NavMesh Obstacle
Watch the video
Now you try
1. Add a moving obstacle to the scene
- From the Project window, go to the 12 - Navigation and Pathfinding folder and drag in a moving obstacle in the scene.
2. Make it a Nav Mesh Obstacle
- Since it is a moving obstacle, it cannot be marked static and baked into the NavMesh
- Add a Nav Mesh Agent component to the object
- Enable the Carve property so that it carves out holes in the nav mesh as it moves.

3. Test the game
When you have completed the steps above, the game should look like the video below.
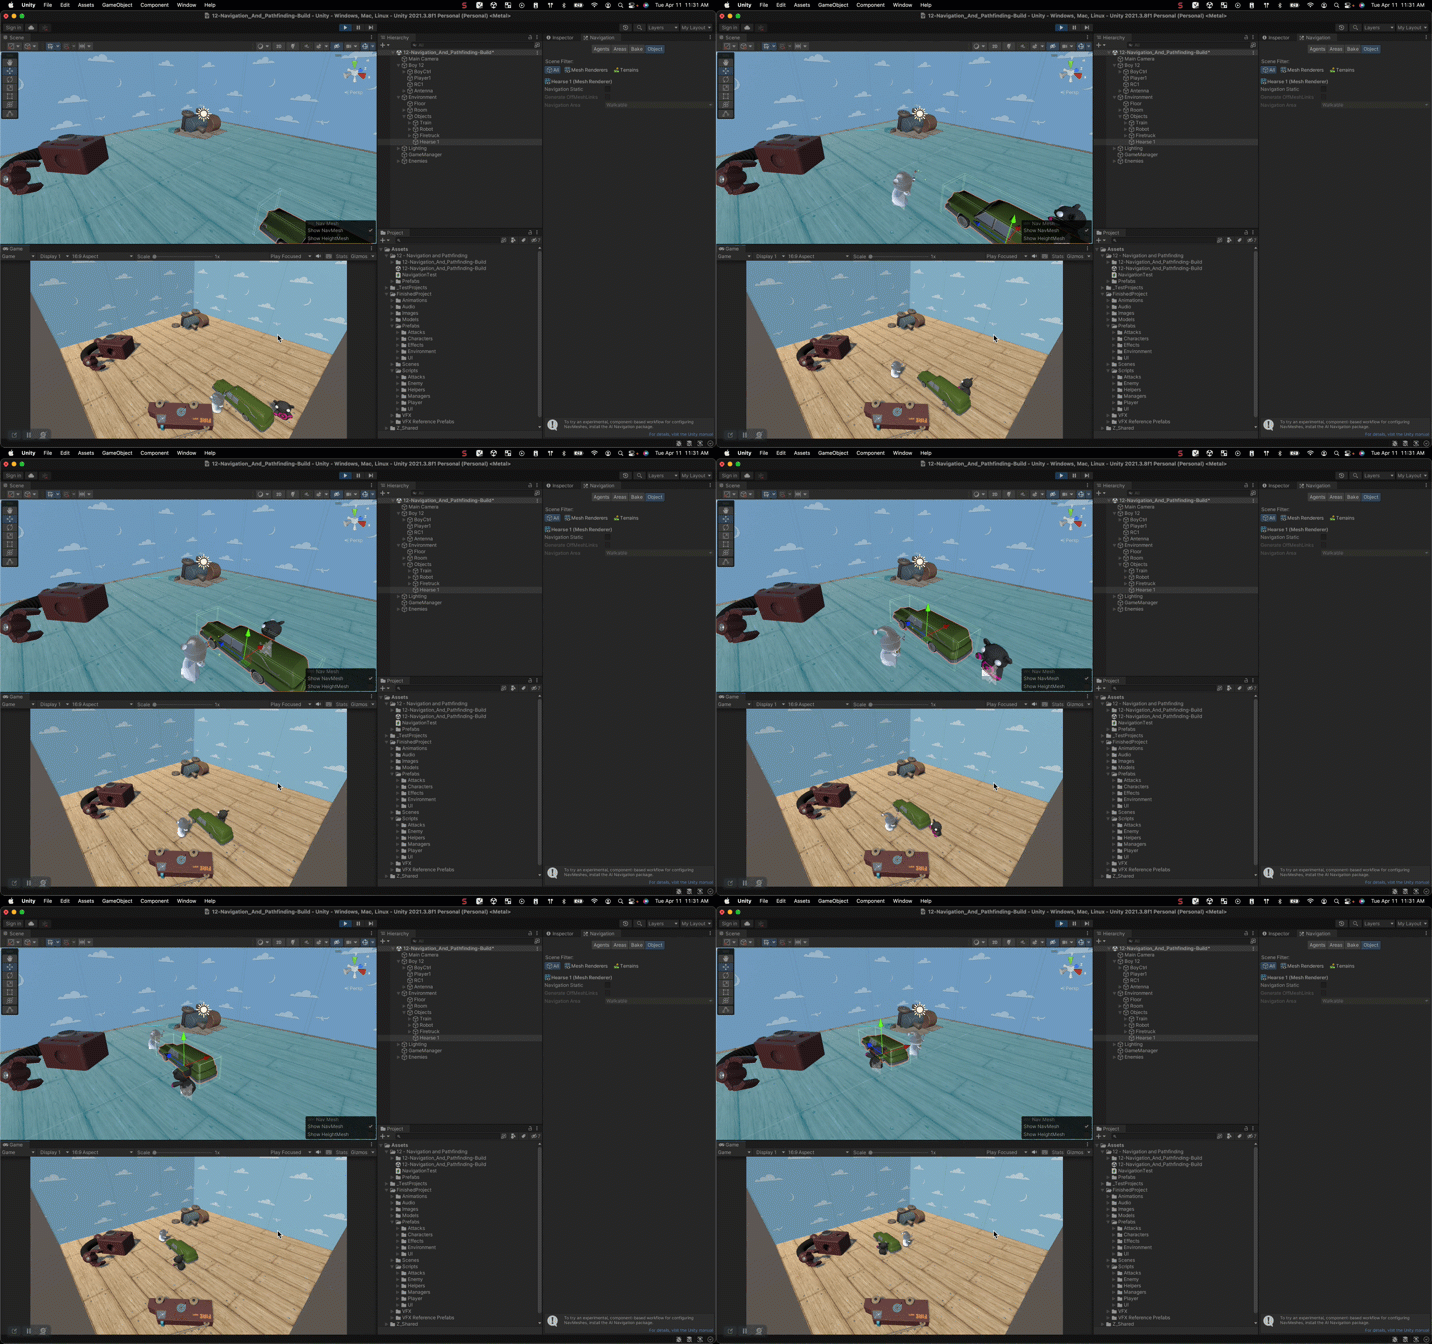
NOTE - gif will be replaced by silent video - just for demo purposes
Reference the documentation:
If you need help or want to learn more about this step, you can reference the following documentation:
6. Review
Watch the video
Review what you learned
In this chapter, you learned the following:
- Learning objective 1
- Learning objective 2
7. More things to try
If you want to further develop your skills, explore new concepts, or improve your project, check out some of the optional activities below. Each one is tagged as either Easy, Medium, or Difficult, so you can choose the level of challenge.
These activities are entirely optional, so if you’re not interested, no problem — just skip this step. We do recommend attempting at least one of them in order to get the most out of this learning experience. Good luck!
Easy: Create an obstacle the enemy can jump up on
Use the Nav Mesh Step Height property to allow enemies to jump up on top of obstacles.

Medium: Create a ramp the enemy can go up
Use the Max Slope property to allow enemies to walk up some ramps, but not others.
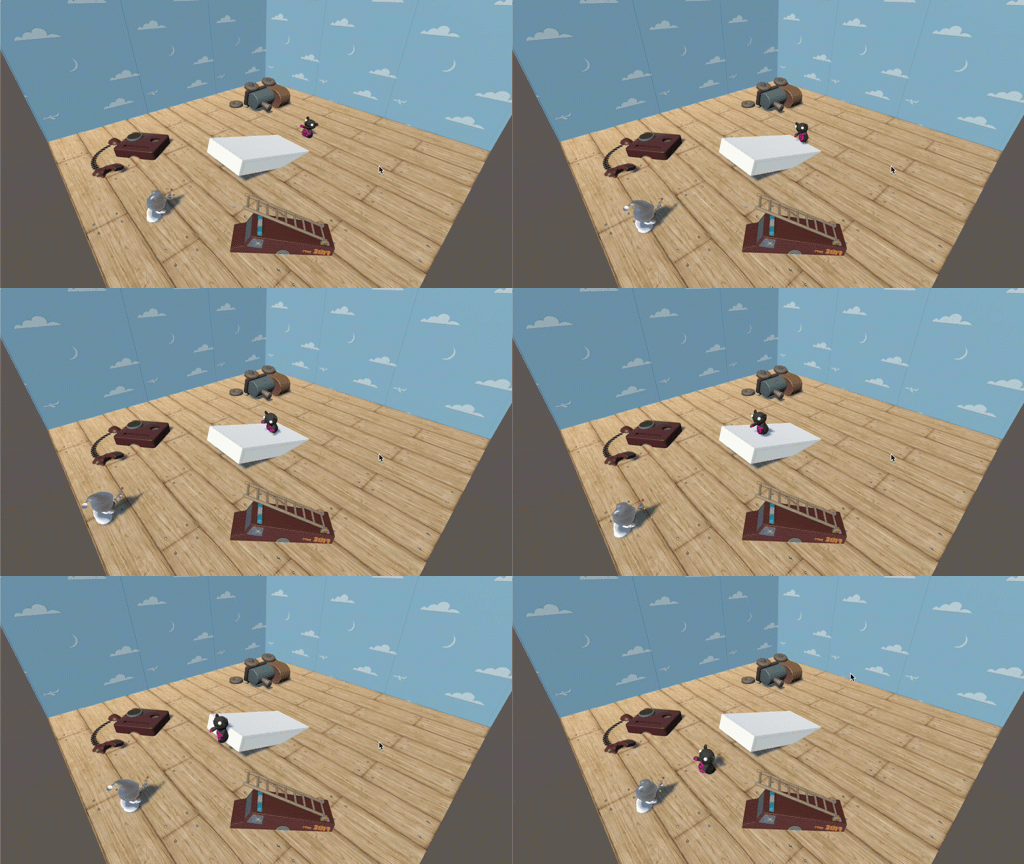
Difficult: Create an off-mesh link
This will allow your enemy to jump between nav meshes.
