
Configure projectiles to affect the enemy
Tutorial
Beginner
+0XP
25 mins
(554)
Unity Technologies
In this tutorial, you’ll add functionality so your projectiles either neutralize or destroy the enemy. You’ll also adjust the projectile configuration to optimize game performance.
By the end of this tutorial, you’ll be able to do the following:
- Destroy the enemy on projectile impact.
- Change the enemy state on projectile impact, stopping all broken behavior.
1. Overview
You’ve set up projectiles that the player can throw, but they currently don’t actually do anything. In this tutorial, you’ll add functionality so your projectiles fix the enemy. You’re going to configure some of the visual and audio effects based on the enemy’s broken and fixed states later in this course. You’ll also adjust the projectile configuration to optimize game performance.
By the end of this tutorial, you’ll be able to do the following:
- Destroy the enemy on projectile impact.
- Change the enemy state on projectile impact, stopping all broken behavior.
Working on your own project?
This tutorial is part of Beginner 2D: Adventure Game and refers to the game project for that course, but this information may be helpful for any beginner creator who wants to implement projectile attacks in their own game.
Note: For the purposes of this tutorial, we chose to use the Ruby’s Adventure asset set, and the file paths used in instructions will reflect this. If you chose another asset set, the file names will be the same, but in your corresponding theme folder.
2. Add functionality to attack enemies
You’ve fixed the projectile errors, but there’s an important thing still missing: the projectile doesn’t do anything but disappear on collision. But the player character’s goal in the game is not just to evade the enemy characters, it’s to fix them — now it’s time to add that functionality.
Follow these instructions to update the projectile functionality:
1. Open the EnemyController script in your IDE.
2. At the top of the EnemyController class, declare a new bool variable:
bool broken = true;The enemies start off broken and need to be fixed by the player — this variable stores that state and sets the enemy to initialize in the broken state.
3. At the start of the FixedUpdate function, add the following test to check whether the enemy is broken or not:
   if(!broken)
      {
           return;
      }
Here’s an explanation of this code:
- You’ve used if statements to perform checks before — here the check is whether the broken bool is not (!) true.
- If broken is not true (the enemy is fixed), Unity exits the function. If the enemy is still broken, the rest of the code in the function will execute.
4. At the bottom of the script, add a new public function called Fix:
public void Fix()
   {
       broken = false;
       rigidbody2d.simulated = false;
   }
Here’s an explanation of this code:
- This function is public so you can call it from the Projectile script.
- The first instruction sets the broken bool variable to false.
- The second instruction sets the simulated property of the Enemy GameObject’s Rigidbody component to false, which removes the Enemy GameObject from the physics system’s simulations for collisions. This change means that projectiles will no longer collide with enemies or be able to damage the enemy character.
5. Save your changes, then open the Projectile script.
6. In the OnTriggerEnter2D function, remove the instruction printing to the Console window.
7. Add a new instruction at the top of the function:
EnemyController enemy = other.GetComponent<EnemyController>();This instruction stores a reference to the Enemy Controller (Script) component on the GameObject that collides with the projectile in a variable called enemy, if it has one.
8. Before the first instruction (and above the final instruction destroying the Projectile GameObject), add the following conditional code to fix a broken enemy:
    if (enemy != null)
           {
               enemy.Fix();
           }
If enemy is not null (that is, if the OnTriggerEnter2D function has an EnemyController script reference), the Fix function in the Enemy Controller script is called.
9. Add add a new OnCollisionEnter2D function with the following instruction:
void OnCollisionEnter2D(Collision2D other)
  {
     Destroy(gameObject);
}- Since the previous function only handles collisions with triggers, you need to create a new one to handle collisions with standard colliders, like those used for objects, obstacles, and similar elements. This way, the projectile will be properly destroyed on impact.
10. Save your changes and test the game in Unity.
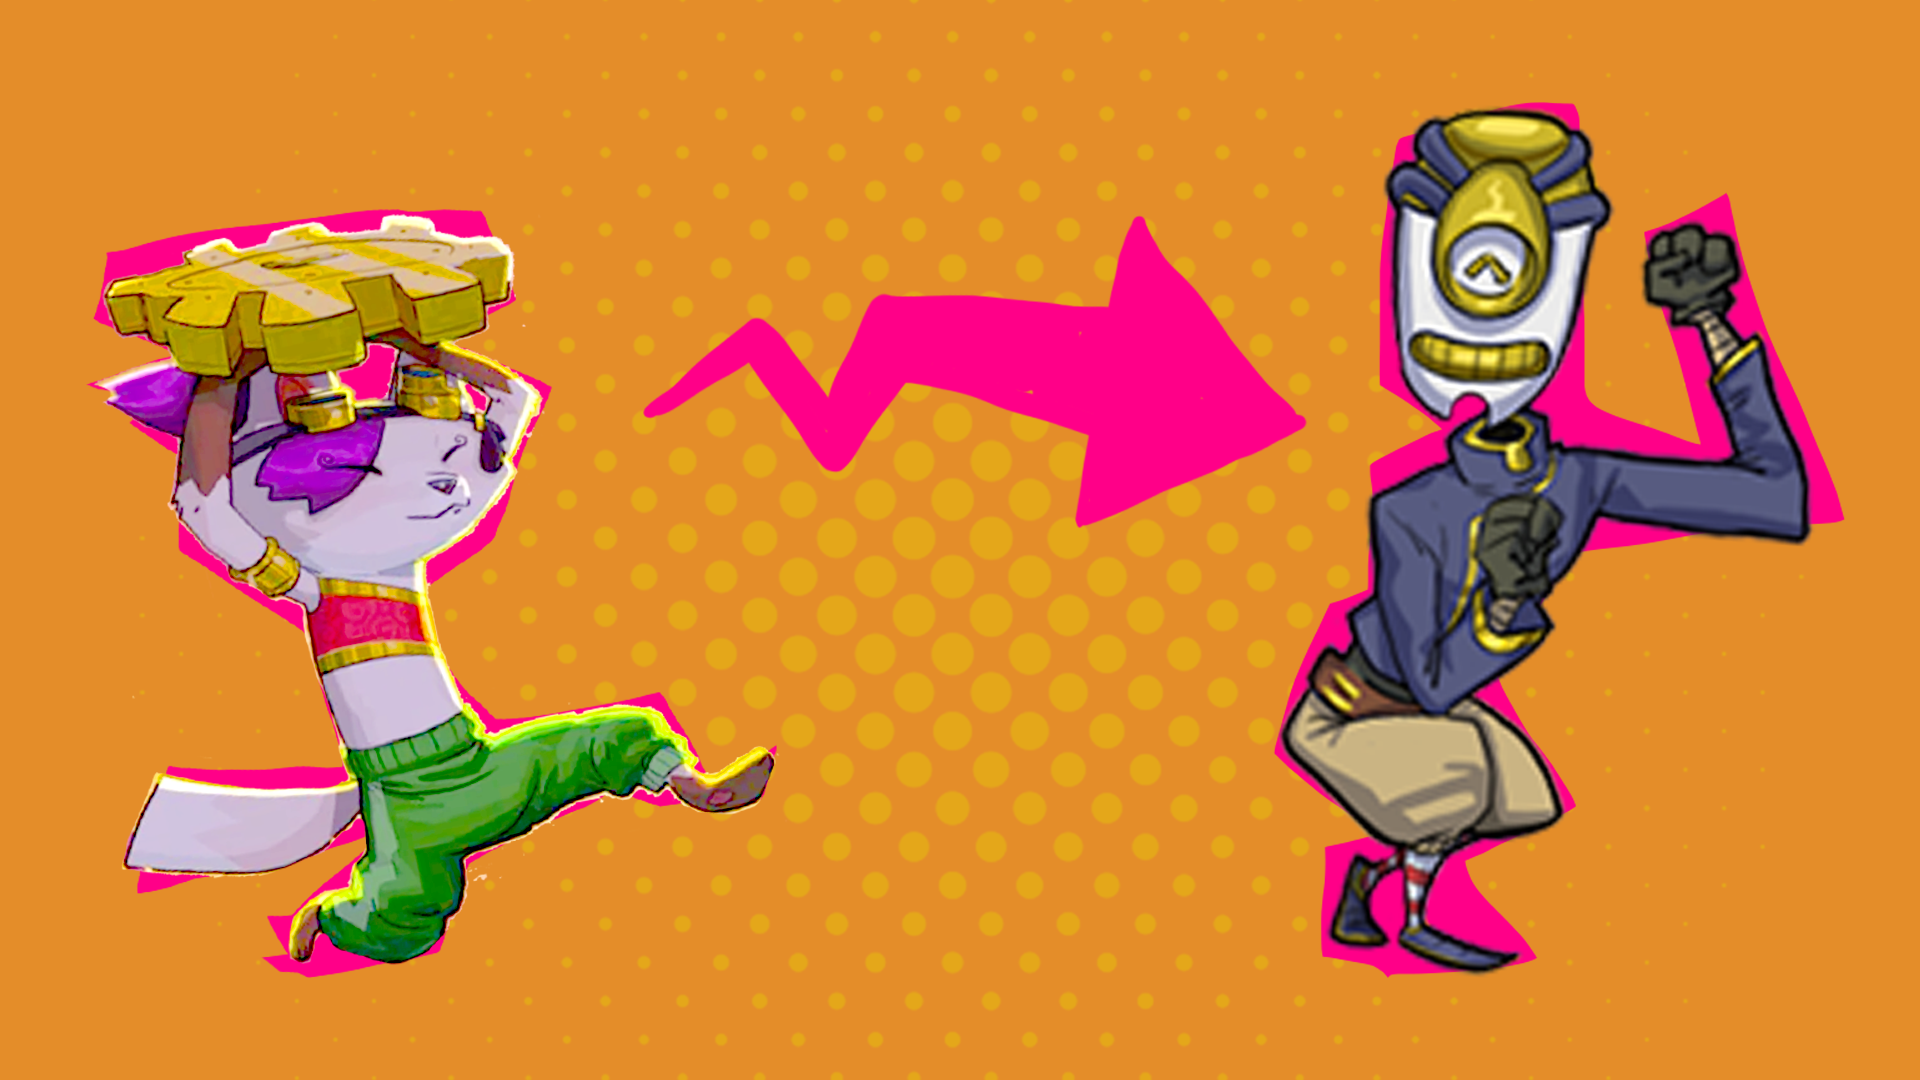
The player can now use the projectiles to fix enemies! Fixed enemies will stop moving and won’t deal damage to the player.
3. Optimize the projectiles in your game
You’ve finished the projectile functionality, but there’s one more projectile issue for you to address. Right now, if the player character launches a projectile and it doesn’t hit anything, that projectile will continue moving offscreen for as long as the game runs. As you enhance this game (or create new, more complex games) this could cause performance issues — for example, 500 projectiles moving out of the player’s view could have a significant impact!
You can address this issue by checking the projectile’s distance from the center of the game world and destroying the GameObject when it is far enough away that the player character will never reach it.
To make this check, follow these instruction:
1. Open the Projectile script in your IDE.
2. Create a new Update function, below the Awake function:
  void Update()
   {

   }
3. Add the following conditional statement and code to the Update function:
if(transform.position.magnitude > 100.0f)
       {
           Destroy(gameObject);
       }
Here’s an explanation of this code:
- You can consider position to be a vector from the center of the game world to the location of the Projectile GameObject. Magnitude is the length of that vector, so the magnitude of the position is the distance to the center of the game world.
- If the distance is greater than 100, the Projectile GameObject is destroyed.
4. Save your changes.
4. More things to try
If you want to further develop your skills, explore new concepts, or improve your project, check out some of the optional activities below. Each one is tagged as either Easy, Medium, or Difficult, so you can choose the level of challenge.
These activities are entirely optional, so if you’re not interested, no problem — just skip this step. We do recommend attempting at least one of them in order to get the most out of this learning experience. Good luck!
Easy: Destroy the enemies
We’ve guided you through fixing enemies because of the particular way that the example game for this course is designed, but you’ll more commonly find that the enemies are destroyed when you defeat them in a game. If you want, you can revert your game to this functionality instead.
Medium: Create an animation for fixed enemies
If you want to add an additional animation for fixed enemies, follow these high-level instructions:
1. Create a new animation clip for the enemy using the following sprites:
- EnemyFixed1
- EnemyFixed2
- EnemyFixed3
- EnemyFixed4
Name the new animation clip “EnemyFixed".
2. Select the Enemy GameObject and view its Animator Controller in the Animator window. Your new animation clip will be visible in the graph layout area.
3. Right-click the Blend Tree node, select Make Transition, and then select the EnemyFixed node. The connection between the nodes will have an arrow showing the direction of the transition.
4. In the Layers & Parameters panel, select the Parameters tab, add a new Trigger parameter, and name it “Fixed”.
5. Select the transition between the Blend Tree node and the EnemyFixed node, then go to the Conditions list in the Inspector window. Select Add (+) and set the new Fixed parameter as the condition.
6. Select the transition between the Blend Tree node and the EnemyFixed node and disable HasExitTime.
The enemy will now be in its fixed state until the end of the game.
7. Save your changes and open the EnemyController script in your IDE.
8. Go to the Fix function and add the following instruction:
animator.SetTrigger("Fixed");9. Save your script changes and return to the Unity Editor.
10. Test your changes — when you fix the enemy, the new animation will play until you exit Play mode.
Hard: Alternative optimization approaches
There are other ways that you can address the optimization issue for projectiles, depending on the specification and requirements of your game. For example, you can also take one of the following approaches:
- Get the distance between the player character and the projectile by using the function Vector3.Distance(a,b) to compute the distance between position a and position b.
- Add a timer to the Projectile script, decrement (reduce) that timer in the Update function, and then destroy the projectile when the timer reaches zero.
5. Check your scripts
If you’re completing the 2D Beginner course, take a moment to check that your scripts are correct before continuing.
EnemyController.cs
Note: This script includes the instruction to implement the optional fixed animation in the Fix function, but does not contain code for any additional extension work.
using System.Collections;
using System.Collections.Generic;
using UnityEngine;

public class EnemyController : MonoBehaviour
{
   // Public variables
   public float speed;
   public bool vertical;
   public float changeTime = 3.0f;

   // Private variables
   Rigidbody2D rigidbody2d;
   Animator animator;
   float timer;
   int direction = 1;
   bool broken = true;


   // Start is called before the first frame update
   void Start()
   {
       rigidbody2d = GetComponent<Rigidbody2D>();
       animator = GetComponent<Animator>();
       timer = changeTime;

   }


 // Update is called every frame
  void Update()
  {
        timer -= Time.deltaTime;


        if (timer < 0)
        {
            direction = -direction;
            timer = changeTime;
        }
  }


  // FixedUpdate has the same call rate as the physics system
  void FixedUpdate()
  {
      if(!broken)
      {
           return;
      }

       Vector2 position = rigidbody2d.position;

       if (vertical)
       {
           position.y = position.y + speed * direction * Time.deltaTime;
           animator.SetFloat("Move X", 0);
           animator.SetFloat("Move Y", direction);
       }
       else
       {
           position.x = position.x + speed * direction * Time.deltaTime;
           animator.SetFloat("Move X", direction);
           animator.SetFloat("Move Y", 0);
       }


       rigidbody2d.MovePosition(position);
  }


   void OnTriggerEnter2D(Collider2D other)
   {
       PlayerController player = other.gameObject.GetComponent<PlayerController>();


       if (player != null)
       {
           player.ChangeHealth(-1);
       }
   }


 void OnCollisionEnter2D(Collision2D collision)
    {
        Destroy(gameObject);
    }


   public void Fix()
   {
       broken = false;
       GetComponent<Rigidbody2D>().simulated = false;
       animator.SetTrigger("Fixed");
   }


}
Projectile.cs
using System.Collections;
using System.Collections.Generic;
using UnityEngine;

public class Projectile : MonoBehaviour
{
   Rigidbody2D rigidbody2d;


   // Awake is called when the Projectile GameObject is instantiated
   void Awake()
   {
       rigidbody2d = GetComponent<Rigidbody2D>();
   }

   void Update()
   {
       if(transform.position.magnitude > 100.0f)
       {
           Destroy(gameObject);
       }
   }


   public void Launch(Vector2 direction, float force)
  {
       rigidbody2d.AddForce(direction * force);
  }


   void OnTriggerEnter2D(Collider2D other)
  {
       EnemyController enemy = other.GetComponent<EnemyController>();
       if (enemy != null)
           {
               enemy.Fix();
           }


       Destroy(gameObject);
  }

}6. Next steps
You’ve now got a functioning projectile that will fix enemies. However, some players may need a little guidance to help them know what they need to do — next you’ll finish this unit by creating a friendly NPC to give them an instruction.