
Build and publish to web
Exercise
Beginner
+60XP
20m
Unity Technologies
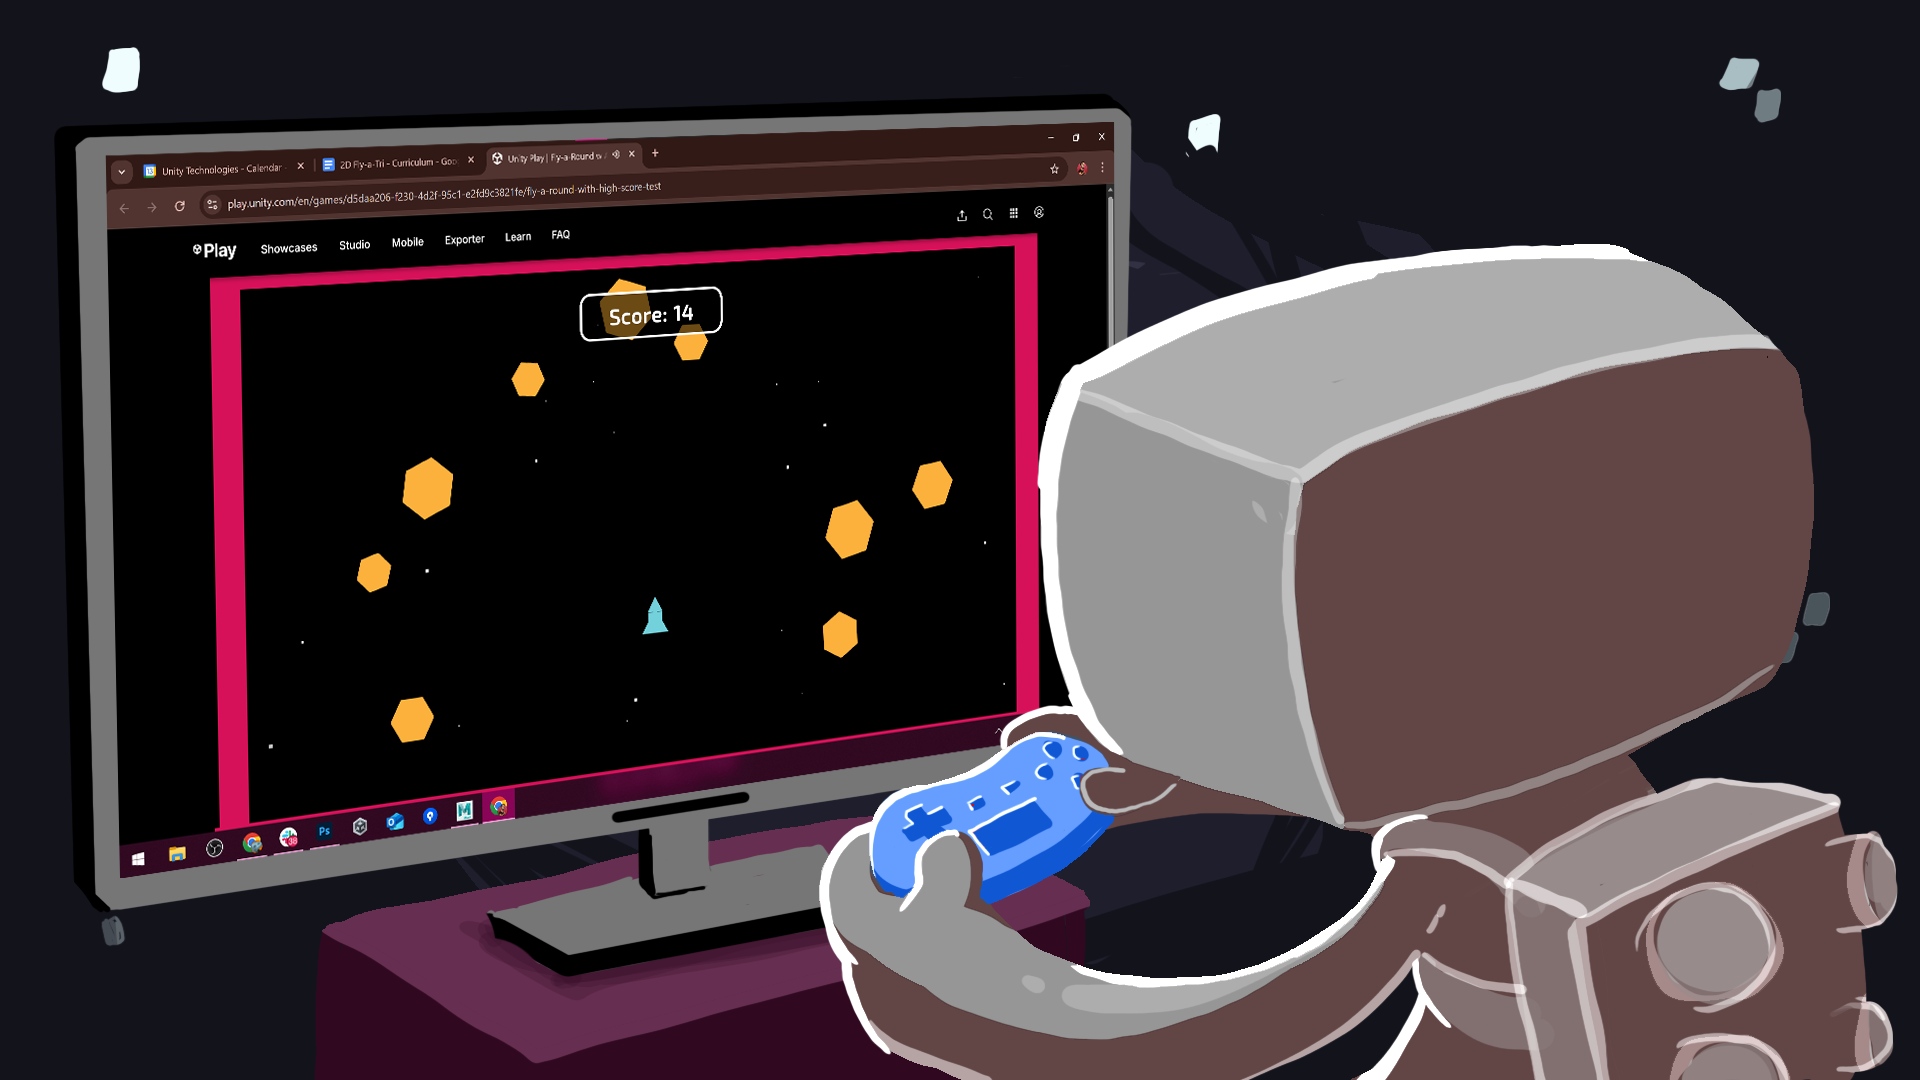
Publish your game to Unity Play.
1. Overview
Publishing a Unity project lets you share your game on different platforms, like mobile and web.
In this tutorial, you'll build your project for the Web platform so that anyone with the link can instantly and easily play your game. You’ll then publish your game to Unity Play, Unity’s free web hosting platform.
2. Configure the scenes in the build
A build packages your Unity project into a playable version that can run on a specific platform. To ensure that all necessary content is included, you must select the scenes that should be part of the final build. In this step, you'll add your Game scene to the Build Profile so Unity knows to include it when creating the final playable version.
1. Open the Build Profiles window:
- From the main menu, select File > Build Profiles.
- Alternatively, press Ctrl+Shift+B (macOS: Cmd+Shift+B).
2. Configure the scene list:
- In the Build Profiles window, under the Platforms section, select Scene List.
- If there are any scenes already present in the Scene List section, select them and press the Delete key to remove them from the list.
- With the Game scene open, select Add Open Scenes and your scene will now be listed in the Scene List.
Your Game scene is now properly added to the build, ensuring it’s included when you generate a playable version.
3. Switch to the Web platform
Unity allows you to publish a single project to many different platforms, including mobile, console, desktop, web, and more. To publish your project to the web, you first need to switch to that platform.
1. Select the Web platform:
- If the Build Profiles window is not already open, re-open it (File > Build Profiles).
- In the Platforms section, select Web.
2. Switch platforms:
- Select the Switch Platform button and wait for the process to complete.
- This process will take a few minutes.
Tip: If the Web platform appears grayed out, select Install with Unity Hub and install the WebGL Build Support module before switching platforms.
After this process is complete, your project assets and settings are configured for deployment to the Web platform.
4. Build your project
Now that you've switched platforms, you can create a build of your project. A build is a packaged, playable version of your game that you create when you want people to play it outside the Unity Editor.
1. Initiate the build:
- In the Build Profiles window, select the Build button.
This will open a file explorer asking you where you want to save your build.
Tip: To stay organized, make a new folder named “Web Builds” and open it.
- If you’re using Windows, the build takes the name of the folder.
- On macOS, you’ll need to enter a name for your build, for example "[YourGameName] build 1.0".
- Select Select Folder (macOS: Save).
2. Wait for your build to complete:
- This first time your project builds can take up to ten minutes. Subsequent builds will not take as long.
- When the process is complete, the folder containing your build will appear. Keep that folder open, as you’ll need it in the next step.
5. Publish to Unity Play
With your build complete, you're ready to publish it to Unity Play, allowing you to play your project online and easily share it with others.
1. Zip up your build folder:
- Locate the folder you just built (Windows: WebBuilds), (macOS: [YourGameName] build 1.0), then compress it into a zip folder.
- On Windows, right-click the folder and select Send to > Compressed (zipped) folder.
- On macOS, right-click and select Compress [Folder Name].
This will create a new .zip file that you can upload to Unity Play.
2. Upload your build zip file to Unity Play:
- Go to the Unity Play upload page (you’ll need to be signed in with your Unity account)
- Drag and drop your zip file onto the upload area and wait for it to process.
- Edit the Title, Description, and Visibility of your project.
- Select Save to publish your game.
Your game is now live on Unity Play, making it accessible for others to play and test!
6. Test your game
Now that your game is published, it’s time to try it out! This is your chance to see how well everything works, from controls to performance, and make any final tweaks before sharing it with others.
1. Play the game on a desktop browser:
- Play your game on Unity Play, making sure movement, actions, and UI elements work as expected.
2. Fix any issues and re-publish:
- If you spot anything you want to improve, make those changes and then re-follow the instructions above to rebuild and re-publish your game.
The Unity Play link remains the same, so you won’t need to resend to anyone you’ve shared it with after updating.
Congratulations — your game is now live!
7. Optional: More things to try
Try these optional activities to challenge yourself, build your skills, and improve your project.
Each challenge is tagged as Easy, Medium, or Expert difficulty so that you know what to expect. You can complete one, all, or none of them — it’s totally up to you. If you’re not interested in doing these challenges, mark this step as complete and proceed to the next one (step 7).
Easy: Edit the splash screen
Customizing your splash screen makes your game feel more polished and unique. You can adjust the colors, logos, and animations to suit your preferences.
- Open the Build Profiles window (File > Build Profiles) and select the Player Settings button.
- Use the foldout (triangle) to expand the Splash Image section and explore settings such as the following:
- Background Color: Adjust to match your game’s aesthetic.
- Logos: Add or remove logos, change sequence, or adjust duration.
- Animation: Modify the way the splash screen elements move.
Medium: Add a custom thumbnail or video
When publishing to Unity Play, replacing the default Unity logo with a custom thumbnail or video gives your project a more professional look.
- If you’re logged in with the same Unity account that you used to upload your game, you can select the More Options (• • •) menu and select Edit Game Details to make modifications.
- Upload a custom thumbnail or video to replace the default Unity logo.
- Capture gameplay footage using one of these methods:
- Windows: Use the Snipping Tool for screenshots or Xbox Game Bar (Win+G) for recordings.
- macOS: Press Cmd+Shift+5 to record a selected area or use QuickTime Player.
- For high-quality in-game footage, you can use the Unity Recorder package:
- Install it from the Package Manager window.
- Follow the Unity Recorder documentation.
8. Share your project [SUBMISSION STEP]
If you feel proud of the game you made and you want to share it, you can share screenshots of the game or upload a link so other learners can experience what you’ve made. You can also check out other Unity learners’ submissions below.
1. If you uploaded your game to Unity Play, locate the Unity Play link for your published project.
2. Add a submission title, description, and add your Unity Play link:
- If you have additional details to share about your process or the project that you have created, you can share them in the description.
- Add the link to your game on Unity Play so others can experience it.
- Take some screenshots or a screen recording of your project and include those so others can get a quick preview of your project.
3. Set who can view your submission:
- Public: Anyone who views this tutorial.
- Private: Just you.
4. Select Save and preview submission.
5. Submit your submission:
- Check your submission preview.
- Complete the CAPTCHA test.
- Select Submit and continue.
Please login to submit
9. Your next steps
Congratulations! You’re officially finished with your 2D project.
What will you do next? Consider some of the options below:
Learn the Unity essentials
The Unity Essentials Learning Pathway includes everything you need to create confidently with Unity, including the Unity interface, 3D worldbuilding, 2D workflows, Audio, and programming.
Learn the programming fundamentals
If you’re not already confident with your programming, it’s recommended that you start with the Create with Code course or the more comprehensive Junior Programmer Pathway, which will take your programming skills to the next level.
Expand your artistic design skills
You did a bit of design in this project, but there is an entire Creative Core Pathway that will take you through the fundamentals of materials, visual effects, lighting, post-processing, audio, user interface design, and more.
Continue with more game development
If you want to continue down the games path, Unity Learn has a wide range of games-based learning content, including the following:
Complete this Tutorial
Submission Gallery
Asteroid Ascent
Your rocket is trapped in a chaotic asteroid belt. Dodge incoming asteroids and survive for as long as possible!
Asteroid Blaster
A simple 2D space shooter created with Unity. Control a spaceship, aim with the mouse, destroy all asteroids using dual lasers, and clear the level without crashing into obstacles.
Thrill Zone
A simple game where you drive a car and avoid crashing into obstacles. Score accumulates as you stay alive, but if you dare to get close to the obstacles the score gets multiplied: obstacles lighting up orange gives a medium multiplier and red gives maximum multiplier. The obstacles fracture over time to make the game more difficult, and you could beat the game by surviving until all of the obstacles explode. All of the artwork and sounds are made from scratch in a few days and this is my first solo development game. I hope you have fun!

2D Game
douge the triangles

Unity Space Game
made to learn basics of 2d in unity
Sprite Flight Test
First attempt at learning game developing