
Get Started with the 2D Game Kit
Tutorial
Beginner
+10XP
10m
(9368)
Unity Technologies
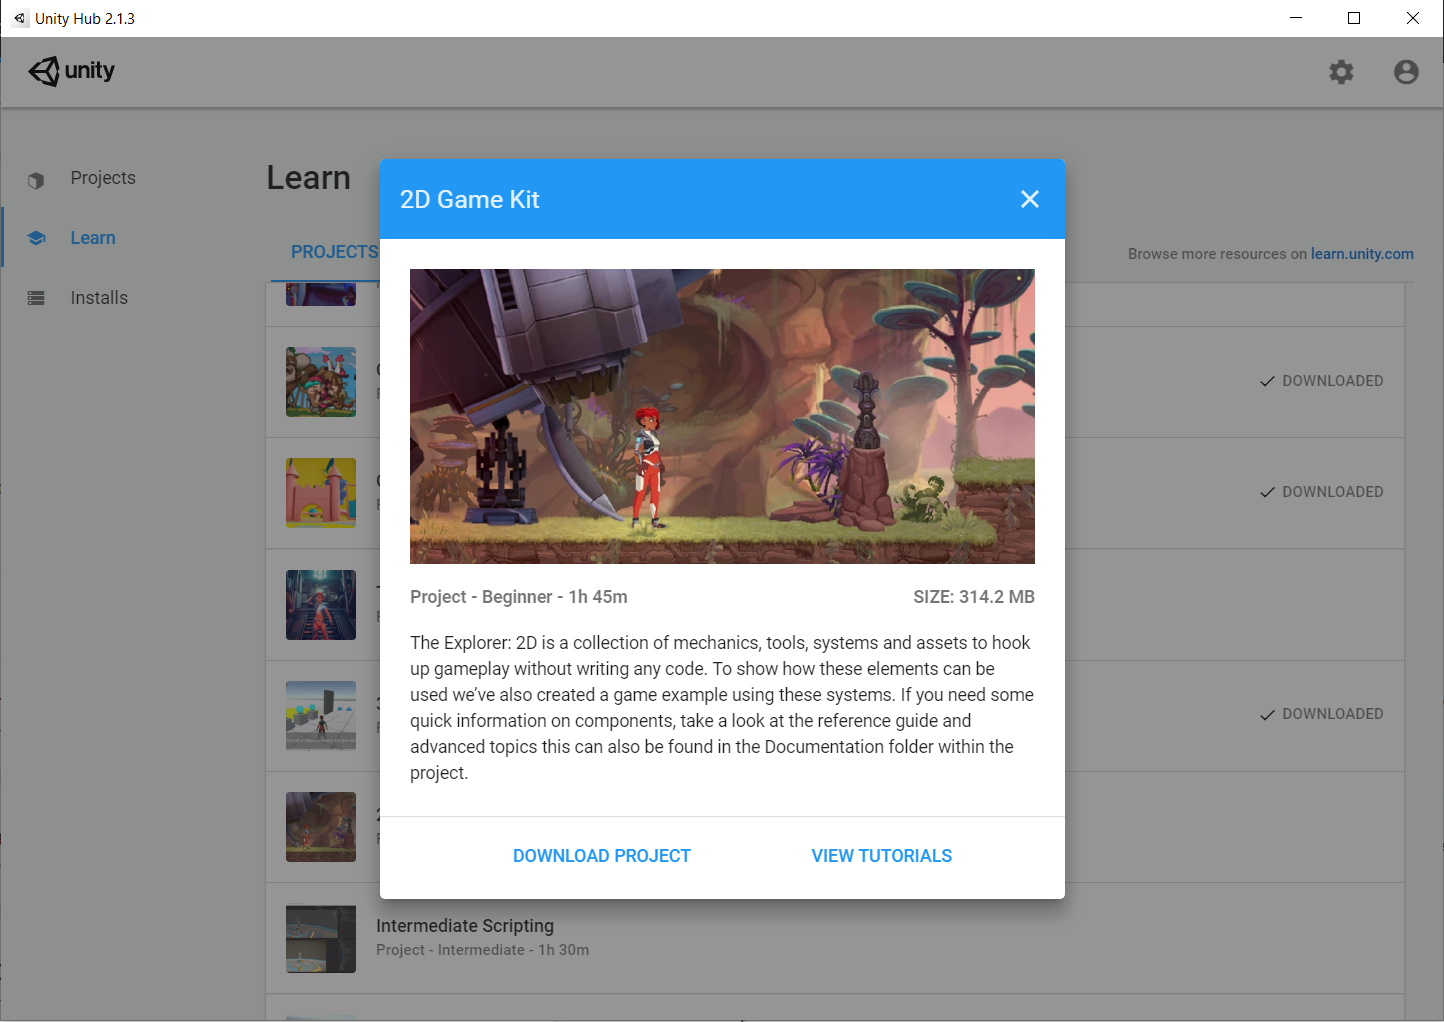
The Explorer: 2D is a collection of mechanics, tools, systems and assets to hook up gameplay without writing any code. To show how these elements can be used we’ve also created a game example using these systems.
In this first tutorial, you’ll explore the Unity Editor and import the Assets for your game.
1. Update your version of Unity
Before you can download the Project for these tutorials, you’ll need to:
- Download the Unity Hub
- Download the latest Unity Personal official release
- Log in with your Unity ID
- When you install the Editor, keep the default install options.
For advice on using the Unity Hub, see the Unity Hub documentation. If you don’t have the latest official release, select the Installs tab from the menu to the left of the Unity Hub window to download it.
Note: The 2D Game Kit and learning content is only compatible with official releases from 2017.3 onward.
2. Download the 2D Game Kit
To download the Unity Project for 2D Game Kit:
1. Open the Unity Hub.
2. Select the Learn tab on the left side of the window.
3. Scroll down and select the correct Project from the available list.
4. In the project dialog window, select Download Project.
5. When the download is complete, select Open Project.
Unity Editor will import the Project, and update any necessary packages.
3. Important: If you cannot save your Unity Project
Note: Some users are currently experiencing an error which stops them from saving Unity Projects downloaded through the Hub. If you encounter this error, you can use the following workaround:
1. In the top menu, go to File > Close.
2. In the Keep Project? dialog window, select Keep.
3. Save your Project using your Operating System’s saving window. Choose an easily accessible location for your Project, such as a dedicated Projects folder or your Documents folder.
4. Once the Project is saved, re-open Unity Hub.
5. Select Add and navigate to the location of your saved Project. This will add your Project to the Project List in the Hub.
6. Left-click on the Project in the Project List to open it and continue with the tutorial.
You will be able to save the Project as normal after completing this process.
4. Review the Unity Editor interface
In this project, you’ll use the same key parts of the Unity Editor that you did in the code-free Creator Kits.
The Unity Editor has four main sections:
1. Scene view
This is where you can edit the current Scene by selecting and moving objects in the 3D space for the game. In this kit, the game level is contained in one Scene.
2. Hierarchy window
This is a list of all the GameObjects in a Scene. Every object in your game is a GameObject. These can be placed in a parent-child hierarchy, which lets you group objects — this means that when the parent object is moved, all of its children will move at the same time.
3. Inspector window
This display all settings related to the currently selected object. You will explore this window more during the walkthrough.
4. Project window
This is where you manage your Project Assets. Assets are the media files used in a Project (for example, images, 3D models and sound files). The Project window acts like a file explorer, and can be used to explore and create folders on your computer. When the walkthrough asks you to find an Asset at a given file path, use this window.
TIP: If your Editor layout doesn’t match the image above, use the layout drop-down menu at the top right of the toolbar to select Default.
5. Review the Unity Editor toolbar
The toolbar includes a range of useful tool buttons to help you design and test your game.
Play buttons
Play
Play is used to test the Scene which is currently loaded in the Hierarchy window, and enables you to try out your game live in the Editor.
Pause
Pause, as you have probably guessed, allows you to pause the game playing in the Game window. This helps you spot visual problems or gameplay issues that you wouldn’t otherwise see.
Step
Step is used to walk through the paused Scene frame by frame. This works really well when you’re looking for live changes in the game world that it would be helpful to see in real time.
Manipulating objects
These tools move and manipulate the GameObjects in the Scene view. You can click on the buttons to activate them, or use a shortcut key.
Hand Tool
You can use this tool to move your Scene around in the window. You can also use middle click with the mouse to access the tool.
Move Tool
This tool enables you to select items and move them individually.
Rotate Tool
Select items and rotate them with this tool.
Scale Tool
You guessed it — this is the tool to scale your GameObjects up and down.
Rect Transform Tool
This tool does lots of things. Essentially, it combines moving, scaling and rotation into a single tool that’s specialized for 2D and UI.
Rotate, Move or Scale
Again, this tool does lots of things. It also enables you to move, rotate, or scale GameObjects, but is more specialized for 3D.
Focusing on a GameObject
Another useful shortcut is the F key, which enables you to focus on a selected object. If you forget where a GameObject is in your Scene, select it in the Hierarchy. Then move your cursor over the Scene view, and press F to center it.
Navigating with the mouse
When you’re in the Scene view, you can also:
- Left click to select your GameObject in the Scene.
- Middle click and drag to move the Scene view’s camera using the hand tool.
For more advice on moving GameObjects in the Scene view, see Scene View Navigation in the Manual.
6. Review key concepts for working with Unity
Let’s review some key concepts explored in this code-free Game Kit, which will help you as you begin to explore editing scripts for the game.
Scenes
In Unity, areas of the game that a player can interact with are generally made up of one or more Scenes. Small games may only use one Scene; large ones could have hundreds. We used a number of different Scenes when making the Creator Kit: Beginner Code game — the one you should use to play and customize the game in these tutorials is called ExampleScene.
GameObjects and components
Every object in the game world exists as a GameObject in Unity. GameObjects are given specific features by giving them appropriate components, which provide a wide range of different functionality. When you create a new GameObject, it comes with a Transform component already attached. This component controls the GameObject’s positional properties in the 3D (or 2D) gamespace. You need to add all other components manually in the Inspector.
Prefabs
Prefabs are a great way to configure and store GameObjects for re-use in your game. They act as templates, storing the components and properties of a specific GameObject and enabling you to create multiple instances of it within a Scene. All copies of the Prefab template in a Scene are linked. This means that if you change the object values for the health potion Prefab, for example, each copy of that Prefab within the Scene will change to match it. However, you can also make specific instances of the GameObject different to the default Prefab settings.