
Zoe - Prepare your scene
Tutorial
foundational
+0XP
10 mins
(97)
Unity Technologies
How to prepare your scene for using the Zoe plugin.
1. Installing Zoe
If Zoe is not installed in your unity project, follow this tutorials first: How to Install Zoe
2. Import the Project package
Download the unity package corresponding to the Zoe tutorial you are working on. The package is available under 'Project Materials' tab at the root of the Project.
Once downloaded, assuming you have Unity already open, double-click on it and import it inside your Unity project. A new folder of the project should be located under Zoe>Examples.
3. Preparing your workspace
In order to follow the tutorials easily we recommend to change (if necessary) the layout of your Unity windows. However if you already have a preferred layout you can skip this step and go directly to Step 3.
Go to Window>Layouts or directly go to the Layout dropdown menu (on the top right) and choose '2 by 3' (if it isn't available simply click on 'Revert Factory Settings', it should now appear in the list):
We also recommend displaying the Project window as a ‘One Column Layout’. Go to the icon on the top-right of the Project window and select the corresponding Layout.
4. Camera and navigation
The demo scene associated with the project should be named '_ProjectNameSet'. Simply open it.
To create a scene from scratch, go into to File > New Scene (or pressing Ctrl + N). Save and rename. You can also simply rename the ‘BasicScene’ into your project's name.
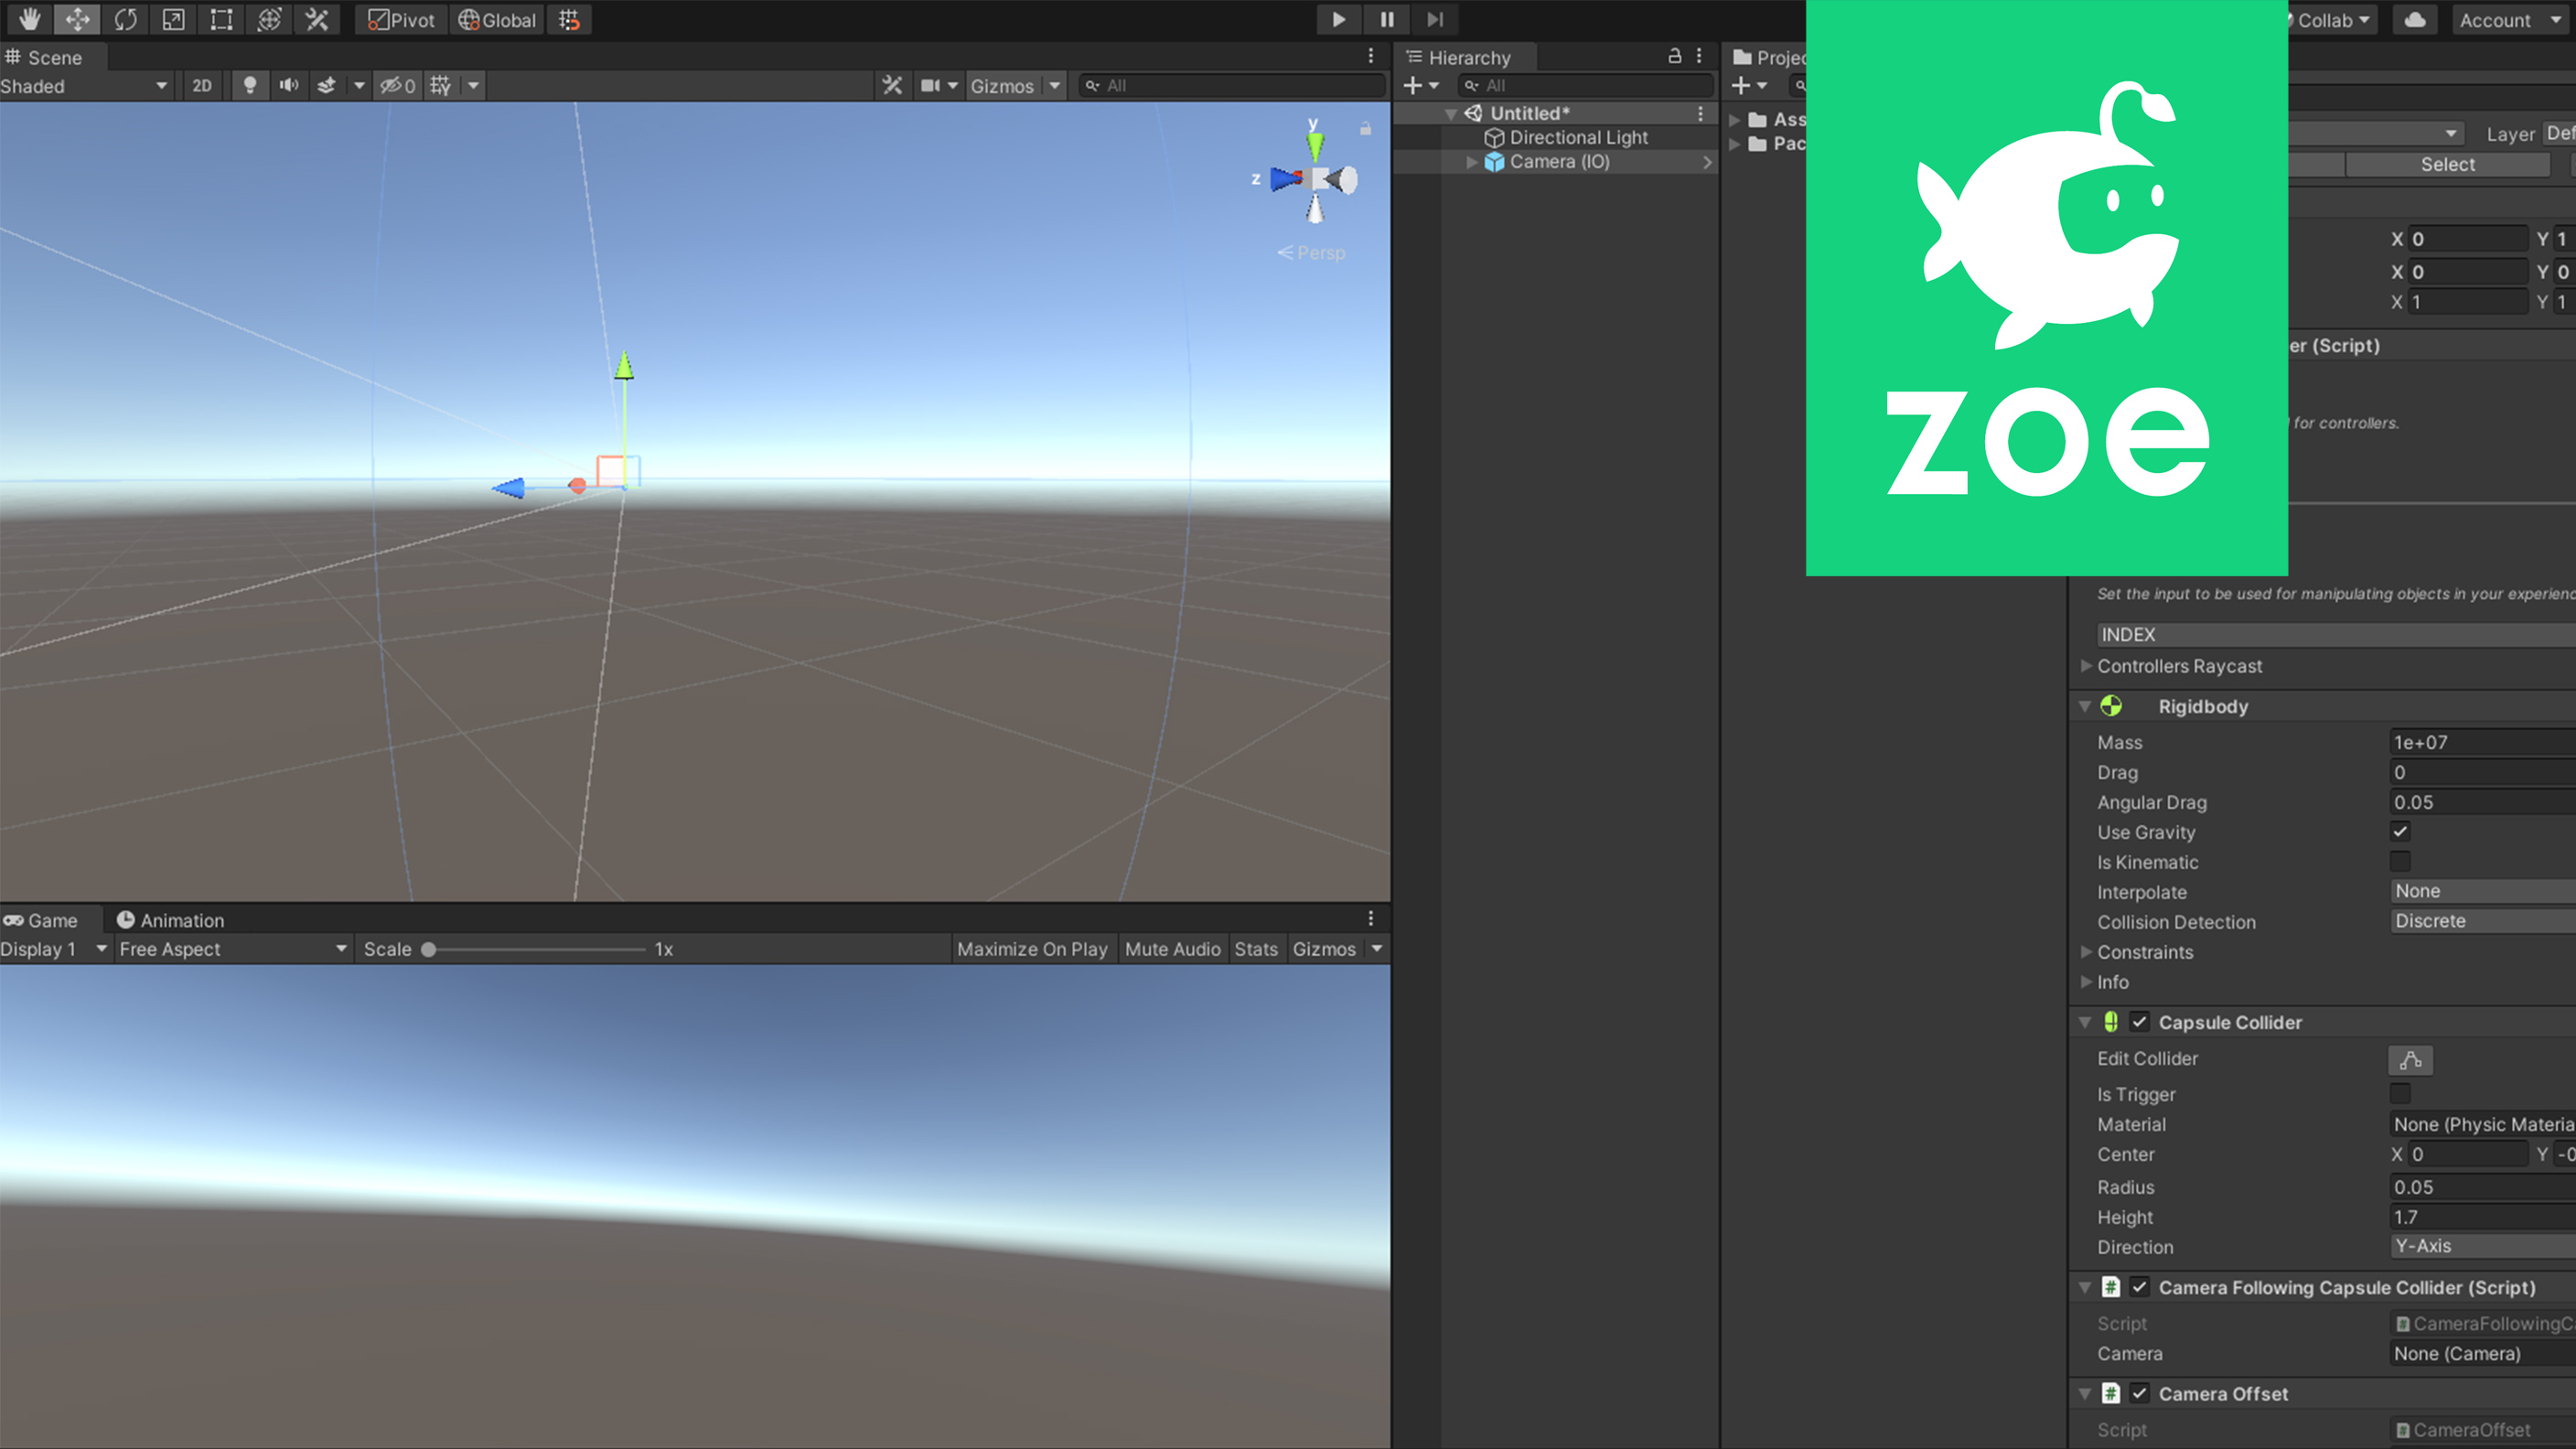
First, we need to make the default camera interactive to detect the controllers and the headset movements. For this select the Main Camera in the Hierarchy, right-click on it and go to Zoe > Convert Into Interactive Camera.
To allow the user to move in space we are going to enable Navigation. There are two different ways of locomotion available: teleporting or moving with the joystick. Joystick allows you to move the camera freely in all directions while teleporting requires the user to press on the Joystick to aim at the floor before moving. While Joystick navigation is easier to use it can also cause motion sickness to certain group of people so be mindful of the speed.
Select your newly Camera (IO) and inside the Camera Settings (in the Inspector window) check Navigation. Then select the Joystick navigation.
You can leave the LEFT controller for movement as it is done in most games, and enable Camera Rotation with the RIGHT controller. For simplifying the experience you can just use BOTH controllers for movement.
We recommend to leave the speed quite low (max 3-4), you can change it and test it but remember that very fast movements may cause dizziness.