How to craft a playable demo of your game
Tutorial
·
Beginner
·
+10XP
·
20 mins
·
(292)
Unity Technologies

In this tutorial we explore how to create playable demo of your mobile game. This will allow you to present and qualify your core concepts to stakeholders inside and outside your studio.
1. Overview
Wait, isn’t it a bit early to be thinking about a demo?
In most cases that would be true, but for the purposes of this tutorial we’re purely looking at a way to test core elements of your game. Typical for most established studios, creating a playable demo early lets you showcase gameplay mechanics and features with a small group before production.
The main reasons larger studios do this holds true for indie gamedevs as well, it’s a great way to prioritize development and ensure your game hits the fun factor from the start. In fact, with limited resources and staff, making sure you’re laser focused on the right things before you commit time to development is especially important as an indie developer.
In this tutorial we will focus on:
- The benefits of a playable demo.
- What to build into your demo.
- How to structure a user experience (UX) test.
2. The benefits of a playable demo
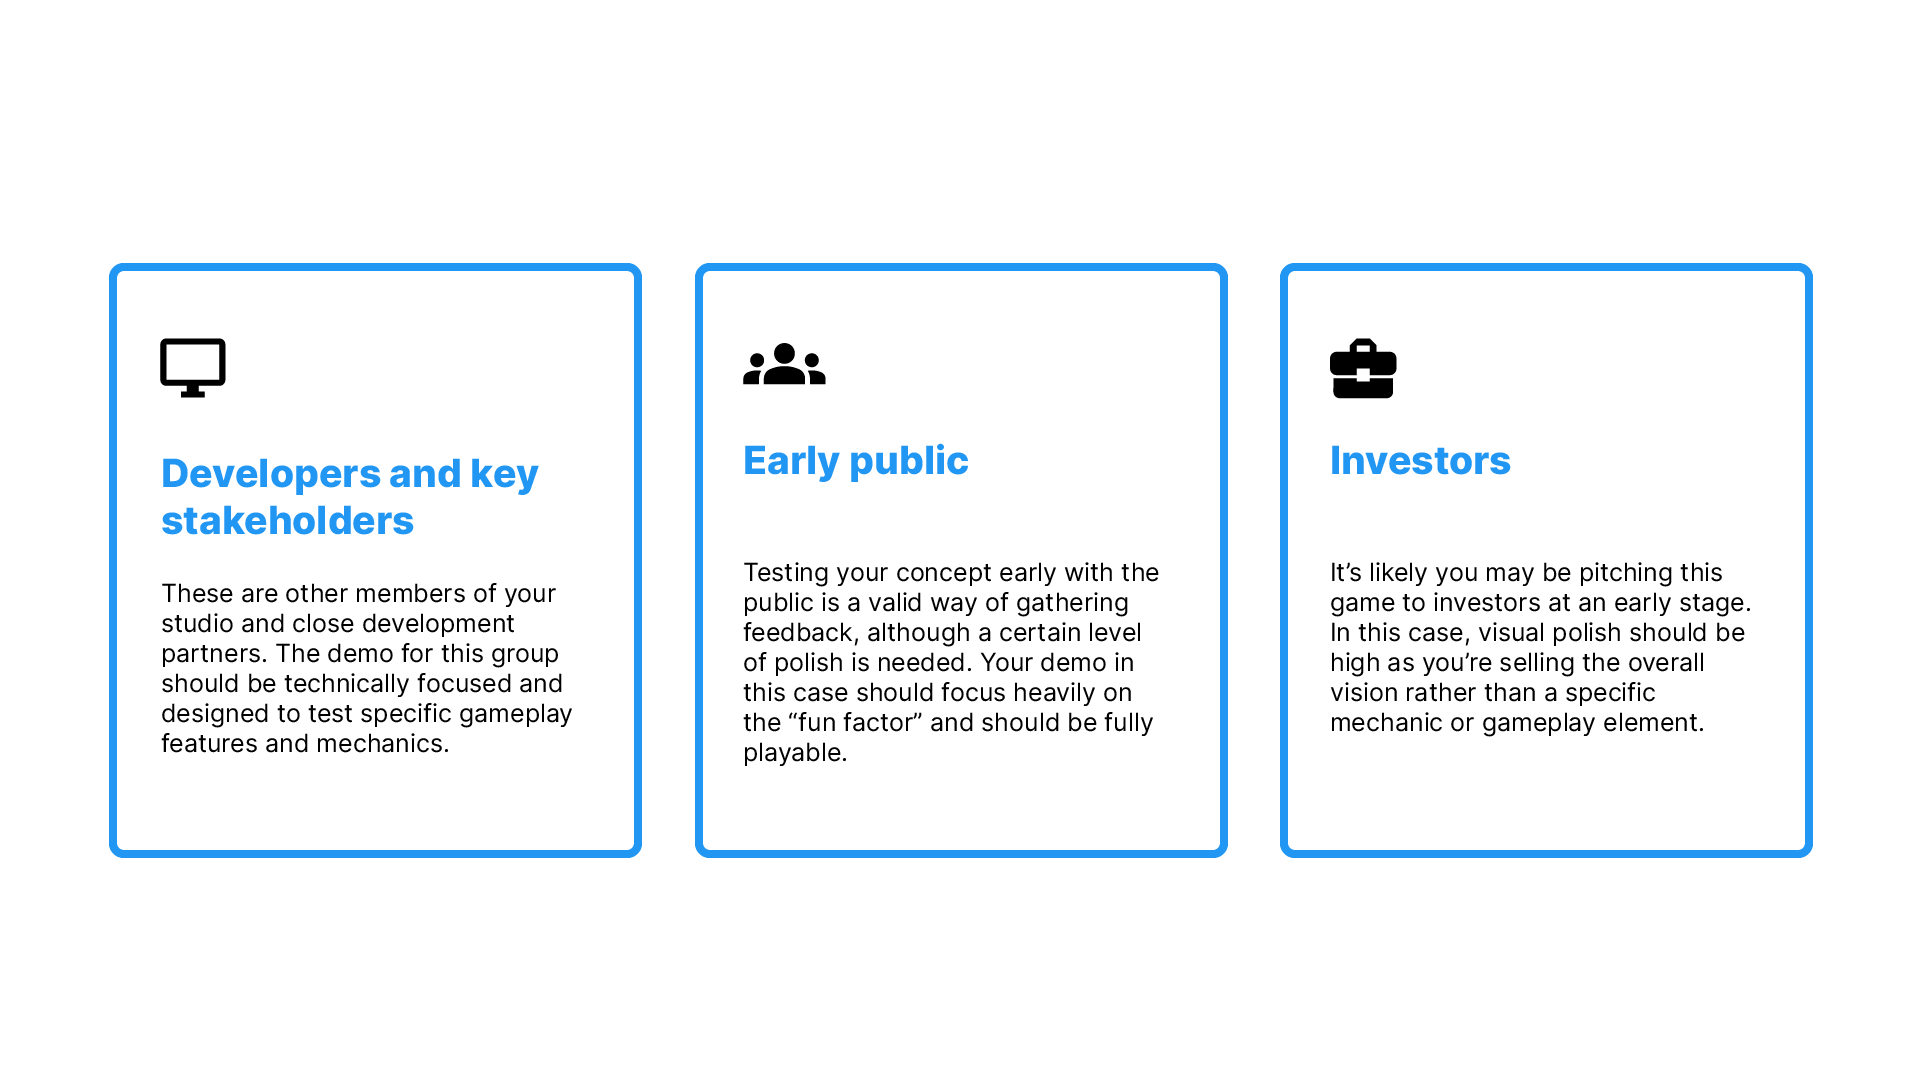
The main purpose of a playable demo early is to show the value of your game to key people before diving into development. If you’re a solo developer, this may just be a gut check to make sure your idea is a good one before committing fully. If you’re a small studio or more established indie, an early demo may be something used to pitch potential investors or development partners.
There are a number of use cases for your demo early on, but generally you can break things down into three categories.

Depending on the audience, your demo can make all the difference when it comes to the resources and support you’ll receive as you move forward into production.
We’ll explore exactly what you need in the next step, but the idea is to play through your main ideas until you can get to a point where you can show the value of your game.
3. What to build into your demo
A demo can go a number of different directions, but the main thing to keep in mind is: What are the major features and gameplay mechanics you need to showcase?
Don’t aim for perfection
Remember, once the demo has served its purpose - it will likely get scrapped. Don’t waste time making your code perfect or bother polishing anything. As long as the essential features are there, the demo can be hacked together as quickly as possible.
Set a time limit
One big mistake indie developers make is spending too much time on the demo. Like a game of Civilization, it’s easy to add “just one more” thing. The best way to counter this is by adding a timebox and aim to complete the project in a set amount of days. A simple prototype can even be accomplished in 3-5 days. Furthermore, if you have strict guidelines it helps you clearly see the essentials of your game.
Prioritize what’s important
Your primary objective is to show off the most important parts of your game concept, which is usually your core gameplay loop. In order of priority, your demo should focus on the core gameplay, the metagame, and then content. Your metagame can be anything from economy, to player progression, and content is more substantive levels, items, aesthetics, and more. For your demo, it’s best to focus on the first two, as content usually takes up unnecessary development time and shouldn’t be an early priority.
Be clear
While it can be tempting to show everything off, don’t over complicate your demo with too many features and gameplay mechanics. For your demo to be effective, it needs to be crystal clear what you want players to focus on. For example, if you’re testing a jumping gameplay mechanic, add as much detail as possible like sound effects and visual flair when you hit jump - but leave other things bare bones.
Don’t reinvent the wheel
One strategy for building your demo is to leverage pre-made game assets, frameworks, and mechanics from places like the Unity Asset Store. Usually cheap and easy to integrate, using these assets let’s you save time on demo development. This route is also a great way to test potential frameworks you’d want to use in your full game.

Outside of gameplay mechanics and features you need to showcase, the biggest objective with your demo is to spend as little time as possible. Always take the most efficient approach, and leverage tools and resources to make things easier.
In the next section we’ll explore how to run a successful user experience test once your demo is in place.
4. How to structure a user experience (UX) test
Knowing the right way to run a test is almost as important as doing the test in the first place. Getting the right information from players is harder than it first appears, and it’s easy to accidentally add biases to your own tests - leading to inaccurate results.

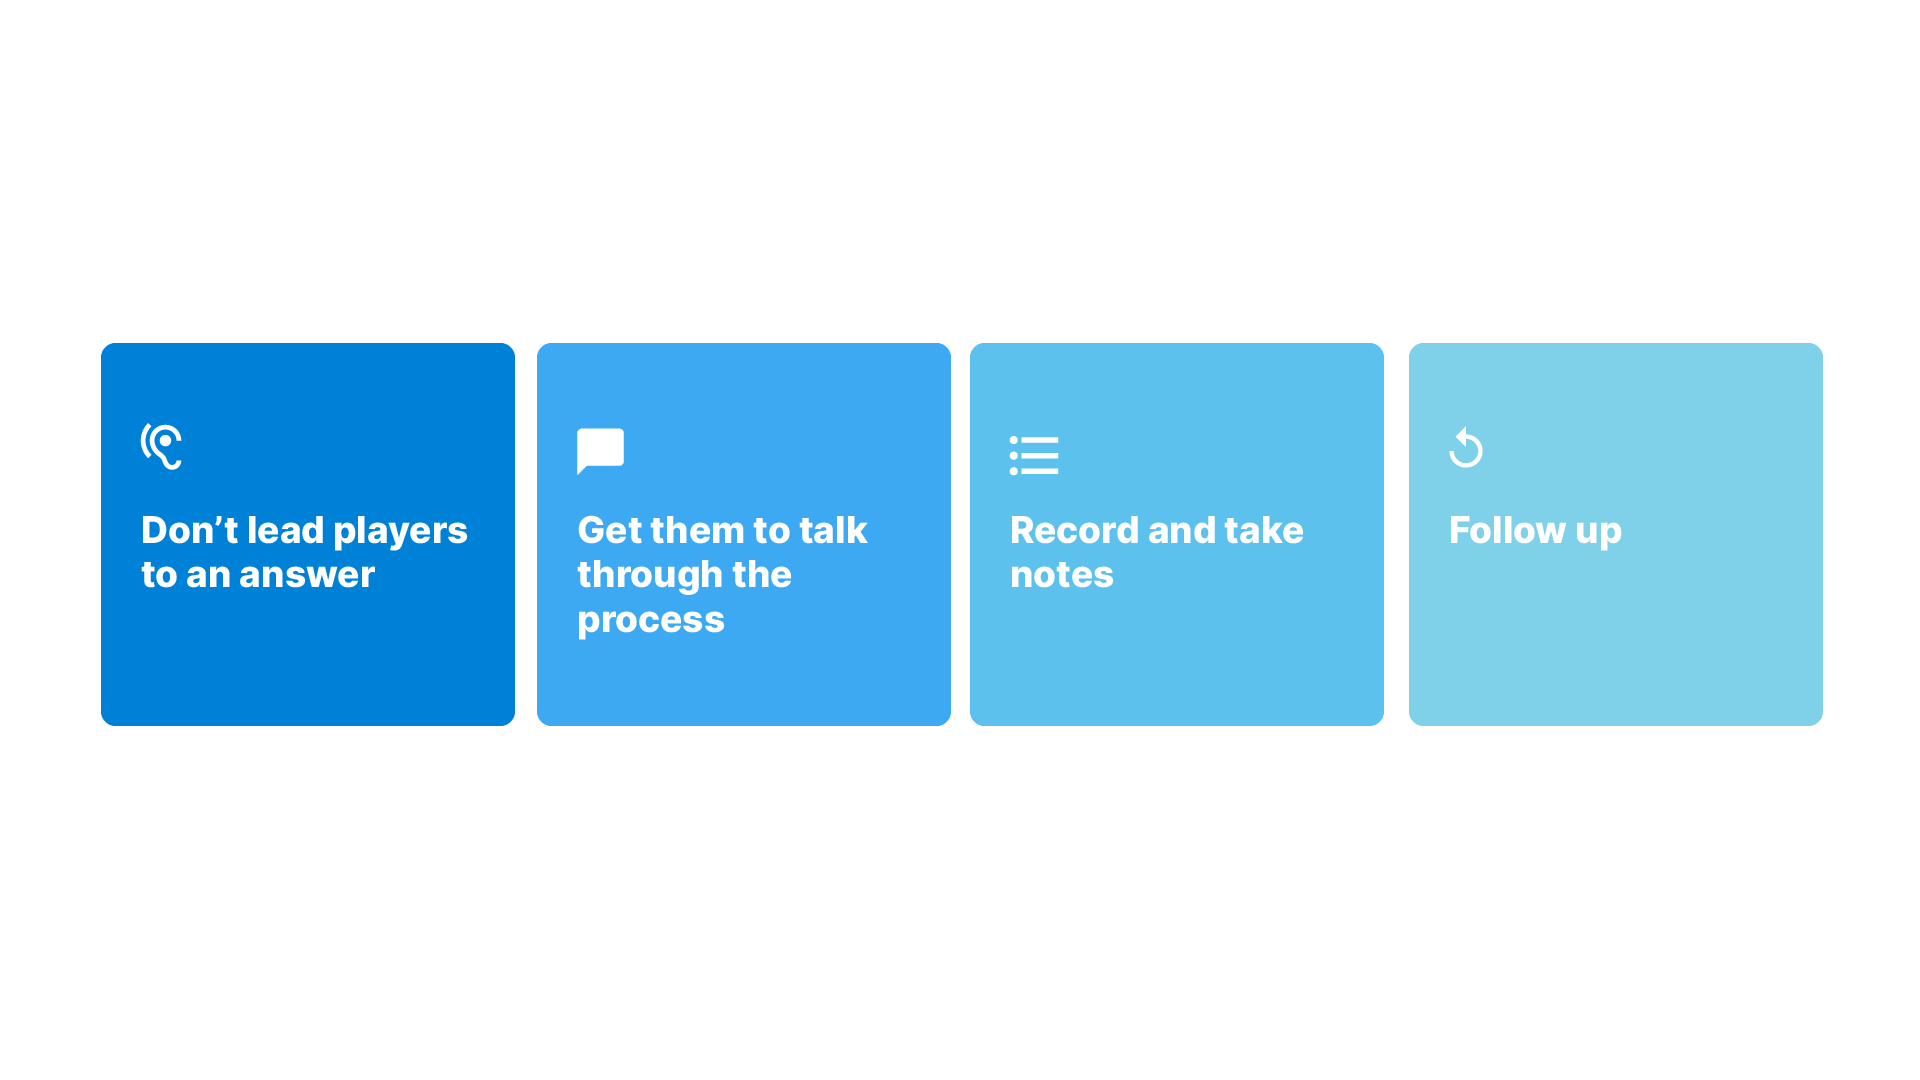
Don’t lead players to an answer
While it can be tempting to help out when someone's playing your game, it’s important to let testers work through things themselves. One of the most common mistakes people make is providing too much help, information, or asking leading questions. Make sure any test you run is unbiased by
Get them to talk through the process
It’s essential to encourage anyone playing your demo to talk through their thought process. While it may be a bit awkward at first, it’s a great way to have a record of how players are moving through your game, what they enjoy, and what may be frustrating for them. Likewise, it's important for you to NOT talk during the test, other than driving things forward.
Record and take notes.
This is pretty straightforward, but always record your test using a tool like OBS, and take detailed notes throughout.
Follow up
One thing that many developers often forget to do is following up with testers. If someone brings up feedback around a specific feature or gameplay mechanic it’s a great idea to follow up with them. Once you’ve addressed their feedback, getting them to play through a newer version of your game is a great way to make sure you’re on the right track.
5. Summary
In this tutorial we explored the main reasons behind creating a playable demo for your game, the things you needed to build in, and best practices for user testing. While building a demo may not be the best fit for every game, we recommend it as a more concrete part of qualifying your early concepts before committing to development.
In the next tutorial we will focus on retention and engagement - how to keep players in your game, and make sure they’re having a great experience.
- First-time user experience (FTUE)
- How to design for retention and engagement