
Lesson 2 | Create Interaction in Your Project
Tutorial
foundational
+10XP
45 mins
(456)
Unity Technologies
In this lesson, you will learn techniques and functions in Unity to further develop your 3D Gallery Project, adding a 3D model, mesh colliders and audio.
Resources
1. Developing your 3D world
In the previous lesson, you started your personal project in Unity and explored the user interface. Then, you added some basic models to guide you through the principles of using the camera and the Inspector panel.
In this lesson, you’ll explore three more tutorials that demonstrate how to:
- Import a 3D model and scale it to fit the scene
- Add mesh colliders to stop you falling out of the sides or through the floor
- Add sound effects that will change the way your footsteps sound as you move from room to room with physical materials
- Important! You will need to download the assets folder in the tutorial materials tab above before you can follow along with the steps below. You can also locate the project materials from the “tutorial materials” tab at the top of this course page on Unity Learn; they are labeled 3D Gallery Project Assets
- In Unity, in the Project panel, select the Assets subfolder, then click the + icon and from the drop menu, choose ‘Folder’ and name it ‘Models’. Double-click to go into this folder
- From the downloaded assets drag all of the assets from the downloaded model folder into your new ‘Models’ folder
- Select the cube in the Hierarchy panel. Right-click on it and choose Delete to remove it
- Drag the ‘museum’ model from the Models folder into the Hierarchy panel in Unity
- In the Inspector panel, change the Scale to 10 on the X, Y and Z axes
- To view the scene properly, ensure the museum model is selected in the Hierarchy panel and hit F with your mouse over the scene window.
- Holding down Alt and moving the mouse enables you to rotate the scene
- Holding Alt-CTRL(PC) or Right-Click+CTRL(Mac) enables zooming in and out of the scene
2. Adding colliders and lighting
- Click the ‘museum’ model in the Hierarchy panel and open the dropdown menu next to it
- Select ‘AngleRoom’ and then in the Inspector choose Add Component > Physics > Mesh Collider
- Select ‘OctagonRoom' and Shift-click on ‘Walkway_3’ to select all rooms, then in the Inspector choose Add Component > Physics > Mesh Collider
- Open the ‘Lights’ group by clicking the dropdown arrow next to it. Select the first light, then Shift+click on the last light to select all the lights
- In the Inspector panel, in the Light component, change the Shadow Type to ‘No Shadows’ to make it run more smoothly as shadows have been baked into the model texture
- Still in the Inspector panel, increase the Range to 20 to make the scene brighter
- Return to the Hierarchy panel, select the ‘Lights’ group, then move the light control in the Scene down a little on the Y axis to make the rooms a little brighter
3. Adding materials and audio
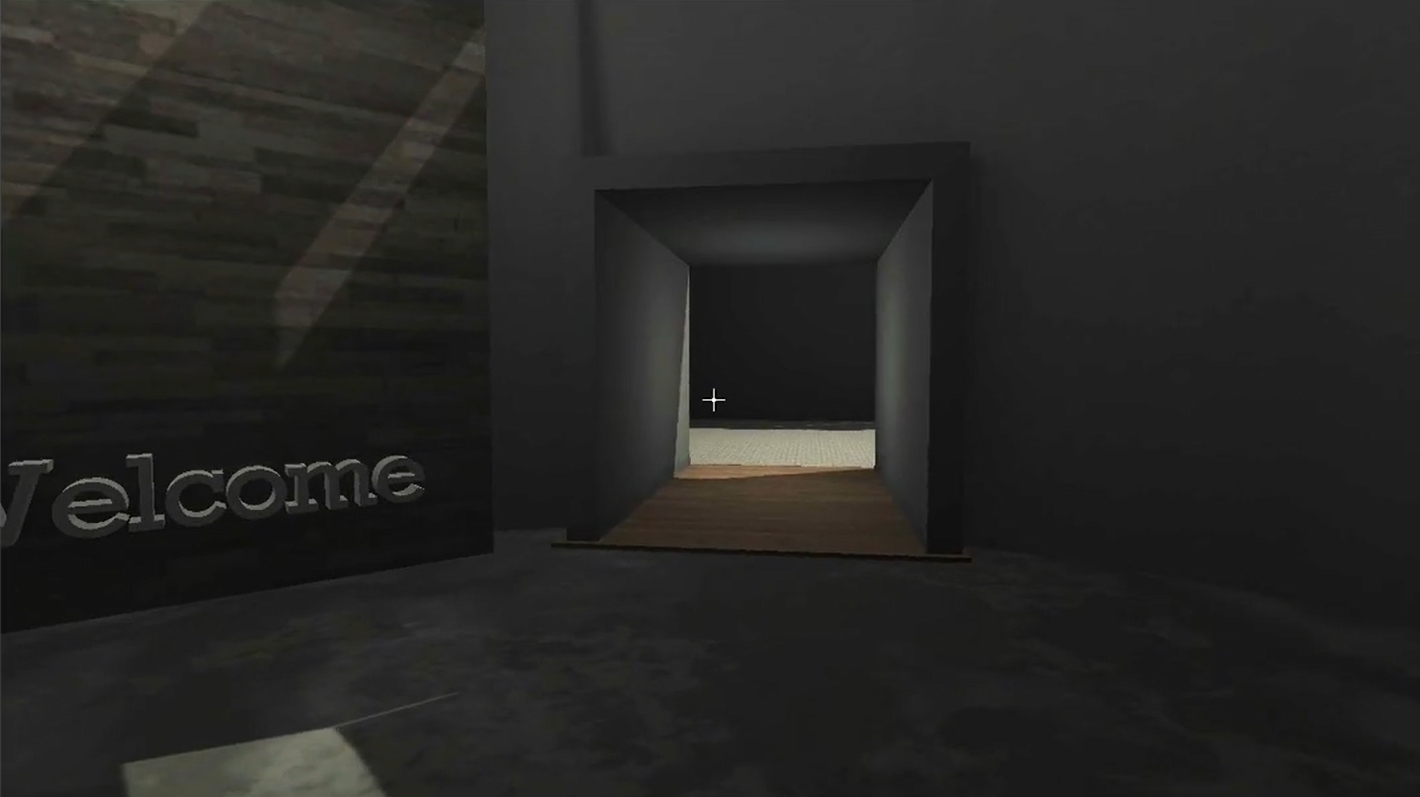
- Select the FirstPerson-AIO in the Hierarchy. In the scene, drag the controller inside the RoundRoom (where the welcome room will be)
- Rotate the FirstPerson-AIO to look at the ‘Welcome’ text.
- Switch to the ‘Game’ view to check how the project will look when it starts
- Switch back to Scene View and ensure the FirstPerson-AIO Pack is selected in the project panel.
- In the Inspector panel, scroll down to see where the AudioSFX properties are located.
- Go back to the Project Panel. Inside the Assets>First Person AIO Pack>DemoScene folder>Working Materials folder, you will find the Physics Materials folder. Select this to see the Physics Materials
- Open the Museum group in the Hierarchy panel and click-drag the ‘Carpet’ Physics Material from the Project panel into AngleRoom in the Hierarchy panel.
- Repeat by dragging the Carpet material onto the OctagonRoom and the RectangleRoom as well
- Drag the Concrete Physics Material onto RoundRoom and repeat this for Walkway, Walkway_1, Walkway_2 and Walkway_3
- With the FirstPerson-AIO selected in the Hierarchy window, scroll down in the Inspector panel to reach the Audio/ SFX setup, then expand ‘Rock and Concrete Clips’
- Click ‘Add new physics material’. Drag the Concrete Physics material onto the field that says ‘None (Physics Material). This connects the sound to walking on Concrete
- Now expand ‘Custom Material Clips’ and click ‘Add new physics material’. Drag over the Carpet Physics material to the field that says ‘None (Physics Material)’.
- Press Play (or CMD+P) to test the sound effects as you walk in different rooms
In the next lesson, you will continue to develop your gallery project, including creating interactions between the player controller and the environment so that text appears on screen when the player approaches elements in the world.