The Unity AI Assistant Beta is Live
Need help with your Unity project or Learn course? Try the Unity AI Assistant to get un-stuck

Lesson 5.1 - Clicky Mouse
Tutorial
Beginner
+10XP
60 mins
(1275)
Unity Technologies
Overview:
It’s time for the final unit! We will start off by creating a new project and importing the starter files, then switching the game’s view to 2D. Next we will make a list of target objects for the player to click on: Three “good” objects and one “bad”. The targets will launch spinning into the air after spawning at a random position at the bottom of the map. Lastly, we will allow the player to destroy them with a click!
Project Outcome:
A list of three good target objects and one bad target object will spawn in a random position at the bottom of the screen, thrusting themselves into the air with random force and torque. These targets will be destroyed when the player clicks on them or they fall out of bounds.
Resources
Overview Video
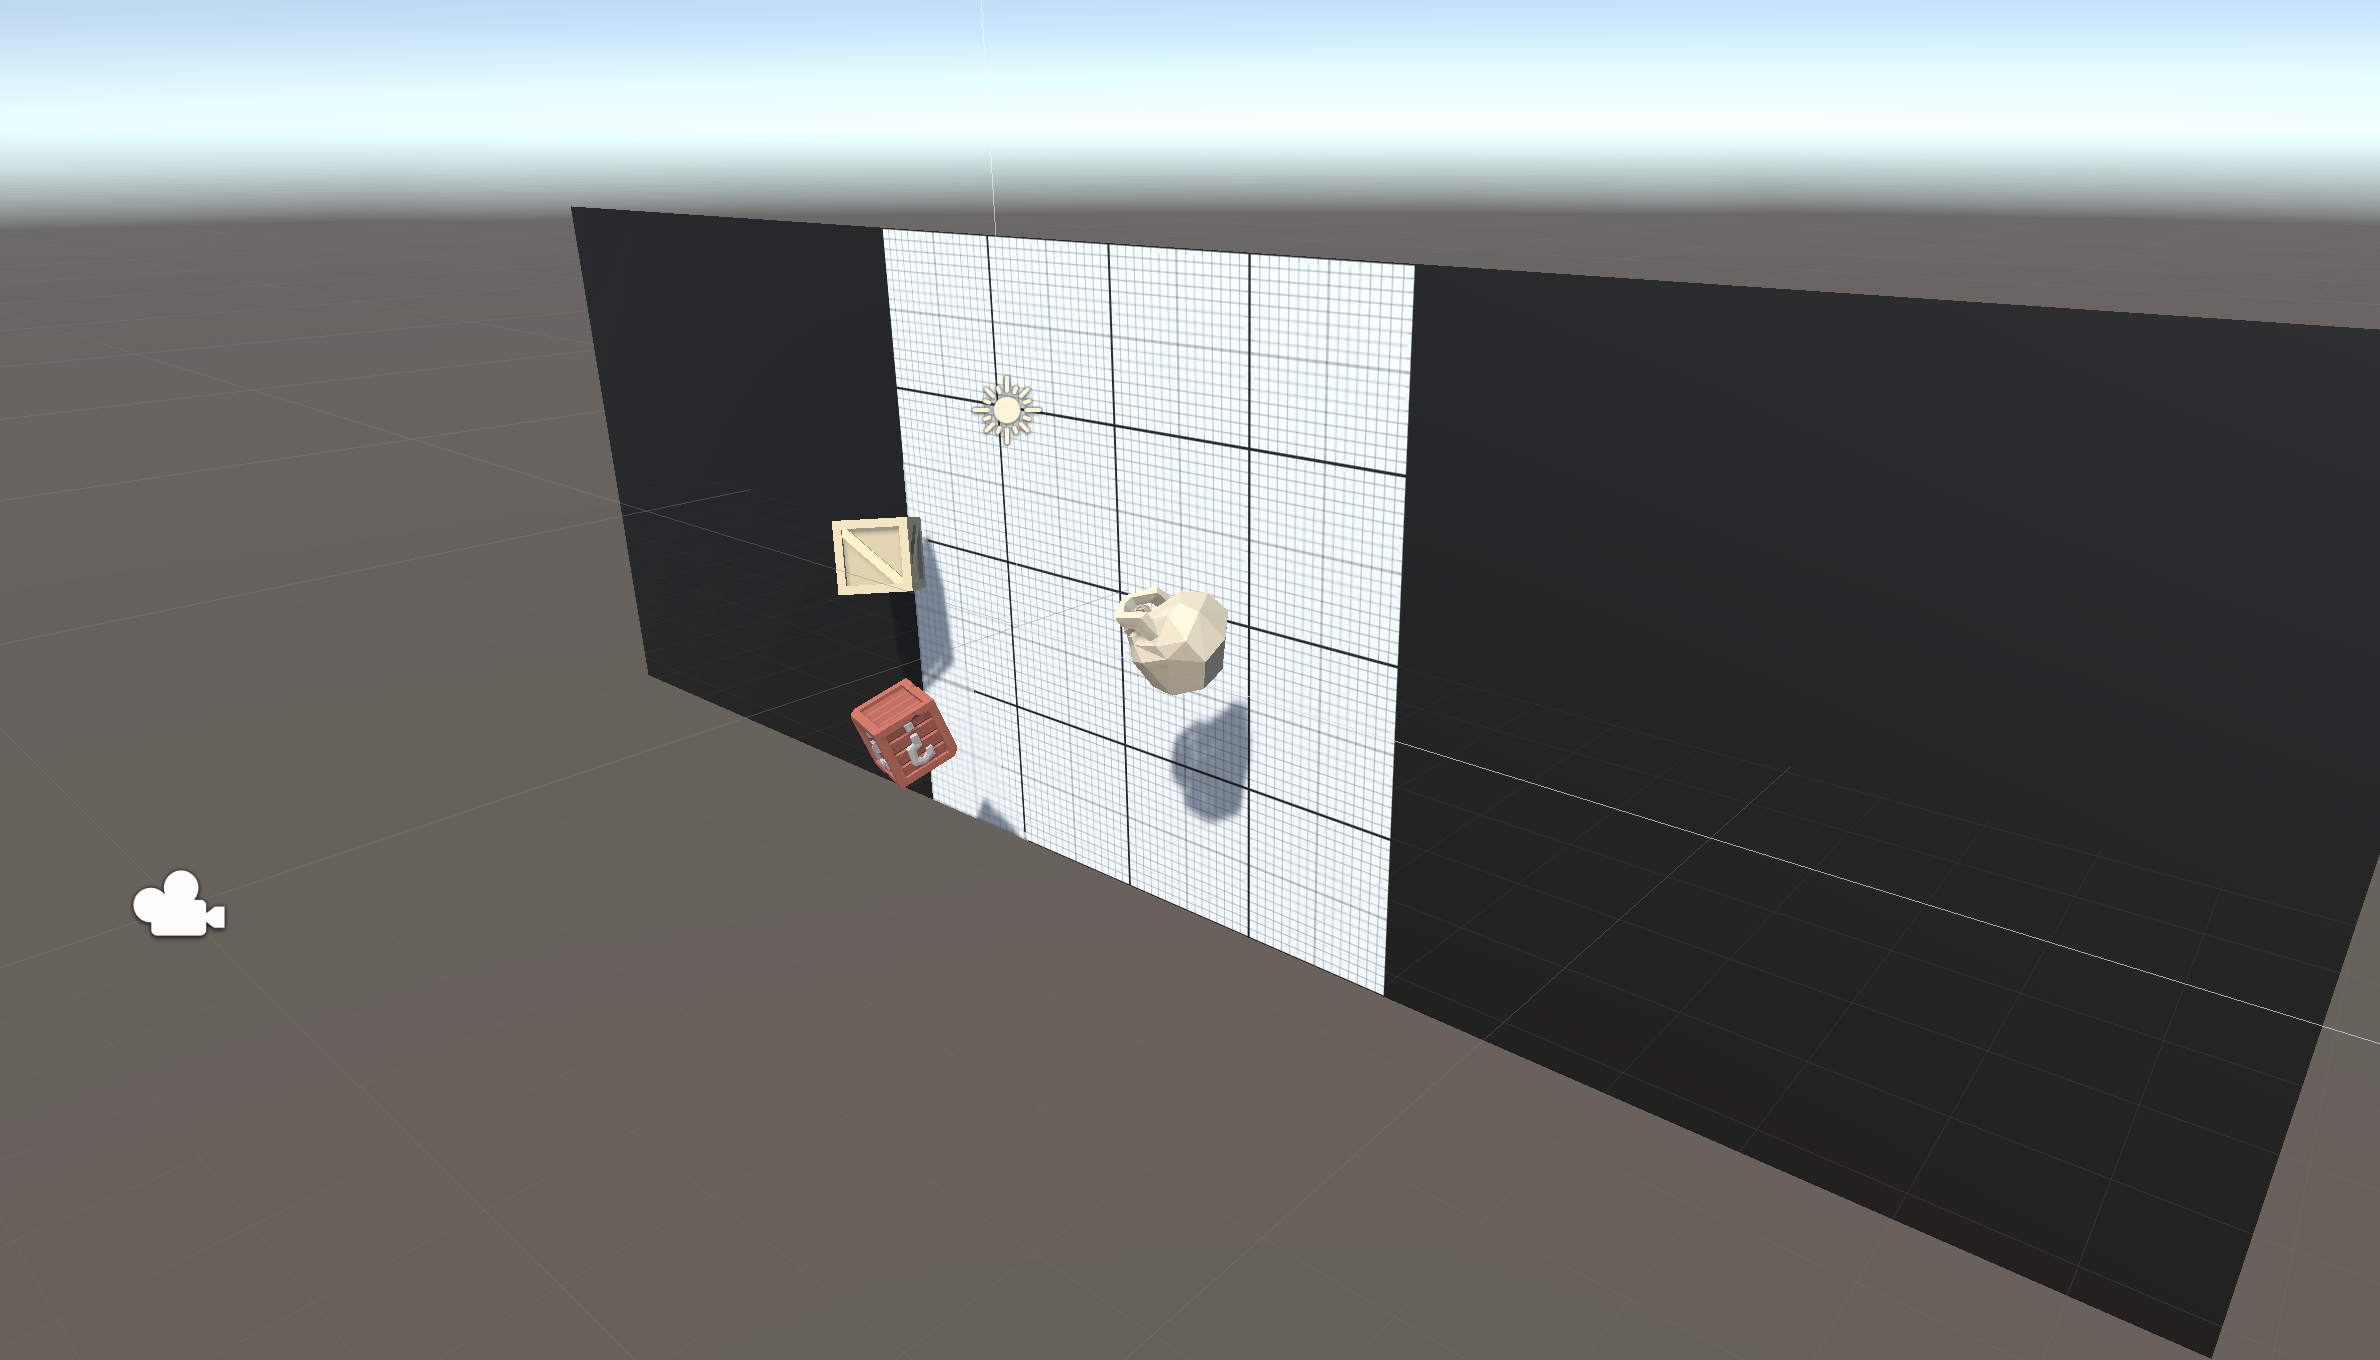
1. Create project and switch to 2D view
One last time… we need to create a new project and download the starter files to get things up and running.
- Open Unity Hub and create an empty “Prototype 5” project in your course directory on the correct Unity version.
If you forget how to do this, refer to the instructions in Lesson 1.1 - Step 1. - Click to download the Prototype 5 Starter Files, extract the compressed folder, and then import the .unitypackage into your project.
For a reminder on how to import packages, see the referenced documentation. - Open the Prototype 5 scene, then delete the sample scene without saving
- Click on the 2D icon in Scene view to put Scene view in 2D.
- (optional) Change the texture and color of the background and the color of the borders
2. Create good and bad targets
The first thing we need in our game are three good objects to collect, and one bad object to avoid. It’ll be up to you to decide what’s good and what’s bad.
- From the Library, drag 3 “good” objects and 1 “bad” object into the Scene, rename them “Good 1”, “Good 2”, “Good 3”, and “Bad 1”
- Add RigidBody and Box Collider components.
- Create a new Scripts folder, a new “Target.cs” script inside it, attach it to the Target objects
- Drag all 4 targets into the Prefabs folder to create “original prefabs”, then delete them from the scene
3. Toss objects randomly in the air
Now that we have 4 target prefabs with the same script, we need to toss them into the air with a random force, torque, and position.
- In Target.cs, declare a new private Rigidbody targetRb; and initialize it in Start()
- In Start(), add an upward force multiplied by a randomized speed
- Add a torque with randomized xyz values
- Set the position with a randomized X value
4. Replace messy code with new methods
Instead of leaving the random force, torque, and position making our Start() function messy and unreadable, we’re going to store each of them in brand new clearly named custom methods.
- Declare and initialize new private float variables for minSpeed, maxSpeed, maxTorque, xRange, and ySpawnPos;
- Create a new function for Vector3 RandomForce() and call it in Start()
- Create a new function for float RandomTorque(), and call it in Start()
- Create a new function for RandomSpawnPos(), have it return a new Vector3 and call it in Start()
5. Create object list in Game Manager
The next thing we should do is create a list for these objects to spawn from. Instead of making a Spawn Manager for these spawn functions, we’re going to make a Game Manager that will also control game states later on.
- Create a new “Game Manager” Empty object.
- Create a new GameManager.cs script, attach it to the Game Manager GameObject in the Hierarchy window, then open it.
- Add a new using Directive to the list of namespaces at the top of your script:
using System.Collections.Generic; - Declare a new public List<GameObject> targets;, then in the Game Manager inspector, change the list Size to 4 and assign your prefabs.
Important: Make sure that you spell the GameObject as “Game Manager” with a space, but the script as “GameManager” with no space. You’ll need to reference that GameObject name later.
6. Create a coroutine to spawn objects
Now that we have a list of object prefabs, we should instantiate them in the game using coroutines and a new type of loop.
- Declare and initialize a new private float spawnRate variable.
- Create a new IEnumerator SpawnTarget () method
- Inside the new method, while(true), wait 1 second, generate a random index, and spawn a random target.
- In Start(), use the StartCoroutine method to begin spawning objects.
- To fix the error under IEnumerator, add the following using directive to the top of your code:
using System.Collections;
7. Test for mouse press
Now let’s detect a mouse click using the new Input System’s Mouse API, which you can access directly without defining an InputAction.
- In your script (for example, GameManager or a new ClickDetector), add a check in the Update function that logs when the left mouse button is pressed this frame.
- Explanation:
- This is different from using InputActions. Instead of declaring an action and binding it, you’re reading device state directly from Mouse.current.
- wasPressedThisFrame returns true only on the exact frame the button was pressed; perfect for click detection.
8. Create and draw a ray towards the mouse click
Now let’s cast a ray from the mouse position and visualize it in the Scene/Game view to see where clicks are aiming.
- In the Update function, inside the if statement, create a Ray that goes from the camera through the mouse’s screen position.
- What is a Ray?
- A Ray represents an origin point and a direction extending to infinity. We use rays to “shoot” into the world: for picking, hit tests, or line-of-sight.
- ScreenPointToRay: Camera.main.ScreenPointToRay(Vector3 screenPosition) converts a pixel position on the screen into a world-space Ray that starts at the camera and goes through that pixel.
- Here we pass the mouse position: Mouse.current.position.ReadValue() returns the current mouse position in screen pixels as a Vector2. ReadValue() gets the current value from an InputControl in the new Input System.
- Visualizing with Debug.DrawRay
- Debug.DrawRay(Vector3 start, Vector3 dir, Color color, float duration) draws a line in the Game/Scene view for debugging.
- We draw from ray.origin along ray.direction scaled to 100 units, in red, for 2 seconds.
- Demo in the Game/Scene view
- Enter Play mode, open both the Scene and Game views (or toggle between them).
- Click in the Game view. You’ll see a red line appear from the camera through the clicked point direction.
- This visualization helps confirm your ray aims where you expect before adding physics raycasts or click interactions.
9. Destroy target if hit with ray
Now that we have 4 target prefabs with the same script, we need to toss them into the air with a random force, torque, and position.
- Inside your click block, add a Physics.Raycast and check the hit
- What is Physics.Raycast?
- Physics.Raycast(Ray ray, out RaycastHit hit) casts a ray into the physics world and returns true if it hits any collider.
- It fills the out RaycastHit hit with details about what was hit: point, normal, distance, collider, transform, rigidbody, etc.
- “out” means the method will assign a value to the provided variable before returning. You don’t initialize hit; Raycast writes into it.
- About RaycastHit:
- RaycastHit is a struct with data about the collision.
- hit.transform: the Transform of the object you hit.
- hit.collider: the specific Collider component that was hit.
- hit.point: the world position where the ray struck.
- hit.distance: how far from the origin the hit occurred.
- RaycastHit is a struct with data about the collision.
- Why compare hit.transform == transform?
- Without this check, any target script that runs this code will destroy whatever the ray hit—even if it’s a different target.
- By ensuring the hit’s transform matches this specific GameObject’s transform, only the clicked object destroys itself.
- Demo scenario (multiple targets)
- If you have many targets and remove the if (hit.transform == transform) check, whichever Target script executes the code might destroy the object the ray hit, even if it’s not “itself,” leading to surprising deletions.
- With the check in place, only the specific target you clicked (the same transform) will Destroy(gameObject).
10. Destroy target if collides with sensor
Now let’s make targets self-destruct when they enter a trigger, such as a “Destroy Zone” at the bottom of the screen.
- Add an OnTriggerEnter method to your Target script
- How it works:
- OnTriggerEnter is called automatically by Unity when this GameObject’s Collider enters another Collider marked as Is Trigger.
- Destroy(gameObject) removes this target from the scene immediately (or end of frame).
- Setup tips:
- Ensure the Target has a Collider (for example, SphereCollider) and a Rigidbody (for trigger events).
- The trigger volume (for example, a long box below the play area) must have a Collider with Is Trigger enabled.
- If you only want to destroy on specific triggers, add a tag/layer check.
- Test:
- Create a trigger collider below the play area.
- Press Play; falling targets should get destroyed when they enter the trigger.
11. Lesson Recap
New Functionality
- Random objects are tossed into the air on intervals
- Objects are given random speed, position, and torque
- If you click on an object, it is destroyed
New Concepts and Skills
- 2D View
- AddTorque
- Game Manager
- Lists
- While Loops
- Mouse Events
Next Lesson
- We’ll add some effects and keep track of score!
Check your scripts
GameManager.cs
using System.Collections;
using System.Collections.Generic;
using UnityEngine;

public class GameManager : MonoBehaviour
{
    public List<GameObject> targets;

    private float spawnRate = 1.0f;

    void Start()
    {
        StartCoroutine(SpawnTarget());
    }

    void Update()
    {

    }

    IEnumerator SpawnTarget()
    {
        while (true)
        {
            yield return new WaitForSeconds(spawnRate);
            int index = Random.Range(0, targets.Count);
            Instantiate(targets[index]);
        }
    }
}
Target.cs
using UnityEngine;
using UnityEngine.InputSystem;

public class Target : MonoBehaviour
{
    private Rigidbody targetRb;
    private float minSpeed = 12;
    private float maxSpeed = 16;
    private float maxTorque = 10;
    private float xRange = 4;
    private float ySpawnPos = -6;

    void Start()
    {
        targetRb = GetComponent<Rigidbody>();
        targetRb.AddForce(RandomForce(), ForceMode.Impulse);
        targetRb.AddTorque(RandomTorque(), RandomTorque(), RandomTorque(), ForceMode.Impulse);
        transform.position = RandomSpawnPos();
    }

    void Update()
    {
        if (Mouse.current.leftButton.wasPressedThisFrame)
        {
            Debug.Log("Mouse was clicked");
            Ray ray = Camera.main.ScreenPointToRay(Mouse.current.position.ReadValue());
            Debug.DrawRay(ray.origin, ray.direction * 100f, Color.red, 2f);
            if (Physics.Raycast(ray, out RaycastHit hit))
            {
                // If ray hit this enemy, destroy it
                if (hit.transform == transform)
                {
                    Destroy(gameObject);
                }
            }
        }
    }

    Vector3 RandomForce()
    {
        return Vector3.up * Random.Range(minSpeed, maxSpeed);
    }
    float RandomTorque()
    {
        return Random.Range(-maxTorque, maxTorque);
    }
    Vector3 RandomSpawnPos()
    {
        return new Vector3(Random.Range(-xRange, xRange), ySpawnPos);
    }

    private void OnTriggerEnter(Collider other)
    {
        if (other.CompareTag("DestroyZone"))
        {
            Destroy(gameObject);
        }
    }
}