
Test the Hair Simulation
Tutorial
Beginner
+10XP
40m
(134)
Unity Technologies
In this tutorial, you will use the Hair Simulation System to create and customize hair assets.
Resources
1. Overview
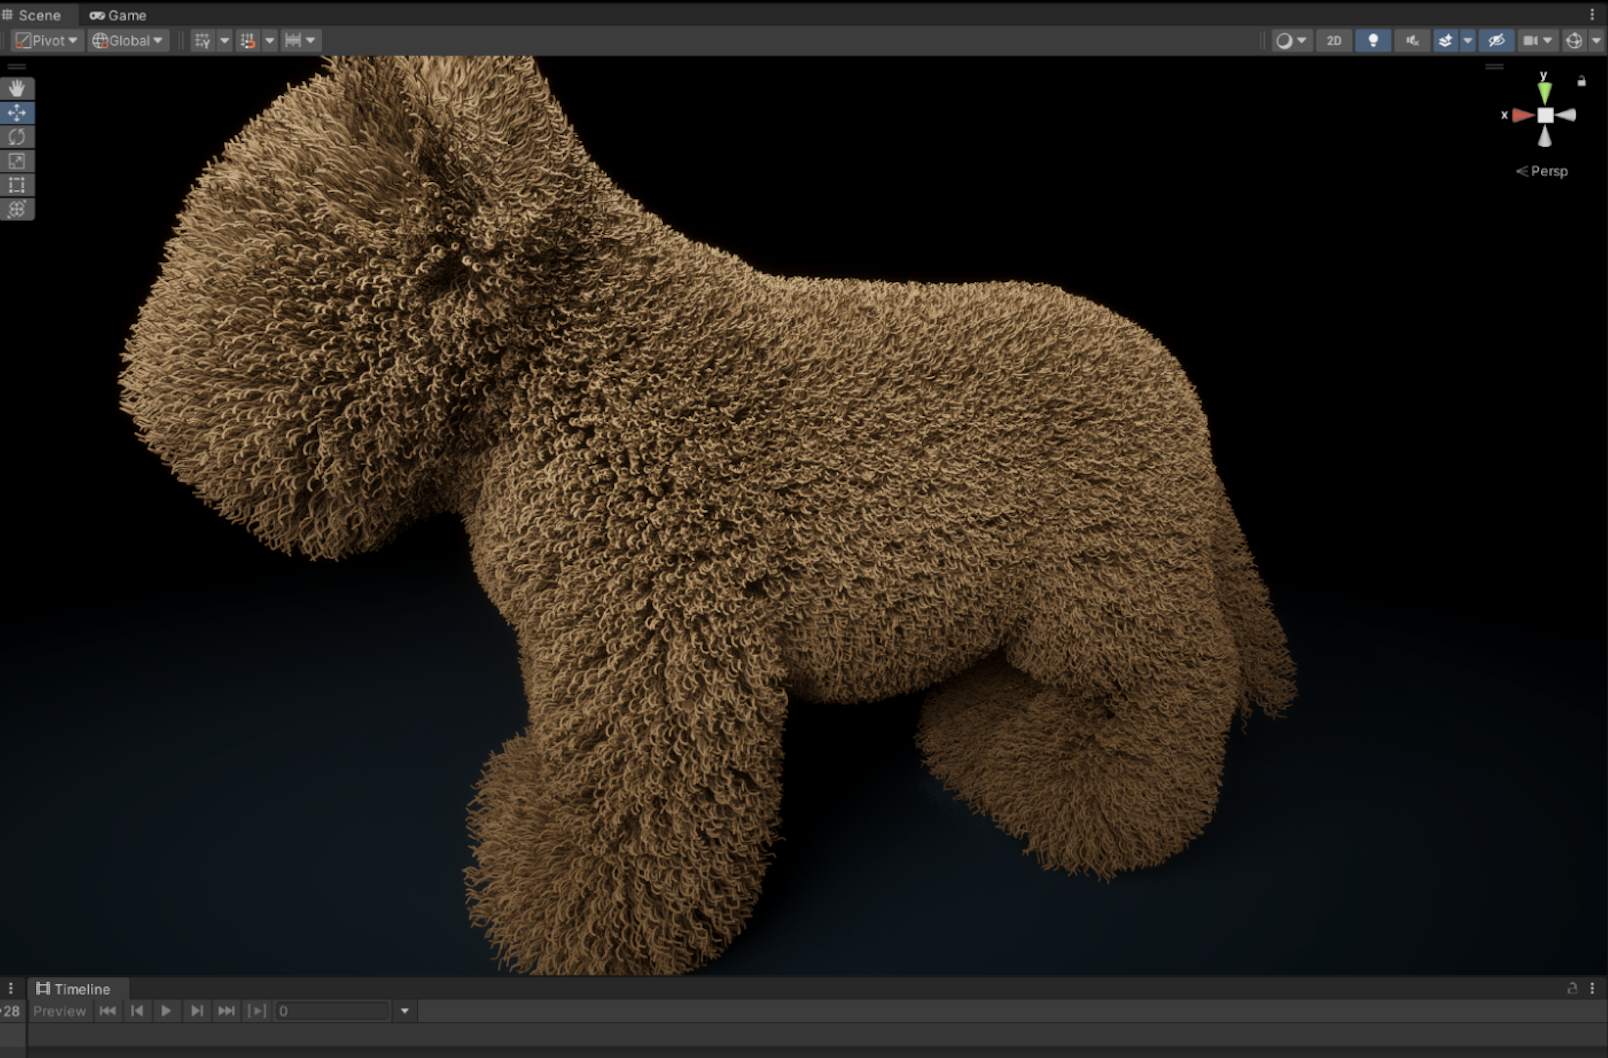
The sample scene provides you with a basic setup of a procedural groom (in the form of a debug-colored curtain) and some primitives for collision demonstration.
In this tutorial, you will explore the Hair System and learn how to create and customize hair assets.
2. Import the minimal hair sample scene
Follow these instructions to import the sample assets and scenes for this project:
1. In the Demo Team Hair System package, select the Samples tab.
2. Select the Import button to download assets and sample scenes.
3. Locate the sample content in your Project directory at Assets\Samples\Demo Team Hair System\0.9.0-exp.1\Minimal Hair Sample.
3. Explore the hair sample scenes
The hair sample scenes are in the Scenes directory. Open the sample scene for the render pipeline your project uses. The sample scene provides you with a basic setup of a procedural groom (in the form of a debug-colored curtain) and some primitives for collision demonstration.
Feel free to explore the system by changing the hair asset's parameters (located in \Minimal Hair Sample\Styles in your project) and the hair instance (in Hierarchy > Hair Prefab). Or why not make a brush out of the curtain? Select Hair Asset > Procedural > Primitive > Brush to do so.
Tip: If you want your hair simulation to continuously update in the Scene view when you are not in Play mode, select the Effects button in the View Options toolbar and select Always Refresh.
4. The hair asset
The Hair System makes it possible for you to easily create hair assets, either from grooms you import from external 3D modeling software (with the Alembic file format for curve data), or through simple procedural generation tools — to scatter hairs on a mesh or other primitive, or use a custom generator, for example.
Procedural
- Scatter strands on primitives or meshes.
- Shape strands with simple parameters like length and curl.
- Plug in your own generators for custom placement.
Alembic
- Import grooms from 3D modeling software, like Weta Wig, Houdini, Maya Xgen, etc., through the Alembic file format (.abc) with the option to resample curves with an adjustable particle count along each strand.
- If you need a sample Alembic file, you may download this hair sample.
To create a hair asset, right-click in the Project window and select Create > Hair > Hair Asset.
5. The hair instance
The hair instance controls the hair asset and its simulation parameters, such as system and strand settings (for example, configurable constraints or level of detail (LOD)) and the hair instance volume settings (including the hair instance volume debug settings). You can assign multiple hair assets to one instance, such as main groom, fly-aways, or baby hairs. This division of groom parts could be relevant for characters with human hair, for example.
Follow these instructions to create a hair instance:
1. Open the GameObject menu and select Create Empty.
2. Add a Hair Instance component to the empty GameObject.
3. Drag the hair asset onto the Instance property of the Hair Instance Inspector.
Tip: In order to expose all Hair Instance parameters, select the More (⋮) menu and then expand each subsection as the screenshots below illustrate.
6. Procedural groom on a user-specified mesh
Follow these instructions to create a procedural groom:
1. Set your hair asset Type to Procedural and your Placement to Mesh.
2. Click and drag your mesh onto the Placement Mesh property, or select it via the Select Mesh menu.
3. Select Build strand groups to rebuild your asset after you adjust strand settings so you can understand the effect of properties such as Count, Length and Curl.
Tip: Enable Auto to the right of the Build strand groups button to have Unity automatically rebuild your asset each time you change a parameter value.
7. A first look at levels of detail
You can build clusters and level of detail (LOD) chains automatically based on spatial relationships. The Hair System supports root, strand, and simplified strand-level clusters.
You can also automatically generate and easily adjust LODs on a hair instance and seamlessly blend between LODs while the simulation is running.
8. Hair instance settings
The hair instance comes with a variety of settings options. Below we explain some of the settings to help you determine how to use them to customize your project to your specifications.
Strand Renderer
There are these strand-rendering options:
- Builtin Lines: Renders hair strands with a line topology. This implies that the hair width is always 1 pixel.
- Builtin Strips: Renders the hair strands as quads, each made of 2 triangles.
- HDRP High-Quality Lines: Renders the hair strands using HDRP's software line renderer. Only available if your project uses the HDRP pipeline version 15.
Simulation
- The hair simulation can run at 30, 60 or 120Hz. Higher values produce more stable and precise results but require more system resources and potentially cause performance slowdowns.
- Steps Min and Steps Max determine the number of simulation steps executed per visual update in the Unity game loop.
Geometry Staging
It is best practice to enable Staging. This outputs the hair simulation result to a staging buffer before rendering, which allows for tessellation prior to rendering, as well as precise motion vectors. There are two Geometry Staging options:
- Subdivision: Increase this value above 0 to smooth strand curves, although this reduces performance.
- Precision: Half precision is the fastest, most memory-efficient option to provide reasonable quality, but it can also produce artifacts if it is insufficiently precise.
Solver
The Gauss Seidel method is the preferred option, since it converges faster than the Jacobi method.
Constraints control the behavior of the simulated hair strands. Iterations is the number of times the hair simulation evaluates the Constraints per Simulation frequency interval. The higher you set this value, the more precise Unity's representation of the Constraints can be.
All physics simulations work best with small and constant time steps. Adjusting the Substeps property allows the user to divide regular time steps into smaller intervals. A higher Substeps value produces higher precision, more stable results, but also requires more system resources. Currently, the difference between a step and a substep is that the simulation volume and boundary data is only rebuilt per step, and interpolated per substep.
The Stiffness property controls the Constraints' elasticity.
Integration
These properties provide linear and angular damping to subtract a fraction of the hair strands' velocity over an adjustable time interval. They include a scaling factor for gravity, which allows for negative gravity effects.
For more details, refer to Customize the simulation settings for your groom: Parameter Adjustment in the next tutorial.
Reference
- Global Position: Enables blending in global position (the reference pose prior to simulation) over a specific time interval. Global Rotation behaves similarly, but for segment rotation.
- Global Fade: Fades the influence of Global Position/Rotation from the root to the tip of a strand. The Global Fade properties Offset and Extent determine where and for how long to fade the effect, normalized to the longest strand in each group.
Colliders
The hair system supports sphere, cube, capsule, torus, and discrete SDF colliders.
9. Configure a hair instance to respect boundaries (colliders)
Follow these instructions to configure a hair instance to respect boundaries (colliders):
1. Enable Boundary Collision in the Solver settings of the hair instance that you want to respect boundaries (colliders).
2. Enable Boundaries Collect in the Volume Settings and select the Include Colliders option to automatically recognize physics colliders (for example, spheres, cubes, capsules).
3. Adjust Boundaries Collect to set the hair instance to automatically pick up Just Tagged colliders. This allows Unity to identify regular colliders or triggers that have a Hair Boundary component. The Hair Boundary component provides the primitive definition to the hair system.