
3.1 Introduction to the Animator component
Tutorial
Beginner
+10XP
20 mins
361
Unity Technologies
In this tutorial, you’ll:
- Review the structure of Animator Controllers and their relationships to the Animator component.
- Learn about the different properties of the Animator component and when each should be applied.
1. Overview
In this tutorial, you’ll review:
- The structure of Animator Controllers and their relationships to the Animator component.
- The different properties of the Animator component and consider when each should be applied.
2. Before you begin
You do not need to use the Unity project for Introduction to 3D Animation Systems to complete this tutorial.
3. Review the structure of the Animator system
Before exploring in detail, let’s review step by step how the Animator system is structured.
All of the things in this overview video will be explored in more detail throughout this learning project.
4. Animator Parameters
Another important part of an Animator Controller is the Animator Parameters.
There are four types of Animator Parameter:
- Floats
- Integers
- Booleans
- Triggers
Float, integer and boolean Parameters store data on the Animator, and can be used in various ways. Trigger Parameters, however, are exclusively used to start Transitions.
Examples of what the Parameter data can be used for include:
- Defining Transition conditions
- Controlling state properties
- Controlling Blend Trees
You will explore each use of Animator Parameters in the tutorials in this learning project.
5. The Animator component
The Animator component acts as the Root of the binding system.
Bindings have two parts:
- A Transform path
- A Property name
The Transform path is a string that includes:
- The names of the Transforms in the hierarchy that must be traversed to get to the GameObject.
- The component and property that is to be animated.
Any properties on the same GameObject as the Animator component have a blank path, as no Transforms need to be traversed to get to that property. Any properties on a direct child of the GameObject with the Animator component have a Transform path of just that child’s name. This continues down the hierarchy for other GameObjects.
It’s important to remember that this pattern for bindings means that only properties on the same GameObject as the Animator component and below it in the hierarchy can have their properties controlled by the Animator.
6. Animator component properties and their uses
When you reviewed the structure of the Animator system, you learned about the Controller property of the Animator component. Let’s now explore what the other properties do.
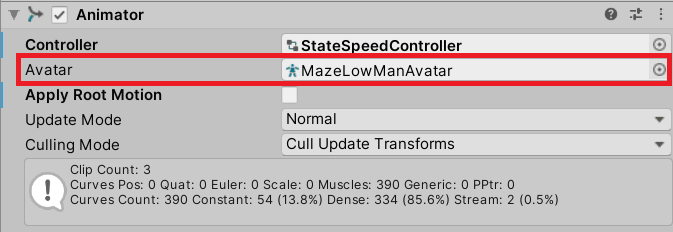
Avatar setting
The Avatar setting of the Animator component is optional, unless you’re animating a character with a Humanoid rig. This setting defines the Transforms that will be animated.
Apply Root Motion
The Apply Root Motion setting determines whether or not any change to the Position or Rotation of the Root node will be applied. If enabled, these deltas will be applied, allowing the animation to move the Root node.
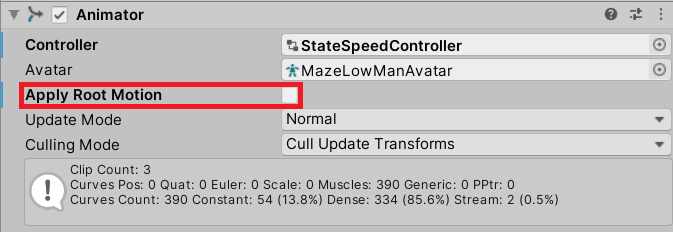
Remember that the Root node is not necessarily the Transform with the Animator component on. It can be any Transform on the hierarchy using an Avatar.
Update Mode
The Update Mode of an Animator component affects when the code of the Animator is executed to update the properties it controls.
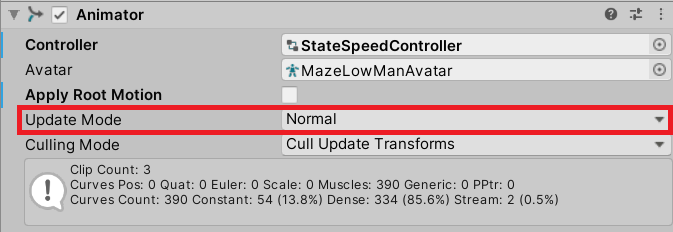
When the Update Mode is set to Normal, the update happens in time with the render system (between the Update and LateUpdate method calls). In most cases, there’s no reason to change this from Normal.
When the Update Mode is set to Animate Physics, the update happens in time with the physics system after the FixedUpdate method call. This setting is useful for when the properties being animated need to interact with the physics engine, for example when a Collider is moved.
The last option is Unscaled Time. With this setting enabled, the update happens in time with the render system, but is not affected by Time.timeScale. This means that the speed of the animation will not change. This setting is useful for keeping things like UI at the same speed while the rest of the game is slowed down or sped up.
Culling Mode
The final setting is Culling Mode. This setting affects what can cause the Animator to pause its updates for efficiency.
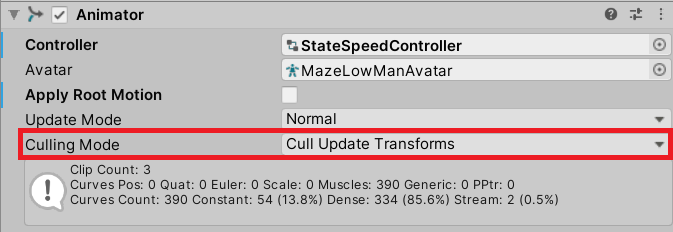
The default option is Always Animate. When you select this option, the Animator will never be culled.
The Cull Update Transforms option stops all writing to Transform properties while the bounding boxes of all renderers under the Animator are outside the frustums of all currently rendering Cameras. The one exception to this is that Root Motion is still applied. This could be used for cases like animated characters that are not always shown by the camera. This would improve performance, as the character’s arms and legs would not be processed most of the time but would be when the character appears.
The final option, Cull Completely, stops all writing to all properties while the bounding boxes of all renderers under the Animator are outside the frustums of all currently rendering Cameras. This should be used for any stationary GameObject that is animated.
7. Summary
In this tutorial, you’ve explored the structure of an Animator component. You’ve also learned:
- About the four types of Animator Parameters (floats, integers, booleans and triggers) and when to use each.
- How the Animator component uses bindings and Transform paths.
- About the different Animator properties and modes and when to use each.
In the next tutorial, 3.2 Introduction to Animation Blending, you’ll explore what Animation Blending is and how it works.