This content will be retired soon
This learning content is being retired and may no longer be available in the future. Consider completing it soon or checking out newer learning resources.

Creating Precise Asset Layouts Using ProGrids
Tutorial
Beginner
+10XP
10m
(64)
Unity Technologies
The ProGrids plugin allows you to snap GameObjects to a virtual grid. This helps you quickly place assets in a Scene with confidence that everything will be perfectly aligned. ProGrids features an easy-to-use interface with configurable options. In this tutorial, you’ll learn how to import ProGrids, use it, and explore its configurable settings.
1. Installing ProGrids
To start, install ProGrids from the Unity Package Manager.
- Go to the Window drop-down and click Package Manager.
- Ensure the drop-down in the top left of the window is set to All Packages.
- Click the Advanced dropdown and select Show Preview Packages.
- Select ProGrids from the list on the left side of the window.
- Click Install in the bottom right.
2. Getting Started
Once you’ve installed ProGrids:
1. Click Tools > ProGrids > ProGrids Window. This will open the ProGrids overlay in the Scene window. (Figure 01)
2. To close ProGrids, click Tools > ProGrids > Close ProGrids
3. Using ProGrids
Once you’ve opened ProGrids, you’ll see a grid overlay in the Scene window. Your Scene will now have grids enabled and your GameObjects will automatically snap to the grid. (Figure 02)
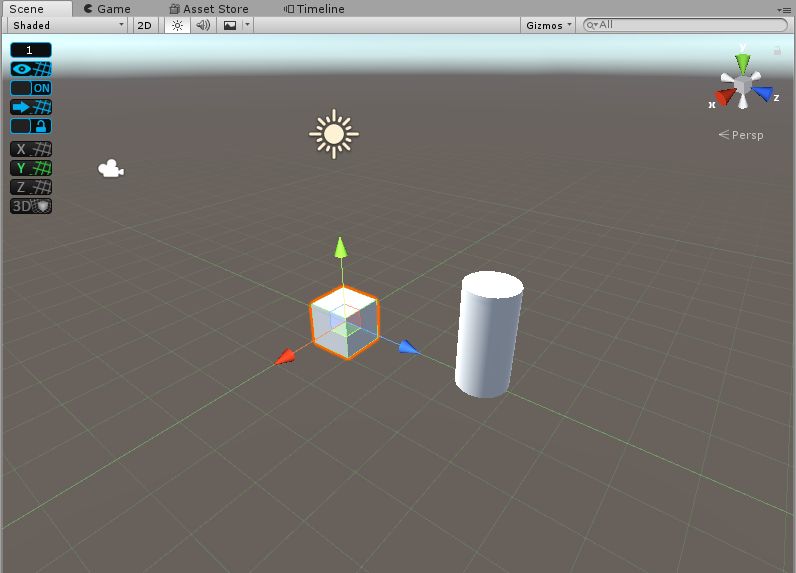
You can change several settings to adjust how ProGrids behaves from the overlay in the top left of the Scene view. They’re numbered to make it easier to step through each possible setting. (Figure 03)
The ProGrids buttons are:
1. Button 1 opens a new window called Snap Settings that allows you to adjust the size of the grid and line increments with Snap Value, Snap On Scale, and Snap as Groups. Snap on Scale allows you to snap to the grid when scaling objects. Snap as Group allows multiple selected objects to retain their relative position to one another when moved. You can also change how the grid is measured, snap angles, and toggle the predictive grid. The predictive grid allows ProGrids to automatically set the rendering grid plane according to an object’s movement. (Figure 04)
2. Button 2 toggles the display of the drawing of the grid guidelines in the active Scene window.
3. This toggles the snap to grid functionality.
4. This snaps all selected objects to the grid.
5. This locks the center of the grid in perspective space.
6. This renders the grid on the x-axis plane.
7. This renders the grid on the y-axis plane.
8. This renders the grid on the z-axis plane.
9. This renders a 3D grid in perspective mode in your Scene window. This means the grid will remain stationary when you move your perspective camera around in the Scene.
Additional settings for ProGrids can be found in Unity Preferences. To open these settings:
1. Click Edit > Preferences or on Mac Unity > Preferences
2. On the left side of the Preferences window, click ProGrids. This will reveal the additional settings. (Figure 05)
In Preferences, you can change grid colors per axis, adjust the line alpha, and more. You can also set keyboard shortcuts. All the settings are clearly labeled and allow you to further customize ProGrids.
4. Conclusion
ProGrids gives you more control over assets in Unity and expedites level designs and asset placement within a Scene. With ProGrids, you can be confident that assets will line up properly. This allows you to focus on your Scene layout rather than spending countless hours trying to place assets manually.