
Lesson 1.2 - Creating Your First Project
Tutorial
Beginner
+10XP
15 mins
(1063)
Unity Technologies
In this lesson, you’ll create your first project in Unity’s Universal Render Pipeline and get the new project set up for use in Unit 2.
1. Creating Your First URP Project
When you create a new project from the Unity Hub, new files and folders are added to a location you specify on your computer. These files include an Assets folder, library files, and the settings you will need to get started.
When creating a new project, there are several templates available depending on what type of project you’re creating. For the Realtime Animated Storytelling Project, we will be using the Universal Render Pipeline (URP) template.
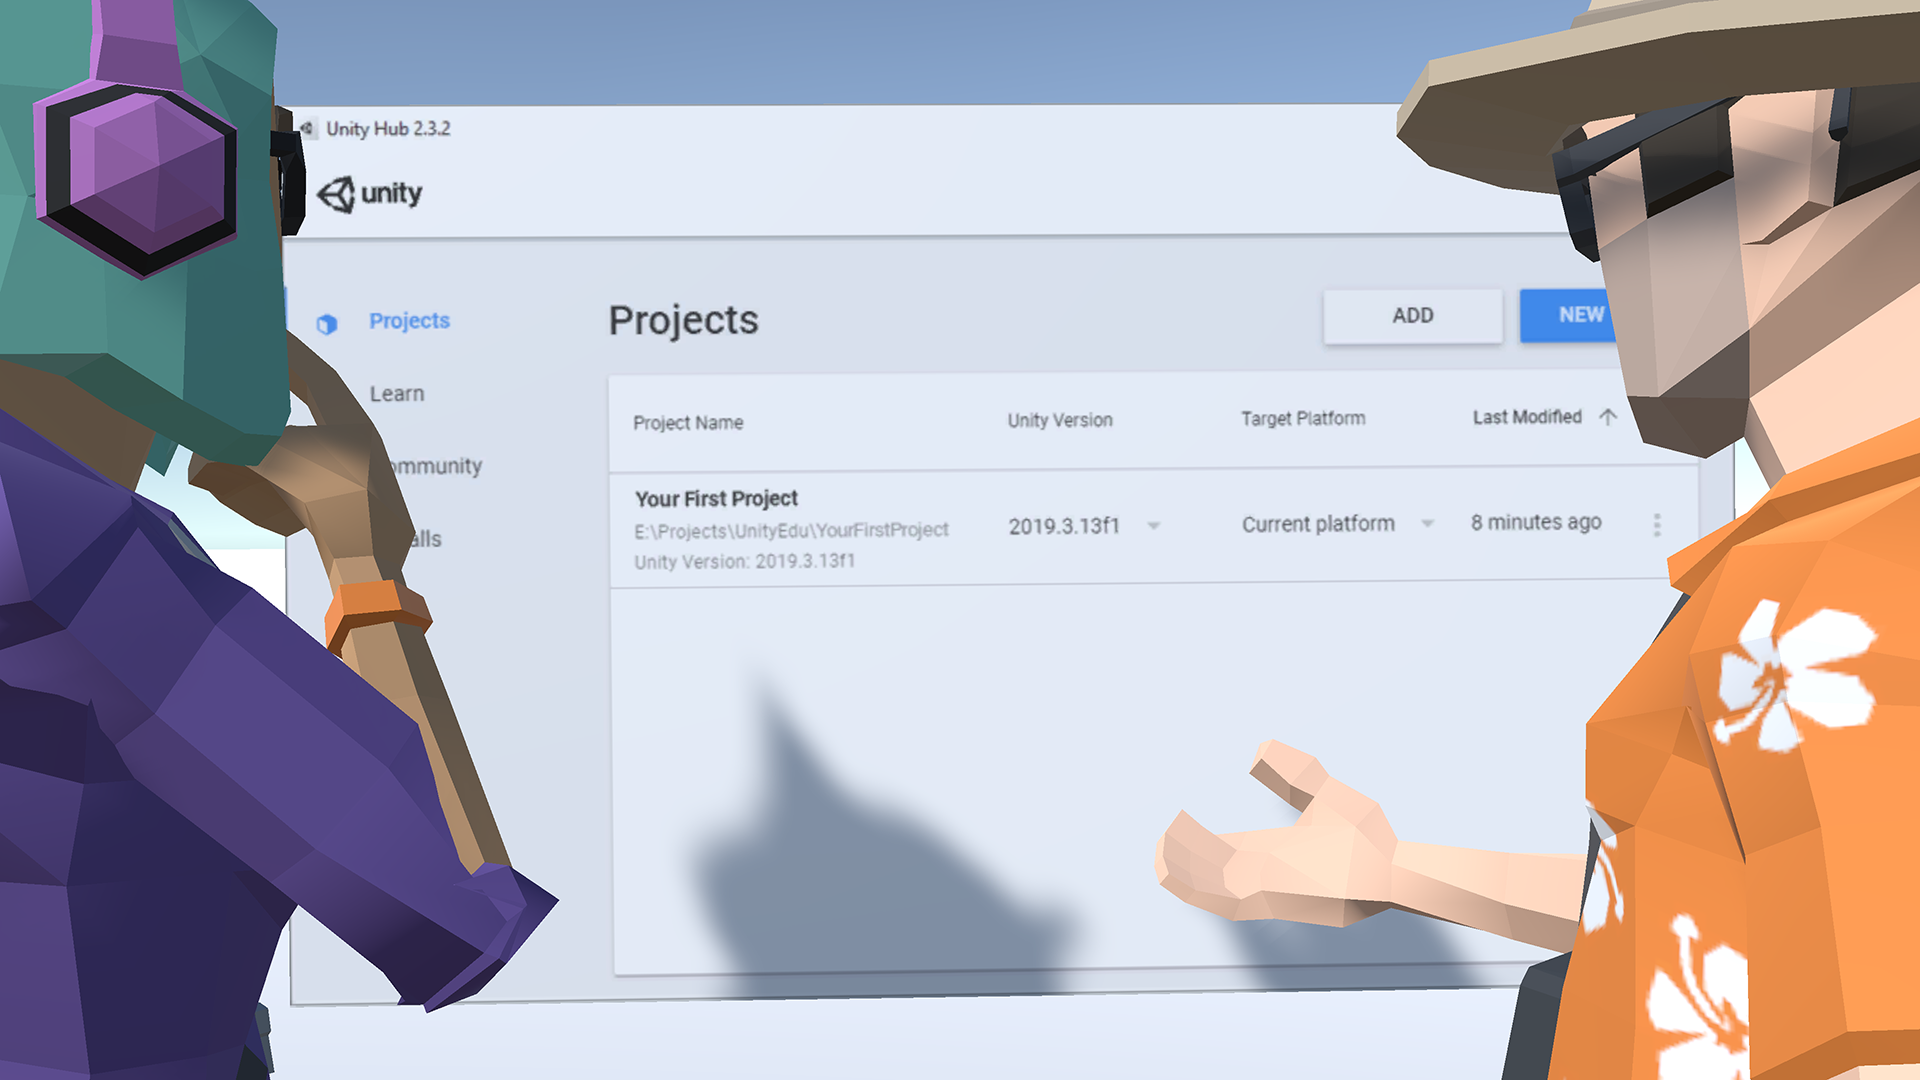
1. With the Projects tab selected in the Unity Hub, click the New button at the top right of the window. If you have multiple versions of Unity installed, there will be a drop-down arrow next to the button that will allow you to select version 2019.4. Next, select the Universal Render Pipeline Template. Type in the project name. Let’s call it Unit1_StarterFiles. Next, specify the folder location by clicking on the Select Folder button which is represented by three dots. Lastly, select Create (Figure 01).
It may take a few minutes for the project to configure and open. When it opens for the first time, you’ll see a sample Scene containing a construction set with a workbench. We will delete this Scene as well as its associated folder.
2. In the Project window, you’ll see the project’s files and folders. With the ExampleAssets folder selected (under Assets), right-click and select Delete. Confirm to delete again in the popup window (Figure 02).
3. Create a new Scene by selecting File > New Scene. Don’t save any changes to the currently open SampleScene.
4. Save the new Scene by selecting File > Save As. Select the Scenes folder inside the Assets folder. Name the Scene Unit1 and select Save.
5. Next, delete the SampleScene file from the project. In the Project window, inside the Scenes folder, select SampleScene, right-click, and then select Delete.
Congratulations! You’ve successfully installed the Unity Hub, the Unity Editor, signed in with a Unity ID, created a new URP project and saved a new empty Scene. In the next unit, we’ll build a city in that empty space!