
Lesson 3.3 - Adding Basic Lighting to a Set
Tutorial
Beginner
+10XP
30 mins
Unity Technologies
There are many streetlights, lanterns and other artificial props within our Scene, but we must add light sources to these props to create the effect that they are actually emitting light. The lights we choose must both be visually coherent (adhering to the same color scheme, for instance) and aesthetically pleasing. In this lesson, you’ll learn to add light to light sources.
1. Lesson Overview
2. Adding Point Lights
We will be using Spotlights and Point Lights to light our Scene. Spotlights are useful for light sources that cast light on other objects while Point Lights are good approximations of self-contained light sources, such as candles or lanterns. We must also account for how our Directional Light influences the behavior of these supplemental lights.
As these additional light sources are essentially competing with the sun, we must either adjust the intensity of our Directional Light or adjust its rotation along the X-axis so that it’s nighttime.
1. Dim the Directional Light by rotating it along the X-axis.We can decrease the intensity in addition, however since the scene is lit with ambient light which is generated from the skybox, this will have less effect than rotating the Directional Light.
Let's first demonstrate the Point Light.
The Point Light emits light radially from its source. With its relative simplicity, there are only a few parameters we can manipulate in the Inspector (Figure 01).
- Range: How far the light emits from its source. This is essentially the size of our light
- Color: The color of the light
- Intensity: The light’s brightness
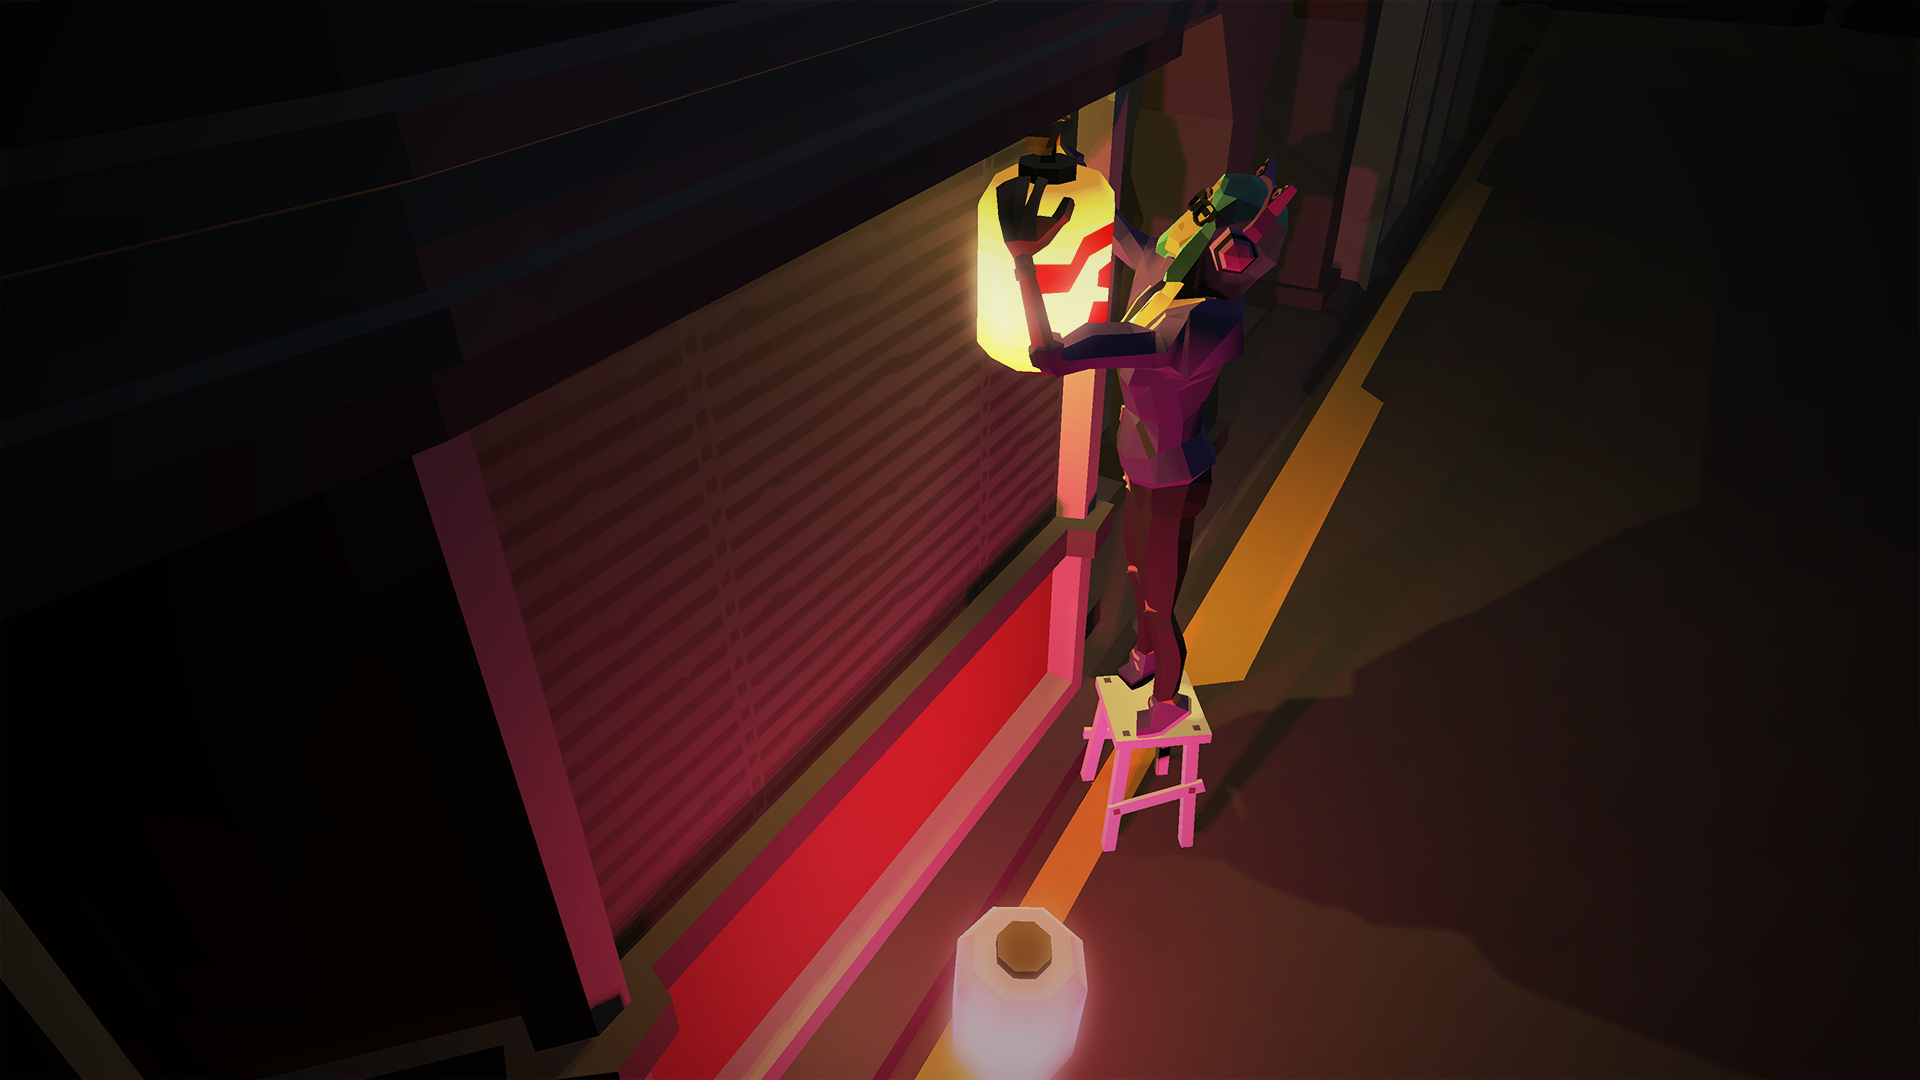
On the left side of the city is a street lined with buildings. One of these buildings has a pink lantern and an orange lantern hanging off its ceiling (Figure 02).
2. Create a Point Light by right clicking in the Hierarchy and selecting Light > Point Light, and place it inside either the yellow or orange lantern. Adjust its color and intensity accordingly so that it matches (or is relatively close) to the color of the lantern you selected.
3. Duplicate the Point Light and position it inside the second lantern. Adjust its color to match the color of the lantern.
3. Adding Spotlights
Let's now demonstrate the Spotlight's parameters. You will notice that many parameters and behaviors overlap from the Point Light.
On the front-facing side of the street are two street lamps (Figure 03).
1. Create a Spotlight and position it inside one of the street lamps below. To create a new Spotlight, navigate to GameObject > Light > Spotlight.
The Spotlight emits light in a cone shape — light is emitted from the peak of the cone and is cast down to the base. There are several parameters we can manipulate in the Inspector to fine-tune how our Spotlights interact with their surrounding surfaces (Figure 04).
- Range: How far the light emits from its source. If we imagine our cone analogy, the range dictates how large that cone is (Figure 05).
- Color: The color of the light
- Intensity: The light’s brightness
- Inner / Outer Spot Angle: This is a slider that determines how focused or diffused the light is. Lower values create more of a “spot” on the ground with minimal shadows, while larger values spread out the light and cast shadows on nearby objects (Figure 06).
2. Adjust the Spotlight's Color and Intensity, then duplicate it and position the duplicate inside the other street lamp.
3. Try changing the Spotlight's color. To do this, navigate to the Color parameter in the Inspector (Figure 07).
4. Rotating the Directional Light
As discussed in Unit 2, each new Unity Scene comes with a Directional Light by default. This light is meant to behave similarly to the sun and can dramatically change the mood of your Scene (Figure 08).
The Directional Light is emitted from an arbitrarily distant point outside the Scene and casts light infinitely. As a result, modifying the Position and Scale values will not have any effect and the light will be cast in the direction of the arrows in the Gizmo. By modifying the light’s Rotation, however, we can mimic sky conditions — such as sunset — as alluded to in the previous lessons.
1. Try rotating the Directional Light along the X-axis so the arrows in the Gizmo are parallel to the Skybox’s horizon and the horizon is dark. Adjust the intensity to create a low-light scenario (Figure 09).
This rotation of the Directional Light is responsible for the night sky shown in Lesson 3.3.1. In the next lesson, we'll learn that even more lighting options are available to us based on the rotation of the Directional Light.
Let's take a clearer look at our city in the Scene view by hiding Gizmos. Gizmos are 3D icons that populate our Scene to display the presence of various GameObjects, such as Lights and Cameras. While useful, they can clutter up our view of a Scene.
2. Navigate to the upper-right corner of the Scene view and click the Gizmos button.
5. Recap
In this lesson, we learned about the different kinds of light sources that Unity provides and how to integrate them into our Scenes. We also touched briefly on how to create color harmony with the lights we've used. In the next lesson, we'll explore how Emissive Materials can act as another light source in your Scenes.