
Lesson 2.1 - Player Positioning
Tutorial
Beginner
+10XP
60 mins
(4149)
Unity Technologies
Overview:
You will begin this unit by creating a new project for your second Prototype and getting basic player movement working. You will first choose which character you would like, which types of animals you would like to interact with, and which food you would like to feed those animals. You will give the player basic side-to-side movement just like you did in Prototype 1, but then you will use if-then statements to keep the Player in bounds.
Project Outcome:
The player will be able to move left and right on the screen based on the user’s left and right key presses, but will not be able to leave the play area on either side.
Resources
Overview Video
1. Create a new Project for Prototype 2
The first thing we need to do is create a new project and import the Prototype 2 starter files.
- Open Unity Hub and create an empty “Prototype 2” project in your course directory on the correct Unity version.
If you forget how to do this, refer to the instructions in Lesson 1.1 - Step 1. - Click to download the Prototype 2 Starter Files, extract the compressed folder, and then import the .unitypackage into your project.
For instructions on importing packages, refer to the Import local asset packages documentation.
Note: If you see warnings in the Console after importing the package into your project, you can safely ignore them. Open the Console and click the Clear button. - From the Project window, open the Prototype 2 scene and delete the SampleScene.
- In the top-right of the Unity Editor, change your Layout from Default to your custom layout.
2. Add the Player, Animals, and Food
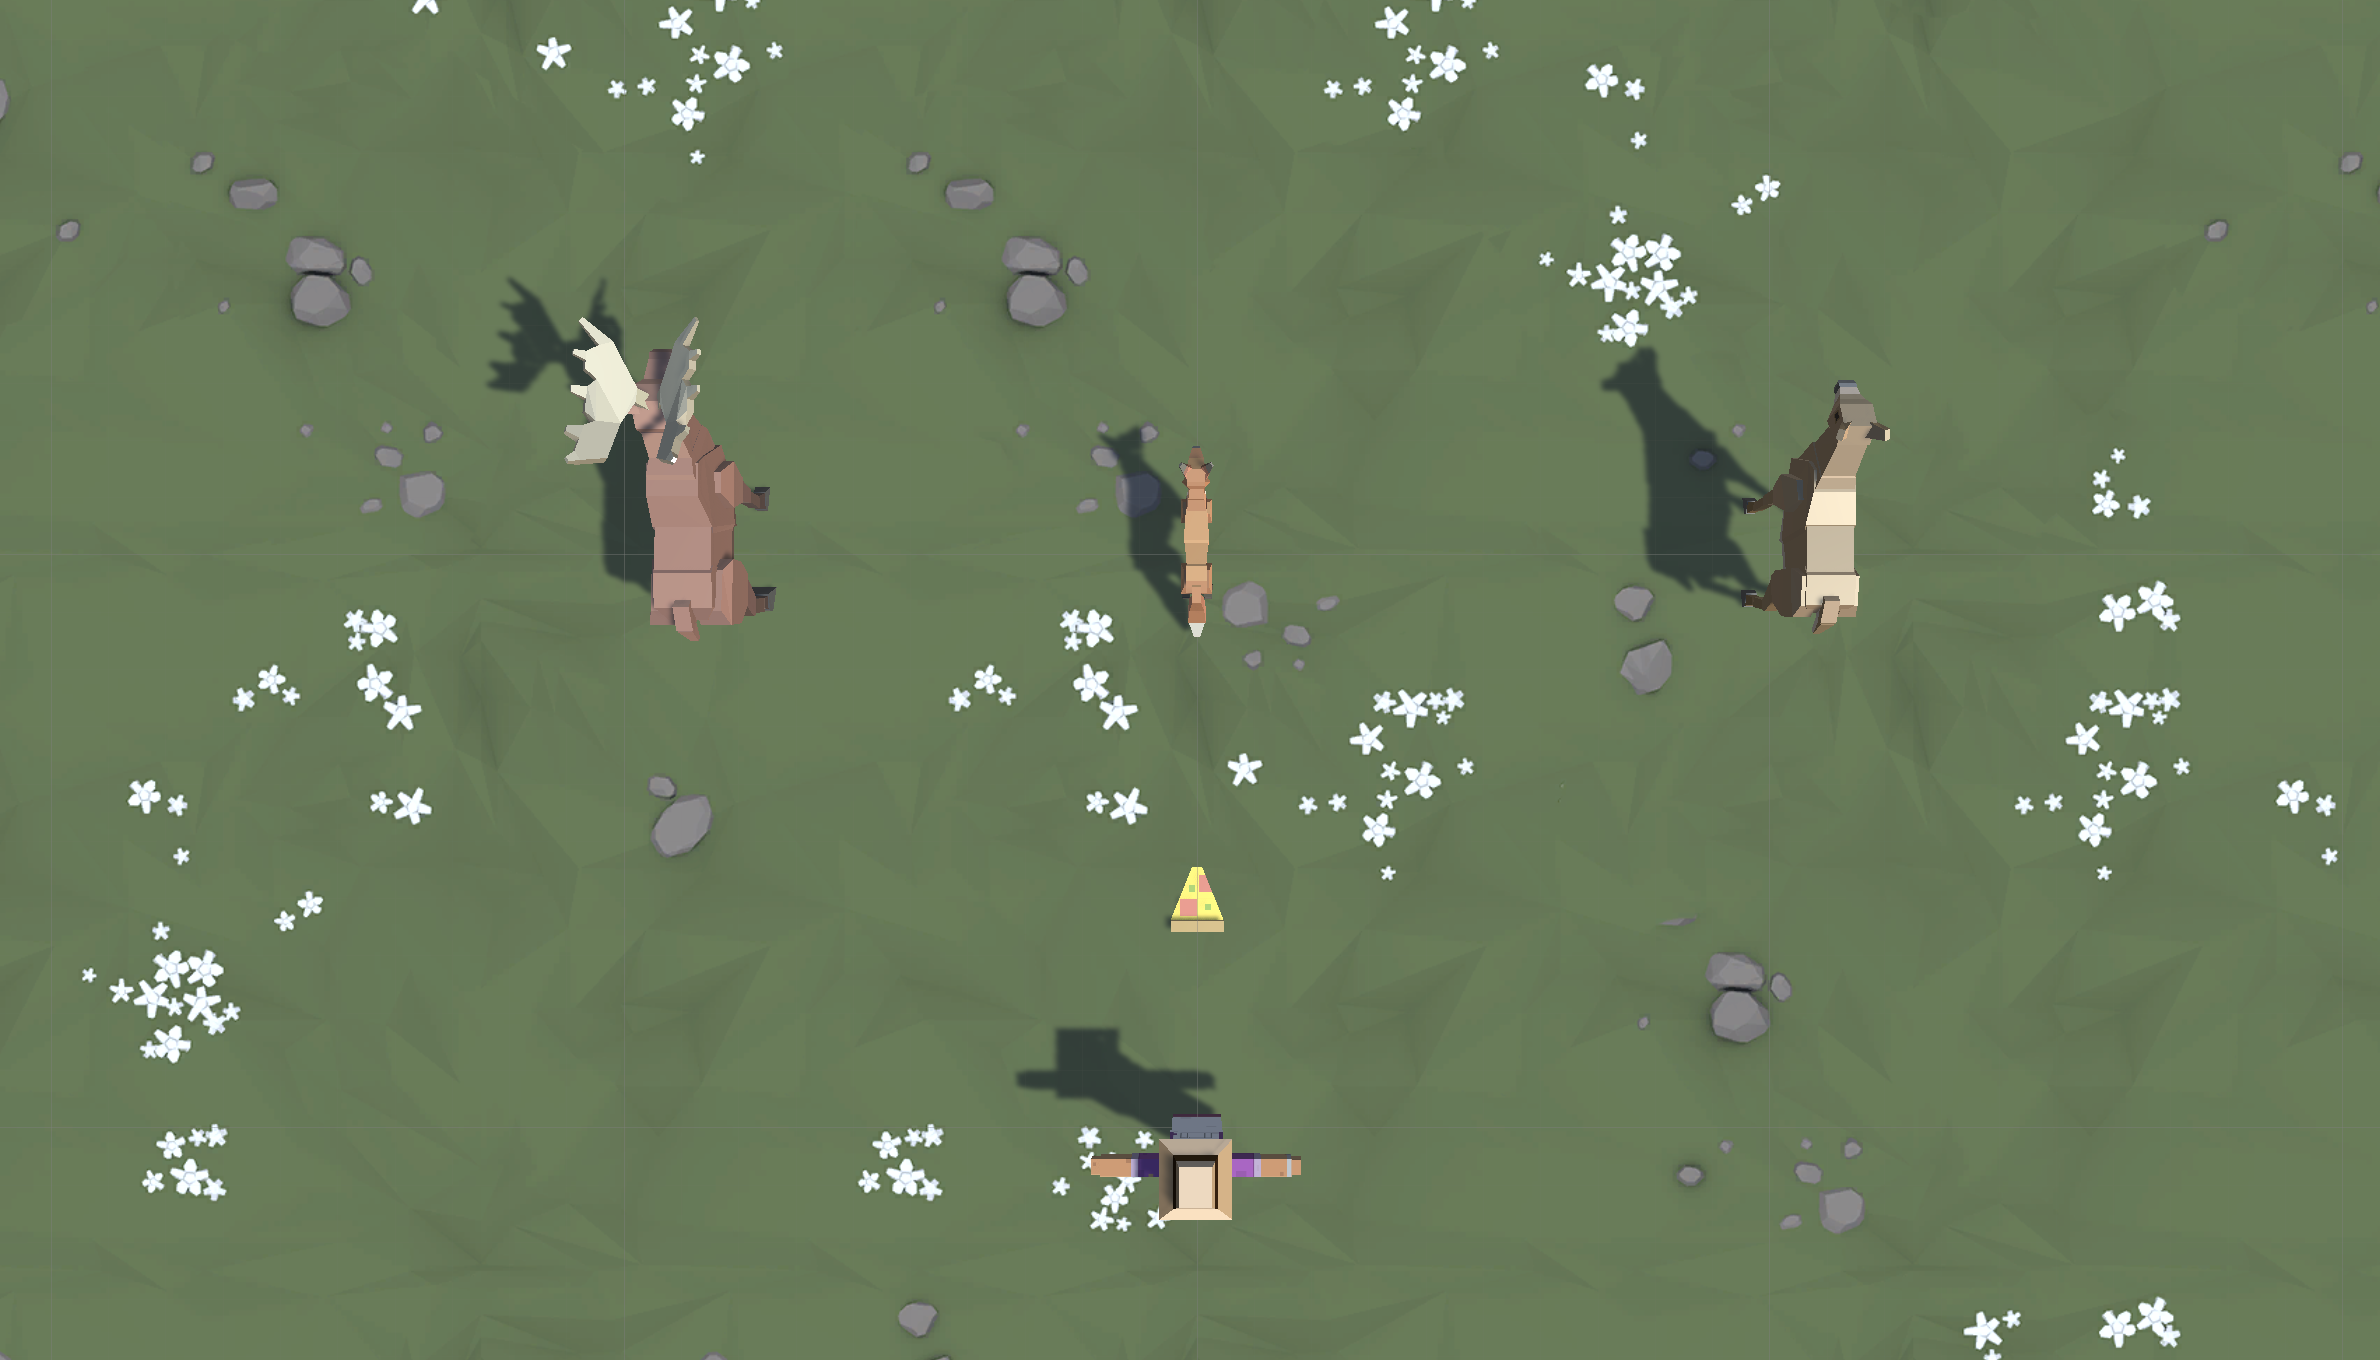
Let’s get all of our objects positioned in the scene, including the player, animals, and food.
- If you want, drag a different material from Course Library > Materials onto the Ground object
- Drag 1 Human, 3 Animals, and 1 Food object into the Hierarchy.
- Rename the character “Player”, then reposition the animals and food so you can see them.
- Adjust the XYZ scale of the food so you can easily see it from above.
3. Configure project settings for the Input System
The code you’ll add in the following steps uses the Input System to handle player controls. To ensure the code works correctly, verify that your project is configured to allow both input systems to run side by side.
Follow the video and instructions below.
Instructions
1. Open the Player Settings:
- From the main menu, select Edit > Project Settings, then select the Player category from the leftmost panel.
2. Enable support for both input systems:
- Find the Configuration section.
- From the Active Input Handling dropdown, select Both.
- Select the Apply button to confirm the change.
The Unity Editor will automatically restart to apply this setting. After restarting, your project will be correctly configured to handle input from both the original Input Manager and the newer Input System.
4. Configure a new moveAction variable
Now let’s add a Move Action using Unity’s newer Input System and bind the Left/Right arrow keys in the Inspector window.
- In your Assets folder, create a “Scripts” folder and a “PlayerController” script.
- Attach the script to the Player GameObject and open it.
- Add public InputAction moveAction; at the top of the class.
- Save and return to Unity. If you see an error about InputAction not found, add the following using statement:
- using UnityEngine.InputSystem;
- If your Editor suggests it, accept the auto-complete/quick fix.
- In the Inspector window, select the Player GameObject, expand the Move Action section, and set up bindings for Left/Right arrows:
- Select + Add Binding, then select Add Up/Down/Left/Right Composite.
- Set Left = keyboard/leftArrow and Right = keyboard/rightArrow.
- You can also add Up/Down later for forward/back if needed.
5. Get Vector2 values for Input
Now let’s read your Move Action as a Vector2 so you can see left/right input values in Play Mode.
- Update your script to add public Vector2 moveInput;
- At the Start method, call moveAction.Enable(); to activate the input.
- In the Update method, read the input by calling moveInput = moveAction.ReadValue<Vector2>(); to update the movement vector each frame.
- Enter Play mode, select your Player in the Hierarchy window, and watch moveInput in the Inspector window.
- Press Left Arrow: moveInput.x should be -1.
- Press Right Arrow: moveInput.x should be +1.
- If you didn’t bind Up/Down yet, moveInput.y will remain 0.
6. Make the player move based on input
Now let’s use your horizontal input to move the Player GameObject and add a speed control.
- Declare a public speed variable by adding public float speed = 10.0f; so you can adjust movement speed in the Inspector window.
- In the Update method, move the GameObject horizontally by calling transform.Translate(Vector3.right * moveInput.x * Time.deltaTime * speed);
- Enter Play mode and test:
- Left Arrow moves left, Right Arrow moves right.
- Adjust “speed” in the Inspector to change movement pace.
7. Keep the player inbounds
We have to prevent the player from going off the side of the screen with an if-then statement.
- In Update(), write an if-statement checking if the player’s left X position is less than a certain value
- In the if-statement, set the player’s position to its current position, but with a fixed X location
8. Clean up your code and variables
We need to make this work on the right side, too, then clean up our code.
- Repeat this process for the right side of the screen
- Declare new xRange variable, then replace the hardcoded values with them
- Add comments to your code
9. Lesson Recap
New Functionality
- The player can move left and right based on the user’s left and right key presses
- The player will not be able to leave the play area on either side
New Concepts & Skills
- Adjust object scale
- If-statements
- Greater/Less than operators
Next Lesson
- We’ll learn how to create and throw endless amounts of food to feed our animals!
Review your script
PlayerController.cs
using UnityEngine;
using UnityEngine.InputSystem;

public class PlayerController : MonoBehaviour
{
    public InputAction moveAction;
    public Vector2 moveInput;
    public float speed = 10.0f;
    public float xRange = 10.0f;

    void Start()
    {
        moveAction.Enable();
    }

    void Update()
    {
        // Keep the player in bounds
        if (transform.position.x < -xRange)
        {
            transform.position = new Vector3(-xRange, transform.position.y, transform.position.z);
        }
        if (transform.position.x > xRange)
        {
            transform.position = new Vector3(xRange, transform.position.y, transform.position.z);
        }

        moveInput = moveAction.ReadValue<Vector2>();
        transform.Translate(Vector3.right * moveInput.x * Time.deltaTime * speed);
    }
}