
Lesson 1.4 - Get into the Driver's Seat
Tutorial
Beginner
+10XP
50m
(70)
Unity Technologies
Overview:
In this lesson, we need to hit the road and gain control of the vehicle. In order to do so, we need to detect when the player is pressing the arrow keys, then accelerate and turn the vehicle based on that input. Using new methods, Vectors, and variables, you will allow the vehicle to move forwards or backwards and turn left to right. At the end of this lesson, you will take the role of a QA tester and write a 'Test Script' for the finished prototype
Project Outcome:
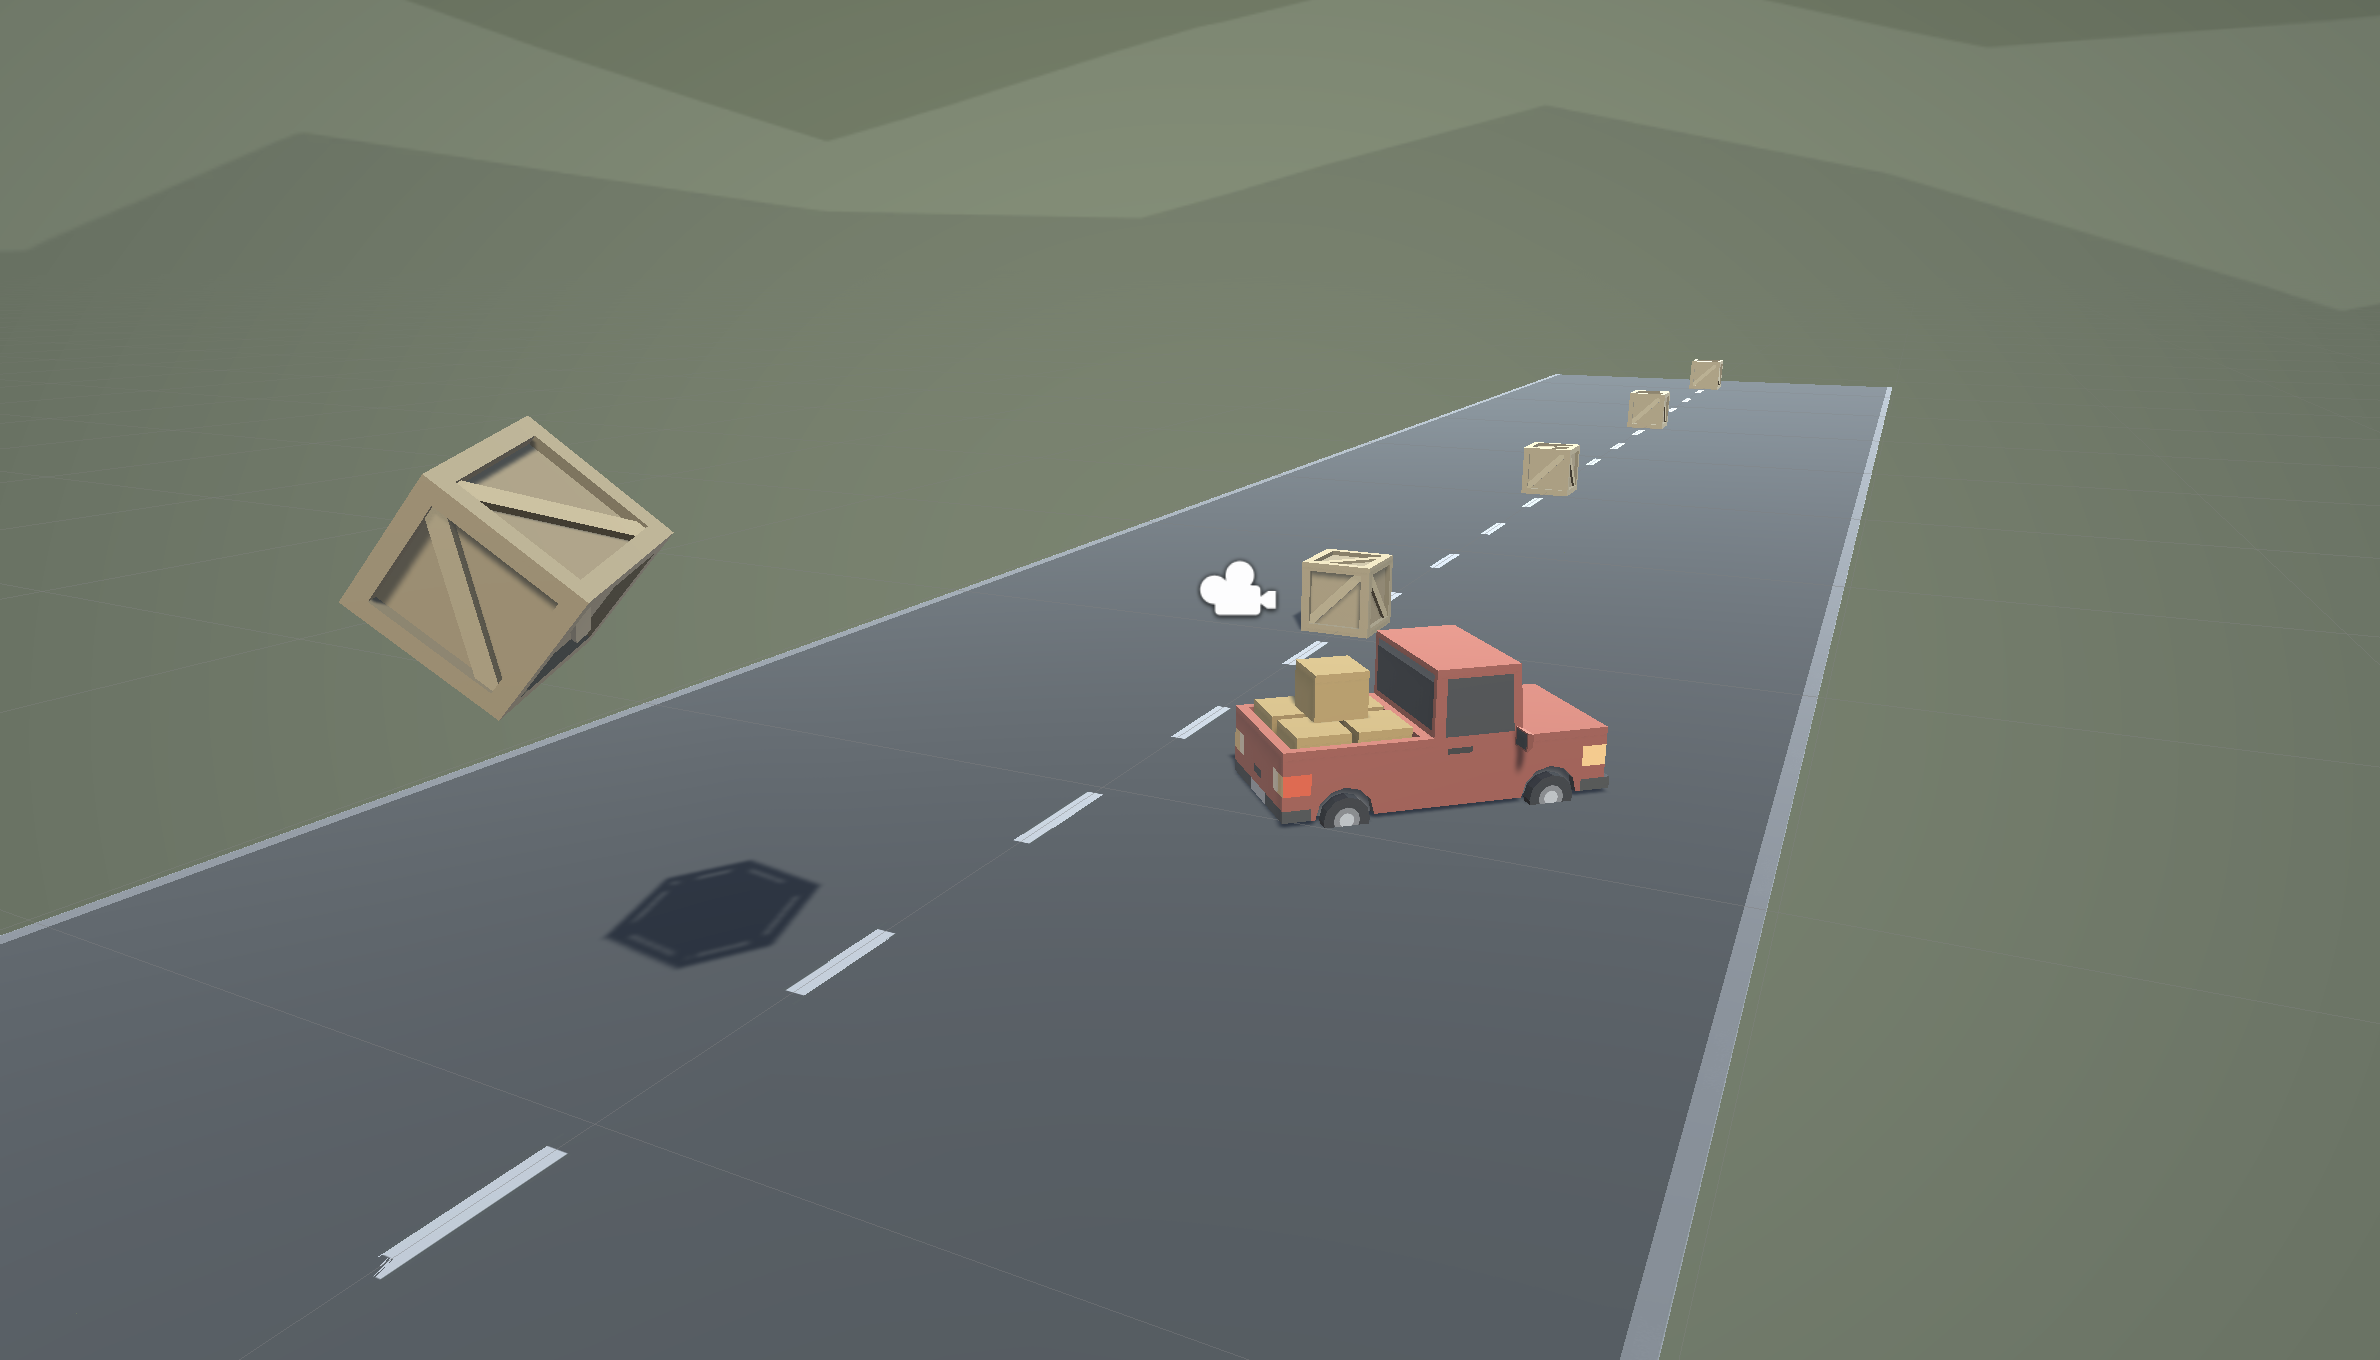
When the player presses the up/down arrows, the vehicle will move forward and backward. When the player presses the left/right arrows, the vehicle will turn.
1. Introduction
2. Allow the vehicle to move left/right
Until now, the vehicle has only been able to move straight forward along the road. We need it to be able to move left and right to avoid the obstacles.
- At the top of PlayerController.cs, add a public float turnSpeed; variable
- In Update(), add transform.Translate(Vector3.right * Time.deltaTime * turnSpeed);
- Run your game and use the turnSpeed variable slider to move the vehicle left and right
3. Base left/right movement on input
Currently, we can only control the vehicle’s left and right movement in the inspector. We need to grant some power to the player and allow them to control that movement for themselves.
- In PlayerController.cs, add a new public float horizontalInput variable
- In Update, assign horizontalInput = Input.GetAxis("Horizontal");, then test to see it in inspector
- Add the horizontalInput variable to your left/right Translate method to gain control of the vehicle
- In the inspector, set the turnSpeed and edit the speed variables to tweak the feel
4. Take control of the vehicle speed
We’ve allowed the player to control the steering wheel, but we also want them to control the gas pedal and brake
- Declare a new public forwardInput variable
- In Update, assign forwardInput = Input.GetAxis("Vertical");
- Add the forwardInput variable to the forward Translate method, then test
5. Make vehicle rotate instead of slide
There’s something weird about the vehicle’s movement… it’s slides left to right instead of turning. Let’s allow the vehicle to turn like a real car!
- In Update, call transform.Rotate(Vector3.up, horizontalInput), then test
- Delete the line of code that translates Right, then test
- Add * turnSpeed * Time.deltaTime, then test
6. Clean your code and hierarchy
We added lots of new stuff in this lesson. Before moving on and to be more professional, we need to clean our scripts and hierarchy to make them more organized.
- In the hierarchy, Right-click > Create Empty and rename it “Obstacles”, then drag all the obstacles into it
- Initialize variables with values in PlayerController, then make all variables private (except for the player variables)
- Use // to add comments to each section of code
- QA Tip: Sometimes comments are used to advise what should be tested or can be used in a code review before the formal QA step of unit testing. Alternatively, when using automated testing it is at this phase a test script might be created and applied to the project.
7. Introduction to Test Scripts in QA
Test scripts are a series of steps for a tester to follow with open sections where they can fill in observations. They are usually built before formal testing starts and try to capture test specific requirements or assumptions as they are delivered by development to inform the testing.
Characteristics of a good test script are:
- Written in a way that tested will test only one thing at a time. Do not overlap or complicate steps.
- Ensure that all positive and negative scenarios are covered.
- Simply written using easy-to-understand language.
- Written in the active voice: "Do this, do that."
- Use exact and consistent names (of forms, fields, etc).
- Does not include any unnecessary steps or words.
- Is repeatable and can be used to perform the test over and over.
- Can be reused if necessary.
8. Create a Draft Test Script
Using the specifications of the Driving Simulator prototype you just created, create a draft of a test script outlining the existing features and mechanics found in this prototype. You can create it in a spreadsheet or you can use templates of test cases, similar to those found here.
9. Lesson Recap
New Functionality
- When the player presses the up/down arrows, the vehicle will move forward and backward
- When the player presses the left/right arrows, the vehicle turns
New Concepts & Skills
- Working with empty objects
- Get user input
- Understand Translate vs Rotate
- Writing a Test Script