
Lesson 3.4 - Working with Particles and Sound Effects
Tutorial
Beginner
+10XP
1h
(38)
Unity Technologies
Overview:
This game is looking extremely good, but it’s missing something critical: Sound effects and Particle effects! Sounds and music will breathe life into an otherwise silent game world, and particles will make the player’s actions more dynamic and eye-popping. In this lesson, we will add cool sounds and particles when the character is running, jumping, and crashing. At the end of the lesson you will learn about exploratory testing and use this method of testing to test the prototype.
Project Outcome:
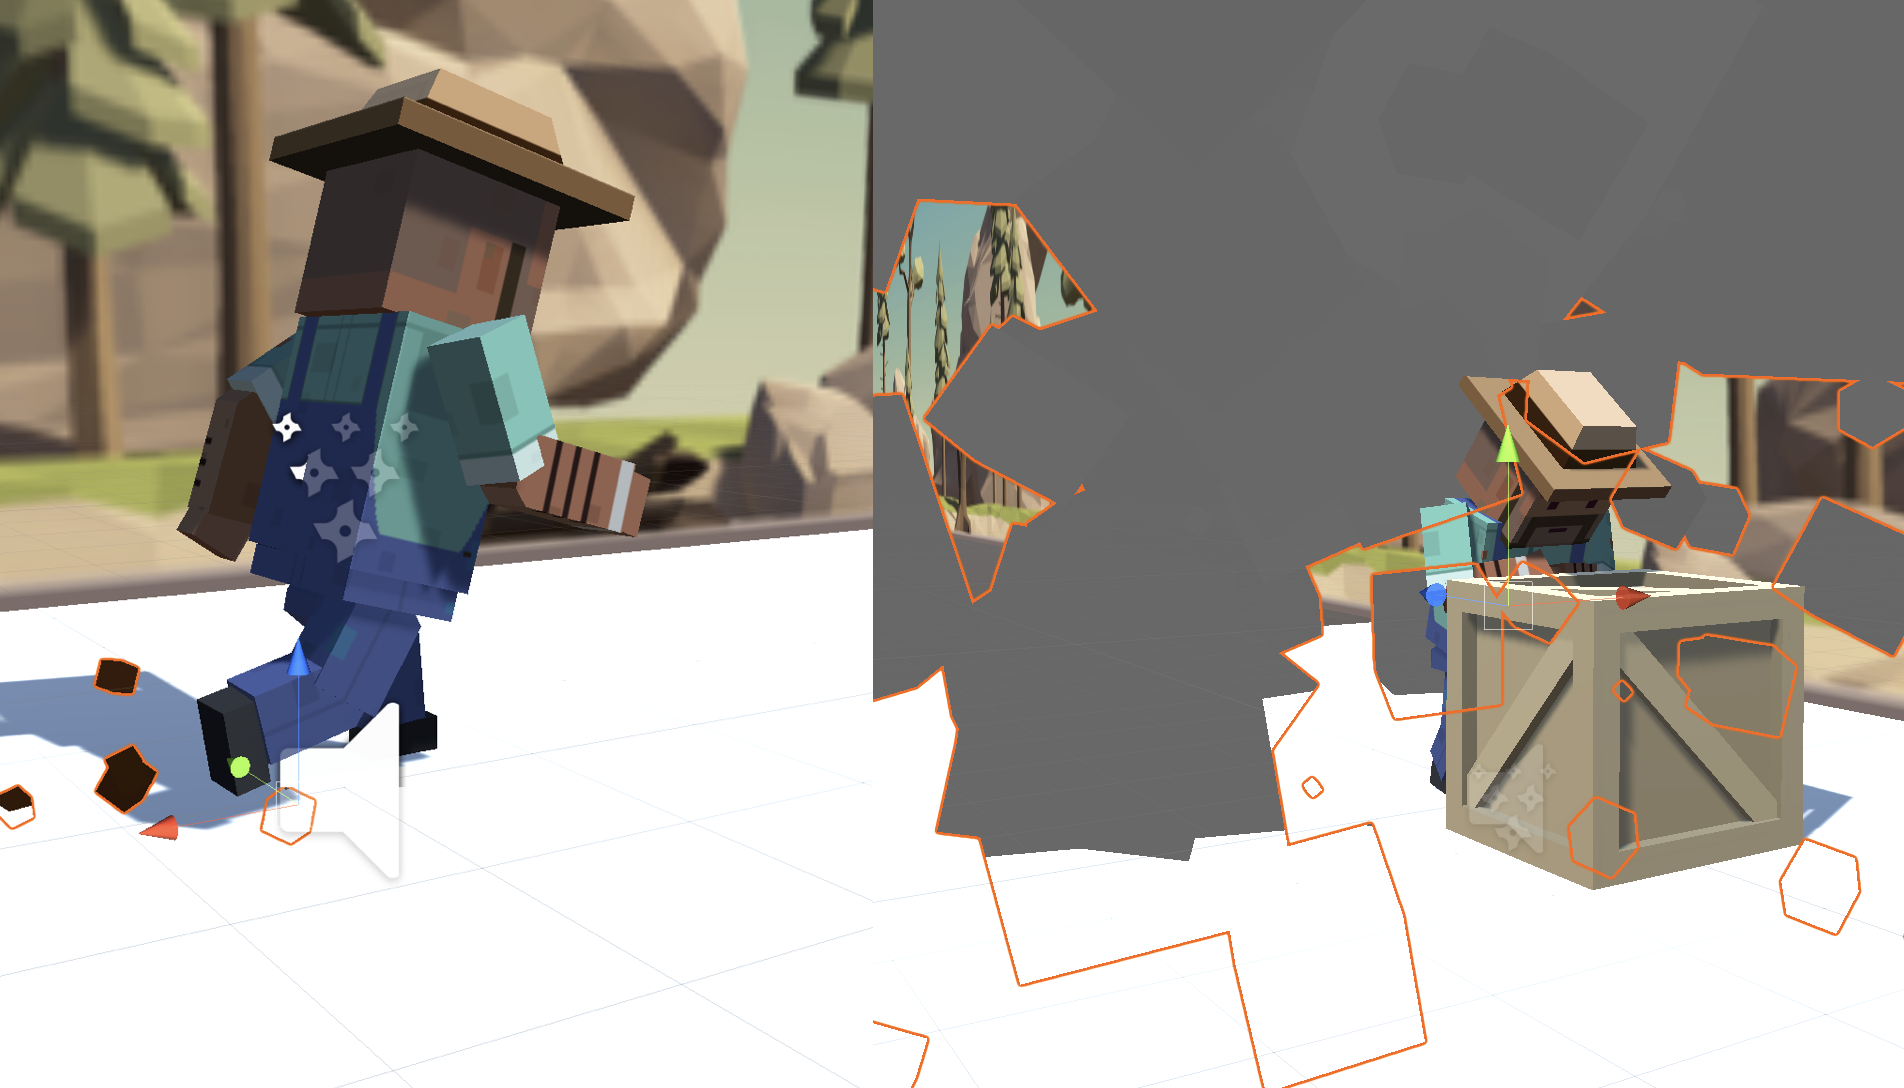
Music will play as the player runs through the scene, kicking up dirt particles in a spray behind their feet. A springy sound will play as they jump and a boom will play as they crash, bursting in a cloud of smoke particles as they fall over.
1. Introduction
2. Customize an explosion particle
The first particle effect we should add is an explosion for when the player collides with an obstacle.
- From the Course Library > Particles, drag FX_Explosion_Smoke into the hierarchy, then use the Play / Restart / Stop buttons to preview it
- Play around with the settings to get your particle system the way you want it
- Make sure to uncheck the Play on Awake setting
- Drag the particle onto your player to make it a child object, then position it relative to the player
3. Play the particle on collision
We discovered the particle effects and found an explosion for the crash, but we need to assign it to the Player Controller and write some new code in order to play it.
- In PlayerController.cs, declare a new public ParticleSystem explosionParticle;
- In the Inspector, assign the explosion to the explosion particle variable
- In the if-statement where the player collides with an obstacle, call explosionParticle.Play();, then test and tweak the particle properties
4. Add a dirt splatter particle
The next particle effect we need is a dirt splatter, to make it seem like the player is kicking up ground as they sprint through the scene. The trick is that the particle should only play when the player is on the ground.
- Drag FX_DirtSplatter as the Player’s child object, reposition it, rotate it, and edit its settings
- Declare a new public ParticleSystem dirtParticle;, then assign it in the Inspector
- Add dirtParticle.Stop(); when the player jumps or collides with an obstacle
- Add dirtParticle.Play(); when the player lands on the ground
5. Add music to the camera object
Our particle effects are looking good, so it’s time to move on to sounds! In order to add music, we need to attach sound component to the camera. After all, the camera is the eyes AND the ears of the scene.
- Select the Main Camera object, then Add Component > Audio Source
- From Course Library > Sound, drag a music clip onto the AudioClip variable in the inspector
- Reduce the volume so it will be easier to hear sound effects
- Check the Loop checkbox
6. Declare variables for Audio Clips
Now that we’ve got some nice music playing, it’s time to add some sound effects. This time audio clips will emanate from the player, rather than the camera itself.
- In PlayerController.cs, declare a new public AudioClip jumpSound; and a new public AudioClip crashSound;
- From Course Library > Sound, drag a clip onto each new sound variable in the inspector
7. Play Audio Clips on jump and crash
We’ve assigned audio clips to the jump and the crash in PlayerController. Now we need to play them at the right time, giving our game a full audio experience
- Add an Audio Source component to the player
- Declare a new private AudioSource playerAudio; and initialize it as playerAudio = GetComponent<AudioSource>();
- Call playerAudio.PlayOneShot(jumpSound, 1.0f); when the character jumps
- Call playerAudio.PlayOneShot(crashSound, 1.0f); when the character crashes
8. Exploratory Testing
We started off with Test Scripts, and now we want to introduce Exploratory Testing. Whereas test scripts are prescriptive, exploratory testing notes are not created before testing begins. Rather the tester creates the notes during a testing session as they explore. As the tester works they document what has been tested throughout a testing session. Each session can then build on the one before, as the previous testing notes can be used as a reference or even a guide to additional testing. Exploratory testing notes also offers a tester more freedom when they are doing their testing, in that they can explore and choose what to test - which can lead to testers uncovering things not anticipated by the developers.
Currently, there is no set format or template for exploratory testing notes. Testers working through an exploratory session can capture their notes in text document, spreadsheet, they can use explorartory testing application (i.e. Jira Capture, Satisfice, Microsoft test manager, Testpad, and so on), or even using mind-mapping tools - Joy Horvath, a Games QA Tester who offered advice in our introduction, uses Mind Meister as her favorite tool.
9. Conduct Exploratory Testing
Using your "Run and Jump" prototype you just completed, pick a way to capture your exploratory testing and conduct testing one or all of the following ways:
- Work through the "Run and Jump" prototype and create your own exploratory testing notes.
- Ask a friend or family member to work through the prototype and as they play you watch and create exploratory notes.
- Pick an additional game, web or mobile application, or software you use often and for 30-60 minutes conduct an exploratory test.
Keep whatever you create for your exploratory test or tests and consider taking images of it to populate a portfolio to showcase your testing skills.
10. Lesson Recap
New Functionality:
- Music plays during the game
- Particle effects at the player’s feet when they run
- Sound effects and explosion when the player hits an obstacle
New Concepts and Skills:
- Particle systems
- Child object positioning
- Audio clips and Audio sources
- Play and stop sound effects
- Exploratory Testing
Overall Recap:
- We’ve made an incredibly polished game - we have these super cool sound and particle effects. We have upbeat background music. We learned how to utilize animations for our characters, we did some programming magic to make our background endlessly scroll, and we learned how to conduct exploratory testing.