Launch Your Games Career: Industry Access For UK Unity Creators
Realitjam’s Unity-Focussed UK Apprenticeship Program Is Here. UK Residents apply now

Lesson 1.1 - Start your 3D Engines
Tutorial
Beginner
+10XP
1h 20m
(15332)
Unity Technologies
Overview:
In this lesson, you will create your very first game project in Unity Hub. You will choose and position a vehicle for the player to drive and an obstacle for them to hit or avoid. You will also set up a camera for the player to see through, giving them a perfect view of the scene. Throughout this process, you will learn to navigate the Unity Editor and grow comfortable moving around in 3D Space. Lastly, you will customize your own window layout for the Unity Editor.
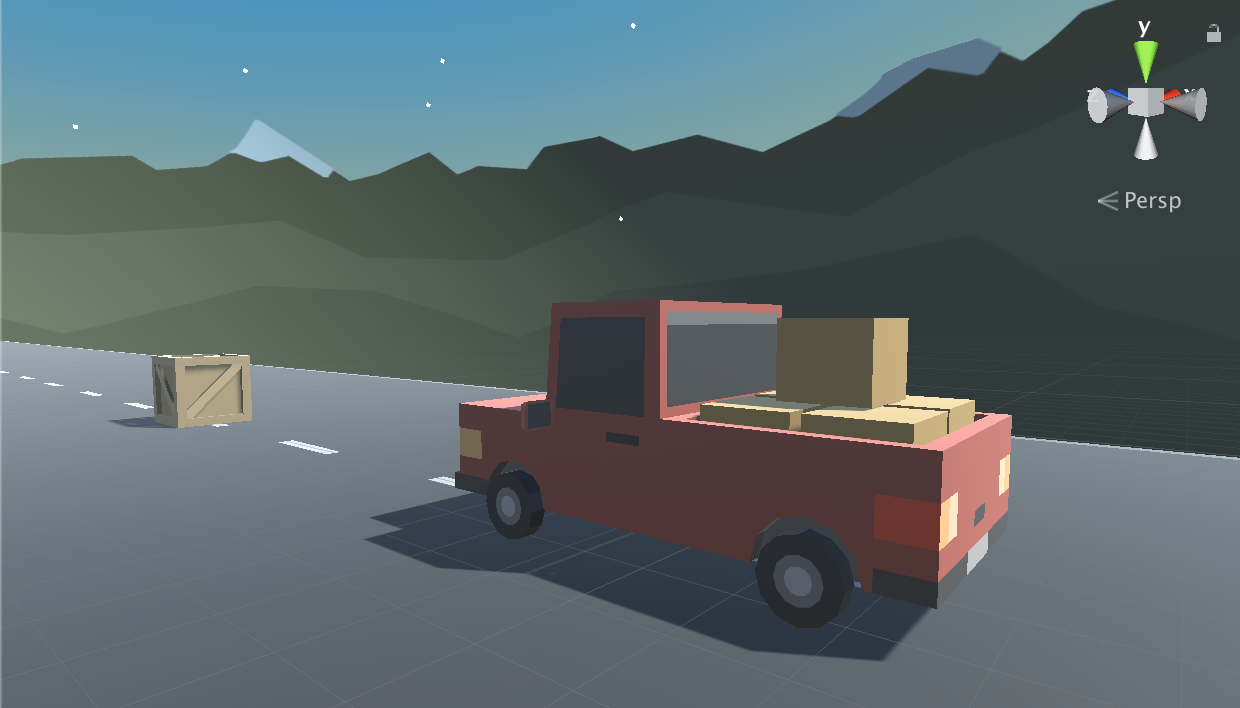
Project Outcome:
You will have a vehicle and obstacle positioned on the road and the camera set up perfectly behind the vehicle. You will also have a new custom Unity layout, perfectly optimized for editing.
Resources
Overview Video
1. Make a course folder and new project
The first thing we need to do is create a folder that will hold all of our course projects, then create a new Unity project inside it for Prototype 1.
- On your desktop (or somewhere else you will remember), Right-click > create New Folder, then name it “Create with Code”
- Open Unity Hub and select the Projects tab from the left sidebar
- Select New to create a new project. To follow this tutorial smoothly, make sure you use the Unity version specified in this tutorial: Unity 2021.3 or Unity 2022.3.
- Select the 3D (Built-In Render Pipeline) template, name the project “Prototype 1”, and set the location to the new “Create with Code” folder
- Select Create, then wait for Unity to open your new project
2. Import assets and open Prototype 1
Now that we have an empty project open, we need to import the assets for Prototype 1 and open the scene
- Click to download the Prototype 1 Starter Files, then extract the compressed folder.
Windows: Right-click on the file > Extract All
Mac: Double-click on the file - From the top menu in Unity, select Assets > Import Package > Custom Package, then navigate to the folder you extracted and select the Prototype-1_Starter-Files.unitypackage file.
- In the Import Unity Package window that pops up, select Import and wait for the assets to import.
- In the Project window, in Assets > Scenes > double-click on the Prototype 1 scene to open it
- Delete the Sample Scene without saving
- Right-click + drag to look around at the start of the road
3. Add your vehicle to the scene
Since we’re making a driving simulator, we need to add our own vehicle to the scene.
- In the Project Window, open Assets > Course Library > Vehicles, then drag a vehicle into the Hierarchy
- Hold right-click + WASD to fly to the vehicle, then try to rotate around it
- With the vehicle selected and your mouse in the Scene view, Press F to focus on it
- Use the scroll wheel to zoom in and out and hold the scroll wheel to pan
- Hold alt+left-click to rotate around the focal point or hold alt+right-click to zoom in and out
- If anything goes wrong, press Ctrl/Cmd+Z to Undo until it’s fixed
4. Add an obstacle and reposition it
The next thing our game needs is an obstacle! We need to choose one and position it in front of the vehicle.
- Go to Course Library > Obstacles and drag an obstacle directly into the Scene view
- In the Inspector for your obstacle, in the top-right of the Transform component, click the more options button > Reset
Note: The more options button may appear as three vertical dots or a gear icon, depending on your version of Unity - In the Inspector, change the XYZ Location to x=0, y=0, z=25
- In the Hierarchy, Right-click > Rename your two objects as “Vehicle” and “Obstacle”
5. Locate your camera and run the game
Now that we’ve set up our vehicle and obstacle, let’s try running the game and looking through the camera.
- Select the Camera in the hierarchy, then press F to focus on it
- Press the Play button to run your Game, then press Play again to stop it
6. Move the camera behind the vehicle
In order for the player to properly view our game, we should position and angle the camera in a good spot behind the vehicle
- Use the Move and Rotate tools to move the camera behind the vehicle looking down on it
- Hold Ctrl/Cmd to move the camera by whole units
7. Customize the interface layout
Last but not least, we need to customize the Unity Editor layout so that it’s perfect for editing our project.
- In the top-right corner, change the layout from “Layout” to “Tall”,
- Move Game view beneath Scene view
- In the Project window, click on the little drop-down menu in the top-right and choose “One-column layout”
- In the layout Dropdown, save a new Layout and call it “My Layout”
8. Lesson Recap
New Functionality
- Project set up with assets imported
- Vehicle positioned at the start of the road
- Obstacle positioned in front of the vehicle
- Camera positioned behind vehicle
New Concepts & Skills
- Create a new project
- Import assets
- Add objects to the scene
- Game vs Scene view
- Project, Hierarchy, Inspector windows
- Navigate 3D space
- Move and Rotate tools
- Customize the layout
Next Lesson
- We’ll really make this interactive by writing our first line of code in C# to make the vehicle move and have it collide with other objects in the scene