Launch Your Games Career: Industry Access For UK Unity Creators
Realitjam’s Unity-Focussed UK Apprenticeship Program Is Here. UK Residents apply now

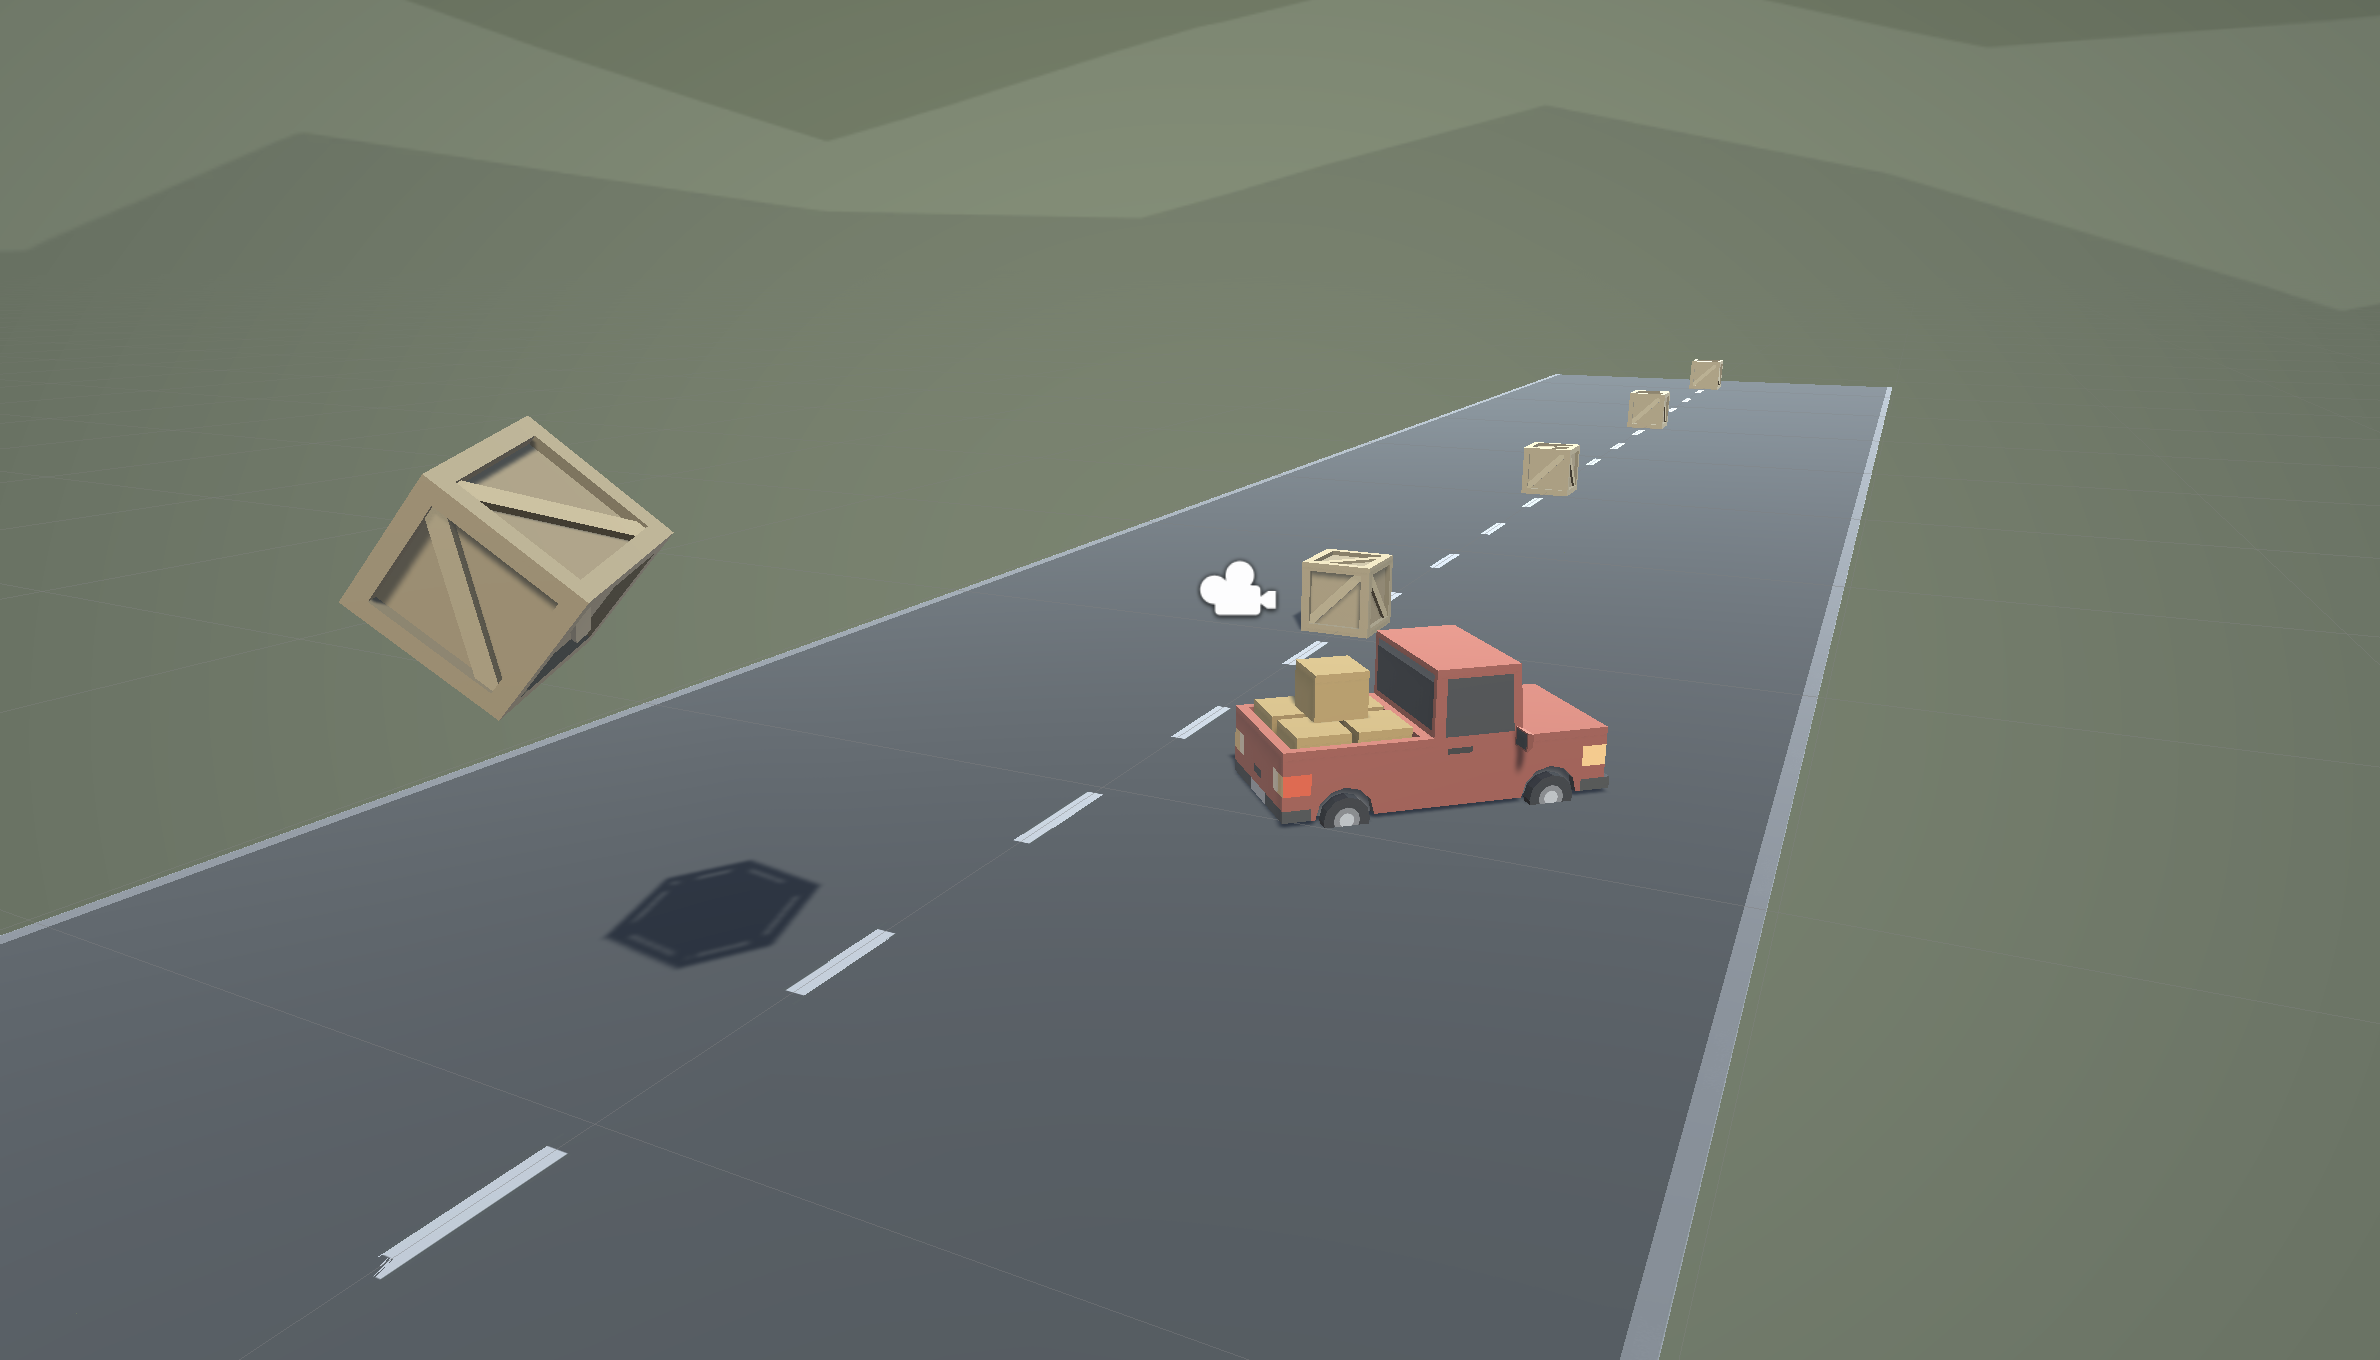
Lesson 1.4 - Step into the Driver's Seat
Tutorial
Beginner
+10XP
50m
(7102)
Unity Technologies
Overview:
In this lesson, we need to hit the road and gain control of the vehicle. In order to do so, we need to detect when the player is pressing the arrow keys, then accelerate and turn the vehicle based on that input. Using new methods, Vectors, and variables, you will allow the vehicle to move forwards or backwards and turn left to right.
Project Outcome:
When the player presses the up/down arrows, the vehicle will move forward and backward. When the player presses the left/right arrows, the vehicle will turn.
Overview Video
1. Configure project settings for the Input System
The code you’ll add in the following steps uses the Input System to handle player controls. To ensure the code works correctly, verify that your project is configured to allow both input systems to run side by side.
Follow the video and instructions below:
Instructions
1. Open the Player Settings:
- From the main menu, select Edit > Project Settings, then select the Player category from the leftmost panel.
2. Enable support for both input systems:
- Find the Configuration section.
- From the Active Input Handling dropdown, select Both.
- Select the Apply button to confirm the change.
The Unity Editor will automatically restart to apply this setting. After restarting, your project will be correctly configured to handle input from both the original Input Manager and the newer Input System.
2. Allow the vehicle to move left/right
Until now, the vehicle has only been able to move straight forward along the road. We need it to be able to move left and right to avoid the obstacles.
- At the top of PlayerController.cs, add a public float turnSpeed; variable
- In Update(), add transform.Translate(Vector3.right * Time.deltaTime * turnSpeed);
- Run your game and use the turnSpeed variable slider to move the vehicle left and right
3. Add a MoveAction variable
Now let’s introduce Unity’s newer Input System and expose a Move Action so you can bind the arrow keys directly in the Inspector.
- In PlayerController.cs, add a public InputAction field so it shows up in the Inspector window.
- Save, return to Unity, then in the Inspector window expand the Move Action section.
- If you get an error about InputAction not being found, hover over the error and use Quick Fix to add “using UnityEngine.InputSystem;”,or manually add the using statement at the top, save, and the error will disappear.
- Save and return to the Editor. You should now see Move Action in the Inspector window with your arrow-key bindings.
4. Assign bindings to the action
Now let’s add a 2D Vector composite to your Move Action and bind WASD, while also clarifying how a Vector2 relates to Vector3 movement.
- In the Inspector window, expand the Move Action section, select + Add Binding, then select Add Up/Down/Left/Right Composite. You’ll see child parts: Up, Down, Left, Right.
- 2D Vector outputs a Vector2 (x, y) where:
- x comes from Left/Right (Left = -1, Right = +1)
- y comes from Down/Up (Down = -1, Up = +1) On a keyboard it’s typically -1, 0, or +1; on analog sticks it’s a continuous range.
- How does Vector2 relate to Vector3? For ground movement, map Vector2(x, y) to the XZ plane in 3D as Vector3(x, 0, y). That keeps vertical (Y) at 0 while moving on the plane.
- Bind WASD:
- Double-click Up, set its Path to keyboard/w (you can type to search or select Listen and press W).
- Double-click Down, set to keyboard/s.
- Double-click Left, set to keyboard/a.
- Double-click Right, set to keyboard/d.
- Repeat using Listen for each binding to quickly capture the key you press. Save your script/scene as needed; bindings are stored with the component.
5. Debug the input values
Now let’s read the Move Action as a Vector2 and expose it in the Inspector window so you can see input values live in Play mode.
- In PlayerController.cs, add a public Vector2, named moveInput.
- Inside the Start method, use moveAction.Enable();
- At the beginning of the Update method, add moveInput = MoveAction.ReadValue<Vector2>();, then save and return to Unity.
- Enter Play mode, select your Player in the Hierarchy window, and watch moveInput in the Inspector window change as you press WASD/Arrow keys (x = left/right, y = forward/back).
- How we’ll use these values:
- Strafing-style movement: use moveInput directly on the XZ plane as Vector3(moveInput.x, 0, moveInput.y) multiplied by speed.
- Steering-style movement: use moveInput.y to move forward/back and moveInput.x to rotate the vehicle around Y (turning) with turnSpeed.
6. Make the vehicle move forward and sideways
Now let’s drive movement using the Move Action’s Vector2 by multiplying your Translate calls with moveInput.x and moveInput.y.
- In PlayerController.cs, update your movement to use moveInput.y for forward/back and moveInput.x for left/right.
- moveInput.y is the vertical axis of the 2D Vector (Up/Down). We map it to forward/back movement on Z. moveInput.x is the horizontal axis (Left/Right), mapped to movement on X.
- Enter Play Mode and test forward/back with W/S or Up/Down.
- Now test left/right with A/D or Left/Right. If it doesn’t move, your turnSpeed is likely 0 in the Inspector.
- Set turnSpeed to a non-zero value like 5 in the Inspector, then enter Play Mode again.
7. Make the vehicle turn instead of sliding
Now replace the sideways Translate with a Rotate so the player steers around the Y axis.
- In PlayerController.cs, add this line at the end of the Update() function transform.Rotate(Vector3.up, Time.deltaTime * turnSpeed * moveInput.x);
- Now delete this line transform.Translate(Vector3.right * Time.deltaTime * turnSpeed * moveInput.x);
- How Rotate works:
- transform.Rotate(Vector3.up, angle) spins the object around its local Y axis (up) by “angle” degrees.
- Here, angle = Time.deltaTime × turnSpeed × moveInput.x, so rotation is frame-rate independent and scaled by your input (−1 to +1).
- Positive x input turns right; negative turns left.
8. Clean your code and Hierarchy
Now let’s improve readability with comments and make the input Vector2 private, since it’s only used internally.
- Use // to add comments to each section of code.
- Change
moveInputto a private field.
9. Lesson Recap
New Functionality
- When the player presses the up/down arrows, the vehicle will move forward and backward
- When the player presses the left/right arrows, the vehicle turns
New Concepts & Skills
- Empty objects
- Get user input
- Translate vs Rotate
Check your script
using UnityEngine;
using UnityEngine.InputSystem;

public class PlayerController : MonoBehaviour
{
    public float speed = 5.0f;
    public float turnSpeed = 100f;

    public InputAction MoveAction;

    private Vector2 moveInput;

    void Start()
    {
        MoveAction.Enable();
    }

    void Update()
    {
        moveInput = MoveAction.ReadValue<Vector2>();

        transform.Translate(Vector3.forward * Time.deltaTime * speed * moveInput.y);

        transform.Rotate(Vector3.up, Time.deltaTime * turnSpeed * moveInput.x);
    }
}