Balloon Inflator
Tutorial
·
intermediate
·
+10XP
·
60 mins
·
(176)
Unity Technologies
The next object you’ll work on – the balloon inflator – will adjust the size of the balloon based on the precise trigger press value. The harder the trigger is pressed, the more the balloon will inflate. In order to accomplish this more complex, unique interaction, you will need to dive deeper into the API and its documentation.
In this tutorial, you will reference online documentation and existing code samples to program a complex, custom VR interaction.
1. Overview
When you were programming the scanner, you used the API to trigger functionality on single events, like when the object was selected or when the trigger was pressed.
In this tutorial, you are going to create more controlled interactions and events by detecting and responding to the pressure value of a trigger press. You’ll use this precise value to make a balloon inflator object, which makes a balloon grow and shrink along with the trigger pressure.
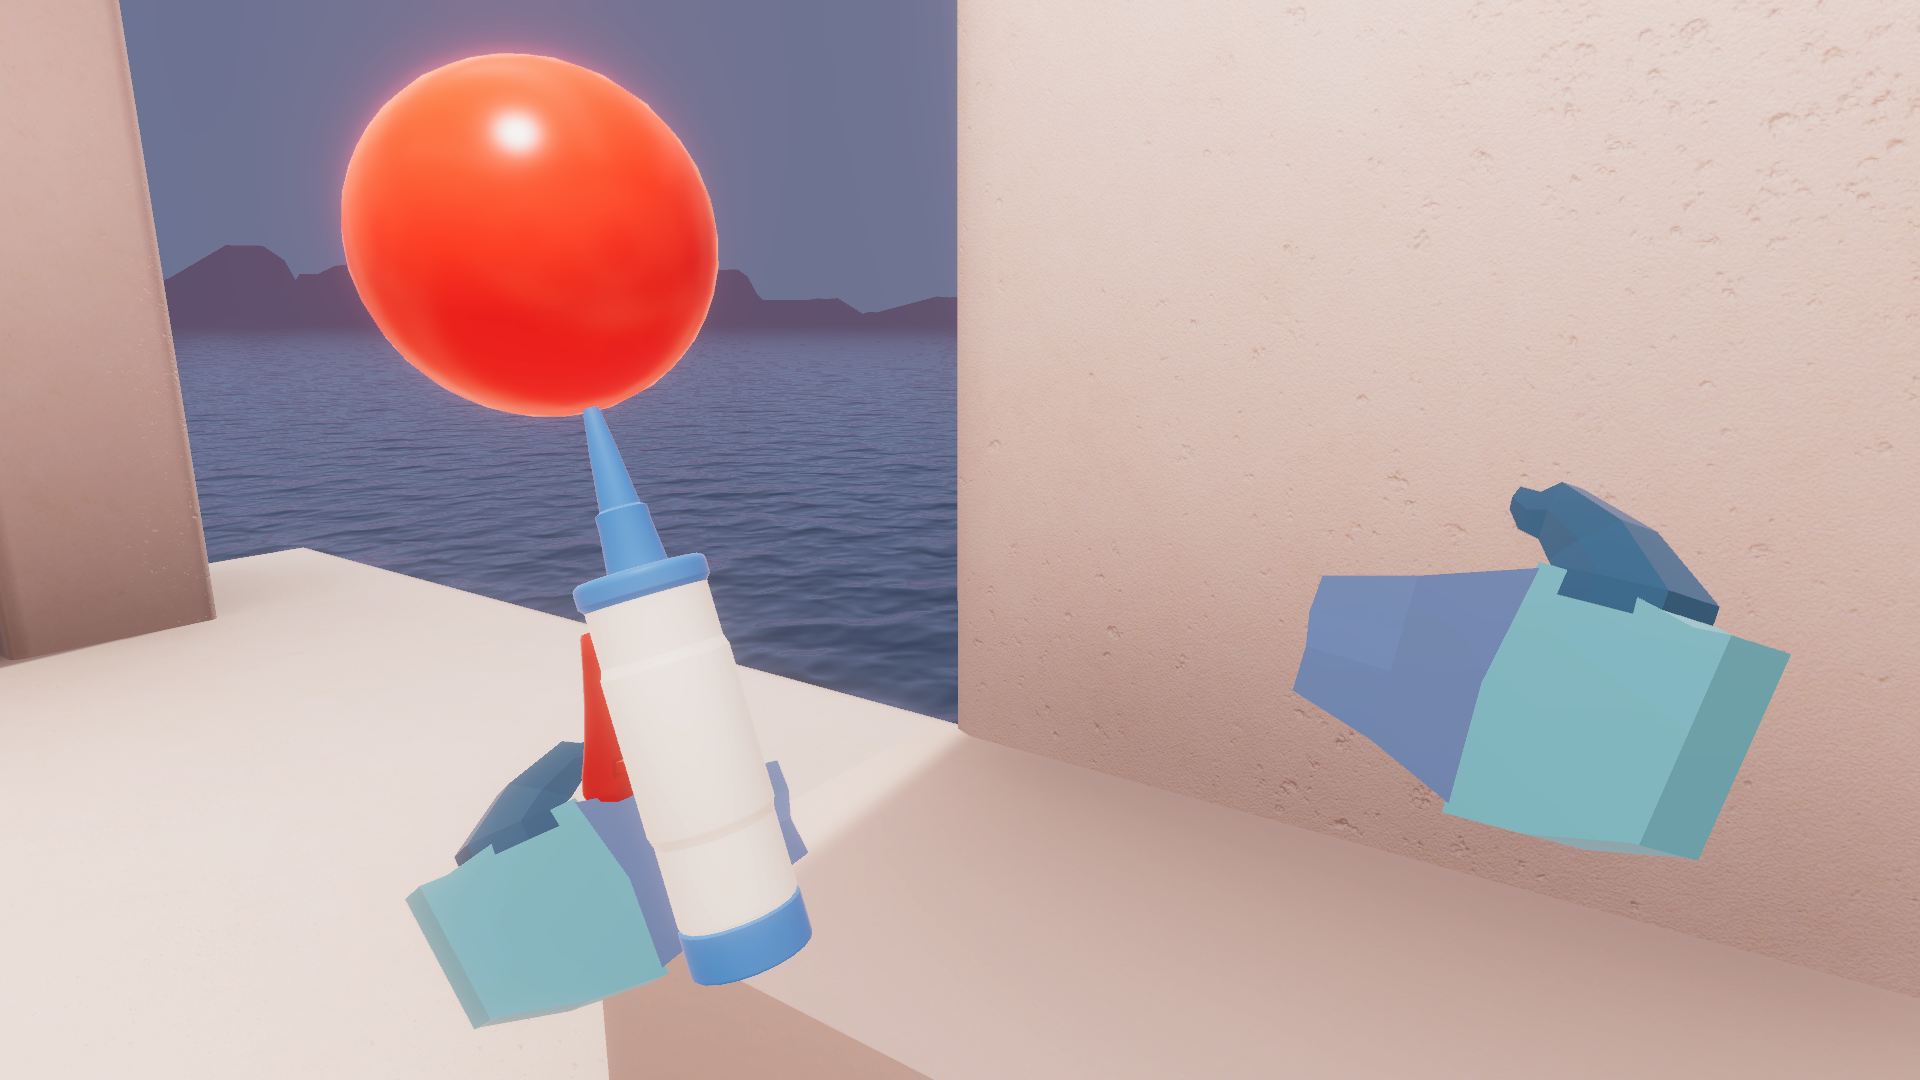
It will look something like this:
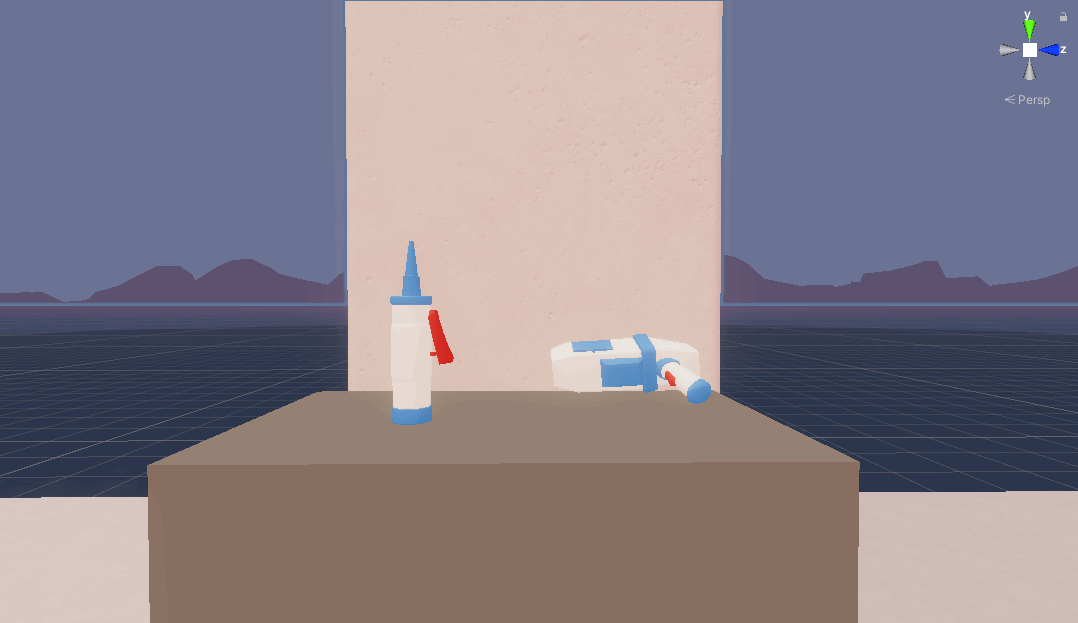
2. Set up a basic grabbable object
We’ve created a balloon inflator Prefab for you in the project, which is just a simple mesh Prefab. Your task is to get the inflating features working.
Before you worry about any fancy functionality, follow the steps below to give it basic grabbable properties:
1. From the _VRPathway > Assets > Prefabs folder, drag the balloon inflator prefab into the scene.
2. In the _VRPathway > Scripts folder, create a new C# script called “BalloonInflator.cs”. Then attach the script to the Inflator GameObject and open the script.
3. Just like before, you need to make sure that the script has access to the XR Interaction Toolkit API. Add “UnityEngine.XR.Interaction.Tooklit” to the list of namespaces.
using System.Collections;
using System.Collections.Generic;
using UnityEngine;
using UnityEngine.XR.Interaction.Toolkit;  // add this line
4. Replace Monobehaviour with XRGrabInteractable to inherit from that class and get all the default grabbable object behaviors.
public class BalloonInflator : XRGrabInteractableTest your app and grab the balloon inflator. It should now behave like a typical grabbable object, allowing you to pick it up and put it down.
3. Instantiate and destroy the balloon
Before you code the inflating feature, you first need to make the balloon appear and disappear when the inflator is picked up and dropped, respectively. To do this, complete the following steps:
1. In your script, under a new “Balloon Data” header, then create two new public variables: one for the point where this balloon GameObject will appear on the inflator, and one for the balloon itself.
[Header("Balloon Data")]
public Transform attachPoint;
public Balloon balloonPrefab;
We’ve provided you with a simple Balloon Prefab and script that makes it float upward and has a “Detach” method.
2. Save your script, go back to the Unity Editor, and assign those two new variables in the Inspector. You’ll need to drag the attach point from the Prefab in the Hierarchy, and the balloon Prefab from the Project Explorer window.

3. You will need more than one balloon in your scene. To enable this, create a new private variable to hold new instances of the balloon Prefab.
[Header("Balloon Data")]
public Transform attachPoint;
public Balloon balloonPrefab;

private Balloon m_BalloonInstance; // new variable
For now, you are just going to add some basic functionality to make sure everything is set up properly. Let’s instantiate the balloon at the attach point when the inflator is picked up.
4. Override the OnSelectEntered method and use the Instantiate method to create a new instance of the balloon. You used this same technique to open the scanner screen when it was picked up. Remember to also call the base method!
protected override void OnSelectEntered(SelectEnterEventArgs args)
{
  base.OnSelectEntered(args);

  m_BalloonInstance = Instantiate(balloonPrefab, attachPoint);
}
Next, make the balloon disappear again when the inflator is dropped.
5. Override the OnSelectExited method and use the Destroy method to remove the balloon instance.
protected override void OnSelectExited(SelectExitEventArgs args)
{
  base.OnSelectExited(args);
  Destroy(m_BalloonInstance.gameObject);
}
Test your app and notice that the basic functionality now works. The small balloon appears when the inflator is picked up and disappears when it’s dropped.
In the next step, you’ll move onto more advanced functionality.
4. Plan the approach to your code
The task here is to inflate the balloon as the trigger is pressed, so the next thing you need is a reference to the controller that picked up the balloon inflator.
You can’t just detect a trigger press on any controller; it has to be on the controller that actually picked up the object.
So in pseudo-code, you want something like this:
- When the inflator object is selected, detect which controller has picked it up: left or right.
- Every frame while the object is selected, set the scale of the balloon to be proportional to the pressed value of the trigger on that specific controller.
With this code, the harder the trigger is pressed, the bigger the balloon will be.
First, let’s investigate how we can detect which controller is activated.
Search the documentation for the OnSelectEntered method. Notice that the one parameter passed to this method, called “args”, is described as “Event data containing the Interactor that is initiating the selection.” That means that when the object is picked up, this parameter can tell us which interactor initiated the selection.
Next, we need a way to change the scale of the balloon based on the trigger press value. If you look at the XRBaseController class in the documentation, you will see a property called activateInteractionState. The InteractionState has a value property that corresponds to the intensity of the trigger press. You can use this value property to set the scale of your balloon.
If you want to see all of this code in action, you can check out the InteractionAnimator script, which is attached to the megaphone in the example scene. This script controls how the trigger of the megaphone slowly moves in and out along with the controller trigger press.
5. Get a reference to the correct controller
Now that you understand the approach to the code, follow the steps below to first detect which controller actually picked up the inflator:
1. Create a member variable for the XRBaseController, which you’ll eventually use to access the trigger activation value.
private XRBaseController m_Controller;2. In the OnSelectEntered method, declare a new local var controllerInteractor. To try and get access to that interactor, enter “args. “ and read through the available options from the autocomplete menu. You will see that the interactorObject is available. Use the code below to assign your variable to that value.
protected override void OnSelectEntered(SelectEnterEventArgs args)
{
  base.OnSelectEntered(args);
  m_BalloonInstance = Instantiate(balloonPrefab, attachPoint);
  var controllerInteractor = args.interactorObject; // add this line
}
If you hover over “interactorObject,” you’ll see that this is of type IXRSelectInteractor, which is actually an Interface. You need access to the actual controller interactor.
3. Use the as operator to convert the Interface to the compatible type: XRBaseControllerInteractor.
var controllerInteractor = args.interactorObject as XRBaseControllerInteractor;
// edit this line
If you read the description of XRBaseControllerInteractor in the documentation, you’ll see that it is the “base class from which all interactors that are controller-driven derive.” That means you just have to go one step further to get access to the controller component itself.
4. Add one more line to set your m_Controller variable to the actual controller using the interactor.
var controllerInteractor = args.interactorObject as XRBaseControllerInteractor;
m_Controller = controllerInteractor.xrController; // add this line
If you hover over “xrController”, you’ll see that it is of type XRBaseController, which “interprets feature values on a tracked input controller device into XR Interaction states.” That sounds like exactly what we want!
5. To test this, you can send a haptic impulse to that controller or log that m_Controller value to the console using the code below:
protected override void OnSelectEntered(SelectEnterEventArgs args)
{
  base.OnSelectEntered(args);
  m_BalloonInstance = Instantiate(balloonPrefab, attachPoint);
  var controllerInteractor = args.interactorObject as XRBaseControllerInteractor;

  m_Controller = controllerInteractor.xrController;

  m_Controller.SendHapticImpulse(1, 0.5f); // add this line
  Debug.Log(m_Controller); // or add this line
}
If you have successfully referenced the controller that picked up the object, you will feel it only in that hand. If you used a debug message, you’ll see if it’s the LeftHand or RightHand.
6. Scale the balloon based on the trigger value
Now that you have a reference to the appropriate controller, you just need to scale the balloon based on its trigger value. And just like before with the scanner, you’ll do this using XRIT’s version of the Update method: ProcessInteractable(). Complete the steps below to finalize the inflating functionality:
1. Override the ProcessInteractable method and call the base method.
public override void ProcessInteractable(XRInteractionUpdateOrder.UpdatePhase updatePhase)
{
  base.ProcessInteractable(updatePhase);
}
2. To avoid crashes, you need to check that the object is actually selected and that the controller is not null. Add the following if-statement to do that:
public override void ProcessInteractable(XRInteractionUpdateOrder.UpdatePhase updatePhase)
{
  base.ProcessInteractable(updatePhase);

  if (isSelected && m_Controller != null) // add this if-statement
  {
  }

}
To scale the balloon as the trigger is pressed, you can Lerp between the minimum and maximum value of the trigger press. Lerp is short for Linear interpolation, which is very helpful for smoothly going between values. If you’ve never used this function before, you might want to review its documentation.
3. Set the balloon instance’s local scale to Lerp between two values, proportional to the activeInteractionState value of the trigger.
if (isSelected && m_Controller != null)
{
  m_BalloonInstance.transform.localScale = Vector3.one * Mathf.Lerp(1.0f, 4.0f,
    m_Controller.activateInteractionState.value); // add this line
}
The activateInteractionState.value is a float between 0 and 1, depending on how much the trigger is pressed.
Your balloon inflator should now work perfectly!
7. More things to try
If you want to further develop your skills, explore new concepts, or improve your project, check out some optional activities below. Each one is tagged as either [Easy], [Medium], or [Difficult] so you can choose the level of challenge.
These activities are entirely optional, so if you’re not interested, no problem – just skip this step.
We do recommend attempting at least one of them in order to get the most out of this learning experience. Good luck!
[Easy] Add dynamic haptics as you’re inflating and deflating
You could trigger constant haptics while the balloon is inflating or deflating. For an additional challenge, you could also change the haptic feedback depending on how quickly the trigger is pressed or released: more intense haptics for quicker inflation/deflation and more subtle haptics for slower inflation/deflation.
[Medium] Shake off the balloon
To release the balloon, you could allow the user to shake their hand – and if they shake hard enough, the balloon will float into the air. As a hint for how to do this, you could look at the OnVelocity script from the Create with VR script library.
[Difficult] Animate the trigger
If you look carefully at the other example objects, such as the megaphone or the launcher, you’ll notice that their triggers animate as they’re pressed by the user. This uses very similar code to the code you wrote for detecting how hard the trigger was pressed to control the size of the balloon. This is accomplished using a Playable Director component and a custom Interaction Animator script. See if you can replicate this functionality on your balloon inflator.
8. Next steps
You have successfully used the API to create your own interactions, and refine those interactions by detecting the active controller and adding functionality based on a trigger press value.
That means you are officially done with this example project! There’s much more to explore and tinker with in this scene if you want, including some ideas below.
When you’re ready to move on, in the next project you will apply what you learned here to a new project brief, where you must create functionality for part of an escape room.