Sliding Door
Tutorial
·
intermediate
·
+10XP
·
90 mins
·
(146)
Unity Technologies
The time has come for you to attempt the final, most challenging feature from the project brief: the heavy sliding door. This feature will also require significant use of 3D vector math, but it will also test your ability to program interactions that feel natural in VR. This door looks like it would be very heavy and difficult to slide back and forth – it is up to you to make it feel that way through code.
In this tutorial, you will do the following:
- Program a custom sliding door according to the requirements of the project brief, with the help of optional hints
- Use mathematical formulas, such as dot products, to program custom 3D interactions
- Implement features that feel natural and intuitive in VR to promote a sense of presence
Overview Video
1. Overview
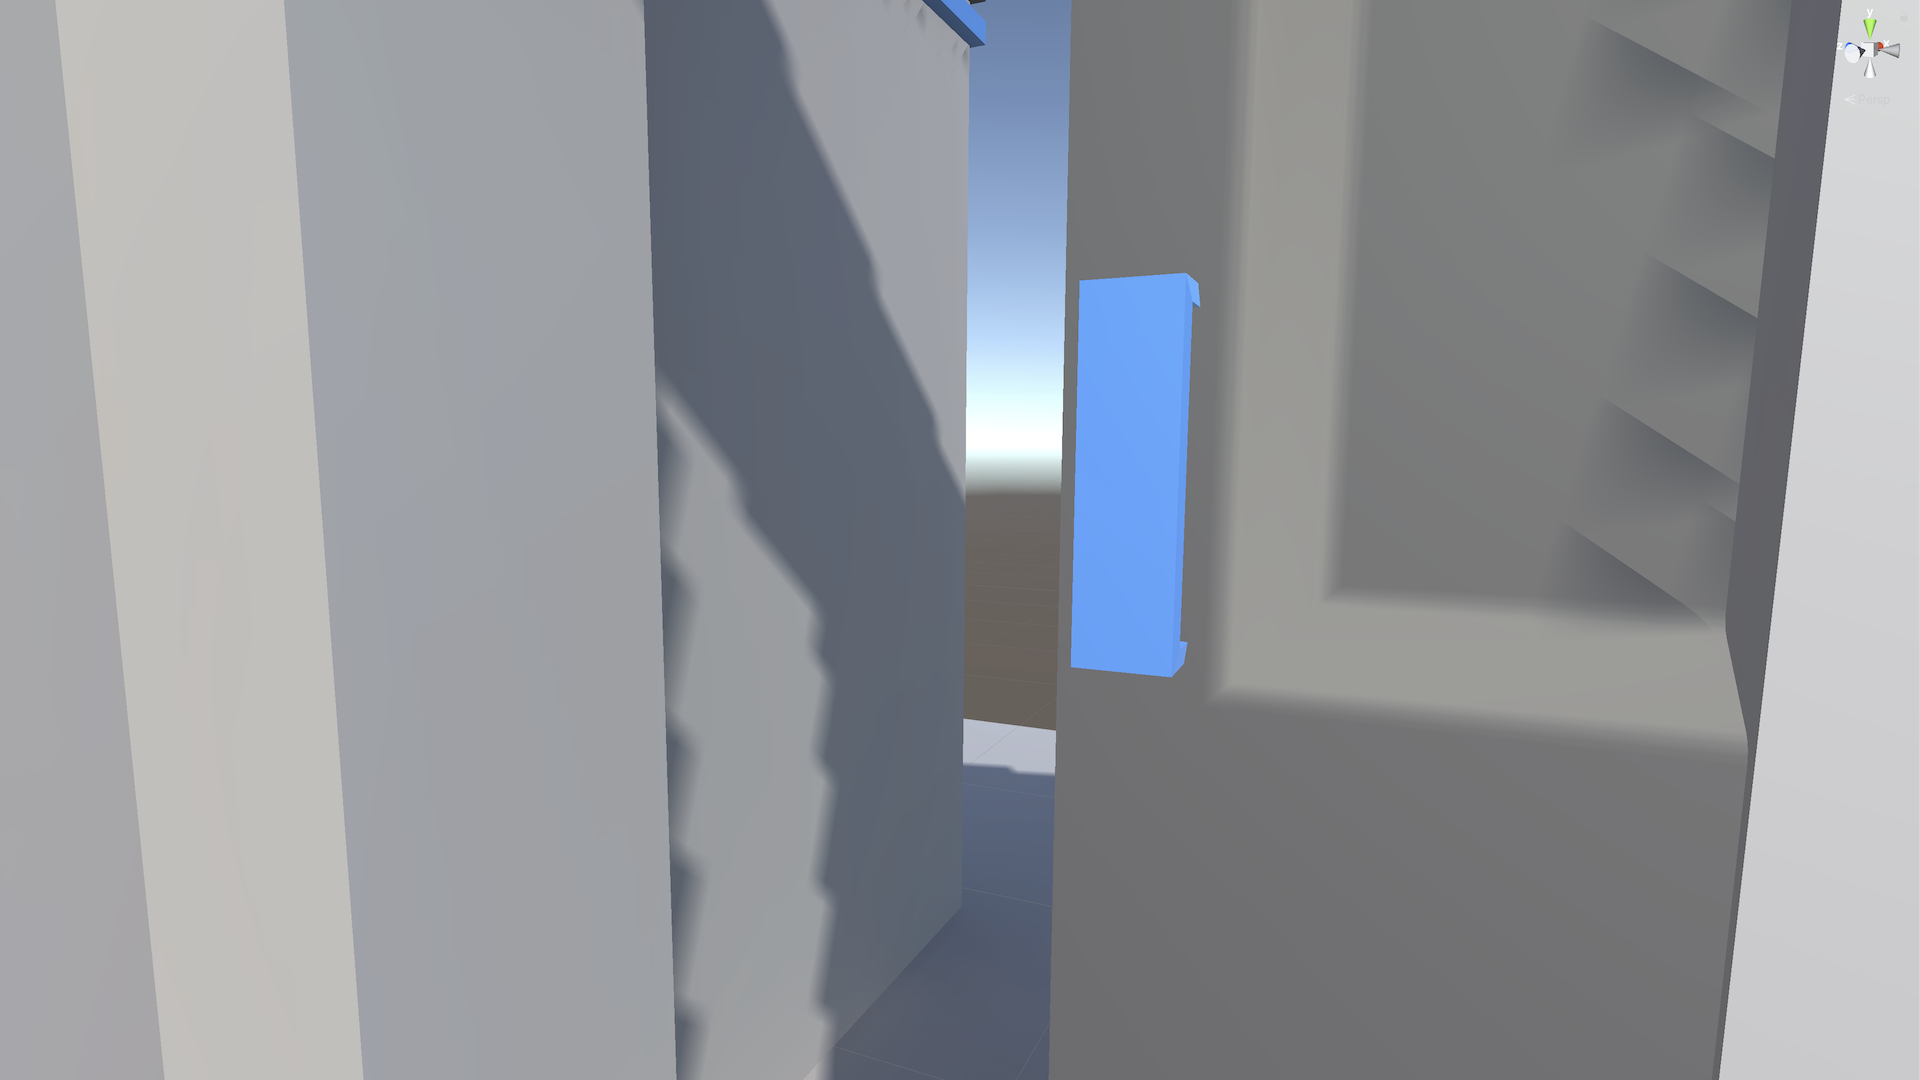
The final feature you’ll implement from the project brief is the sliding door. The user must be able to swipe their keycard through a card reader to unlock the door.

The specific requirements for the sliding door are listed in the next step.
As a reminder, if you aren’t sure how to implement one of these requirements, three sets of hints are available to you. We recommend that you attempt to get it working before moving on to the next set of hints.
If you go through all three sets of hints and are still stuck, at the very end of this project you will be able to download and inspect the completed scripts. Even if you can’t get it working, you will still learn a lot by attempting it and then reviewing someone else’s functional code.
Good luck!
2. Specific requirements
The must-have requirements for the sliding door are outlined in the full project brief and are also listed here for your convenience:
- The door handle should extend XRBaseInteractable.
- The door should only be movable after the lock has been opened or removed.
- The door should feel heavy: it should speed up as you pull farther from it (almost as if you’re pulling it with a rubber band).
- The door should only move if you’re pulling in the appropriate direction. For example, nothing should happen if you pull directly perpendicular to it.
3. Hint set 1
Below is the first set of hints, which includes direction on high-level code architecture and programming logic. Use these hints only after you’ve at least attempted the feature with the guidance above:
- While grabbing the door, calculate a pull vector starting at the position of the handle and ending at your hand’s current position.
- Compare the pull vector to the vector the door should move in and determine whether the pull is in the appropriate direction.
- The bigger the pull in the appropriate direction, the faster the door should move.
4. Hint set 2
Below is the second set of hints, which will point you to specific methods, classes, and documentation that may be helpful for this feature. Use these hints only after you’ve at least attempted the feature with the guidance above.
To program this functionality, you will likely need the following variables:
- The Transform of the actual door (rather than the handle) so that you can move the door instead of just the handle.
- A float for the max drag distance for the door, which should be around 0.35 units.
- A Vector3 for the door's start and end position, which can be set in Start().
- A Vector3 variable for the local direction the door can move (the door should only be able to slide in one direction).
- A Vector3 for the world drag direction the door should move in (convert local door direction to world coordinates). This can be set in Start().
Every frame while the handle is being grabbed, the following should occur:
- Check if the door handle is selected - you can use the isSelected property from XRBaseInteractable to do this.
- Get the position of the interactor that has selected the door - this can be used to track the hand's position.
- Subtract the door transform from the interactor transform to get the Vector3 between them (this is what you’ll use to figure out how the user is pulling the door).
- Use a dot product to figure out how far the hand has moved in the appropriate direction.
- To calculate a speed value, get the absolute value of the dot product, then divide by Time.deltaTime.
- You might want to divide the speed by a door weight variable to slow door movement.
Use MoveTowards to move the door toward the start or end position by the speed.
5. Hint set 3
Below is the third set of hints, which includes actual snippets of code that you could use for specific features. Use these hints only after you’ve at least attempted the functionality with the guidance above:
Public variables:
public Transform DraggedTransform; // set to parent door object
public Vector3 LocalDragDirection; // set to -1, 0, 0
public float DragDistance; // set to 0.8
public int DoorWeight = 20;
Private variables:
private Vector3 m_StartPosition;
private Vector3 m_EndPosition;
private Vector3 m_WorldDragDirection;
Start function:
private void Start()
{
  m_WorldDragDirection = transform.TransformDirection(LocalDragDirection).normalized;

  m_StartPosition = DraggedTransform.position;
  m_EndPosition = m_StartPosition + m_WorldDragDirection * DragDistance;
}
Partial ProcessInteractable function (runs every frame):
public override void ProcessInteractable(XRInteractionUpdateOrder.UpdatePhase updatePhase)
{
  if (isSelected)
  {
    var interactorTransform = firstInteractorSelecting.GetAttachTransform(this);
    Vector3 selfToInteractor = interactorTransform.position - transform.position;
    // calculate dot product of selfToInteractor onto drag direction
    // calculate speed based the dot product
    // move door based on speed using MoveTowards
  }
}6. Compare your code!
If you are interested, you can download an example of the functioning scripts for this project and compare your code. Looking at other developers’ work is one of the best ways to improve your code and learn new techniques, even if you were able to complete all the interactions successfully.
7. More things to try
If you want to further develop your skills, explore new concepts, or improve your project, check out some optional activities below. Each one is tagged as either [Easy], [Medium], or [Difficult] so you can choose the level of challenge.
These activities are entirely optional, so if you’re not interested, no problem – just skip this step.
We do recommend attempting at least one of them in order to get the most out of this learning experience. Good luck!
[Easy] Add a sound as the door opens
In VR, all the senses come together to produce a sense of presence, and audio is a big part of that.
If you’re putting all this effort into making the door feel heavy, it would be great to also include a sound effect that would enhance that feeling of heaviness.
[Medium] Add dynamic haptic feedback for the door opening
The final sensation you could add to enhance this experience would be a tactile element. As the door opens, you could vibrate the controller with dynamic intensity, depending on the speed it’s being pulled.
[Difficult] Build out more of the escape room
What you’ve programmed here is just the end of an escape room, but how would the users actually get the code that they then enter on the number pad?
If you want, design a puzzle to crack the code!
For some inspiration, you could repurpose assets from the XR Interaction Toolkit example scene. For example:
- Piggy bank: smash the piggy bank and have the code inside.
- Grabber machine game: the code could be buried underneath objects in the machine or on the back of one of the animals in the machine.
- Ball shooter gun: maybe you need to hit targets in a particular order to reveal the code.
- Worldspace UI elements: there could be a riddle written in text somewhere in the scene that you need to solve.
- Door and key: the user needs to find a key and open a door to reveal the code.
- Watering can: use the watering can to wet an area, and the code appears.
These are just some ideas, but there’s much more you could do, too!
8. Next steps
Congratulations! You’ve made it to the end of this project. Whether you didn’t use any of the hints or used all of them, that is quite an accomplishment.
Following a project brief like this one is most likely the workflow you would encounter while working in VR development professionally. If you were able to do this project, then you’re well on your way to being able to work as a VR developer!
Next, you’ll do a short quiz and then move on to your final project in the pathway, which will be a capstone portfolio piece.