Number pad
Tutorial
·
intermediate
·
+10XP
·
90 mins
·
(156)
Unity Technologies
You’re ready to dig into the first of the three features from the project brief: the number pad. Although this interaction is the simplest of the three, this is the first time you’ll be asked to program a custom VR interaction without any instructions.
In this tutorial, you will program a custom VR number pad according to the requirements of the project brief, with the help of optional hints.
Overview Video
1. Overview
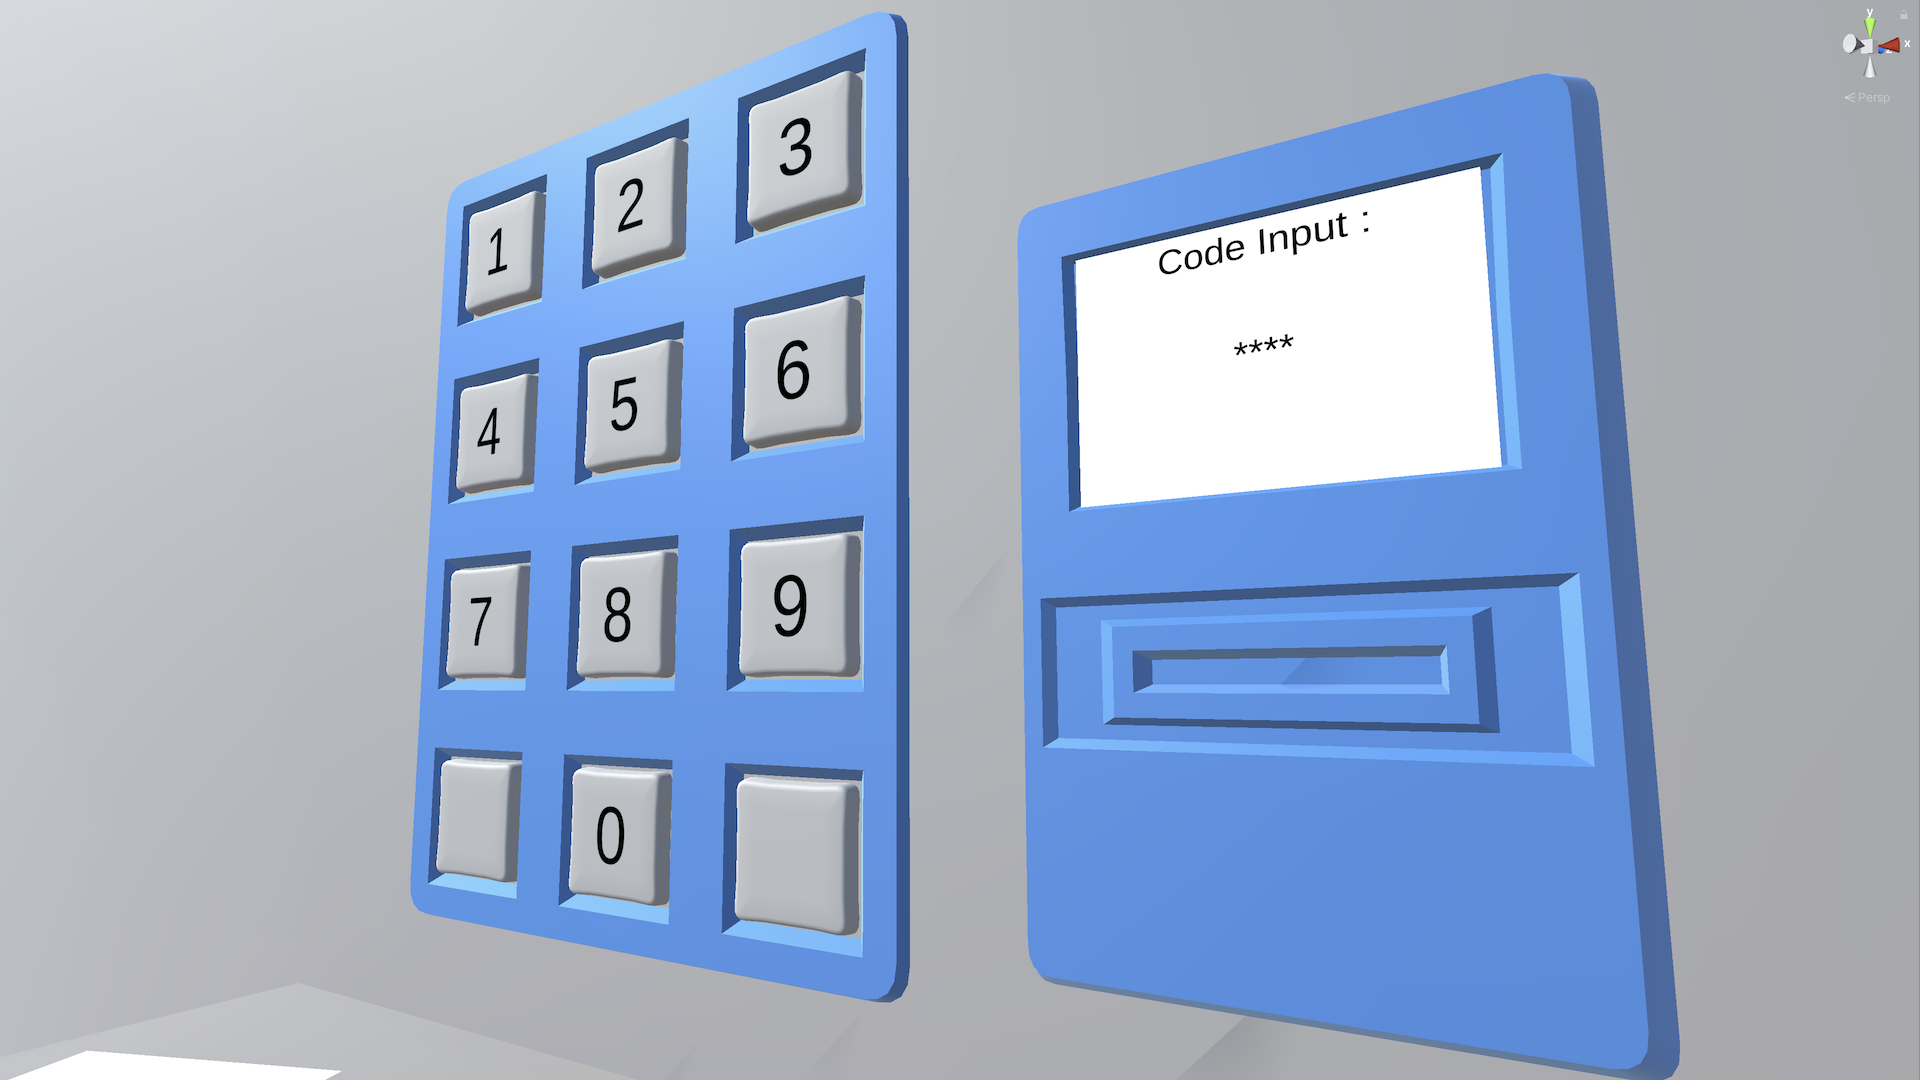
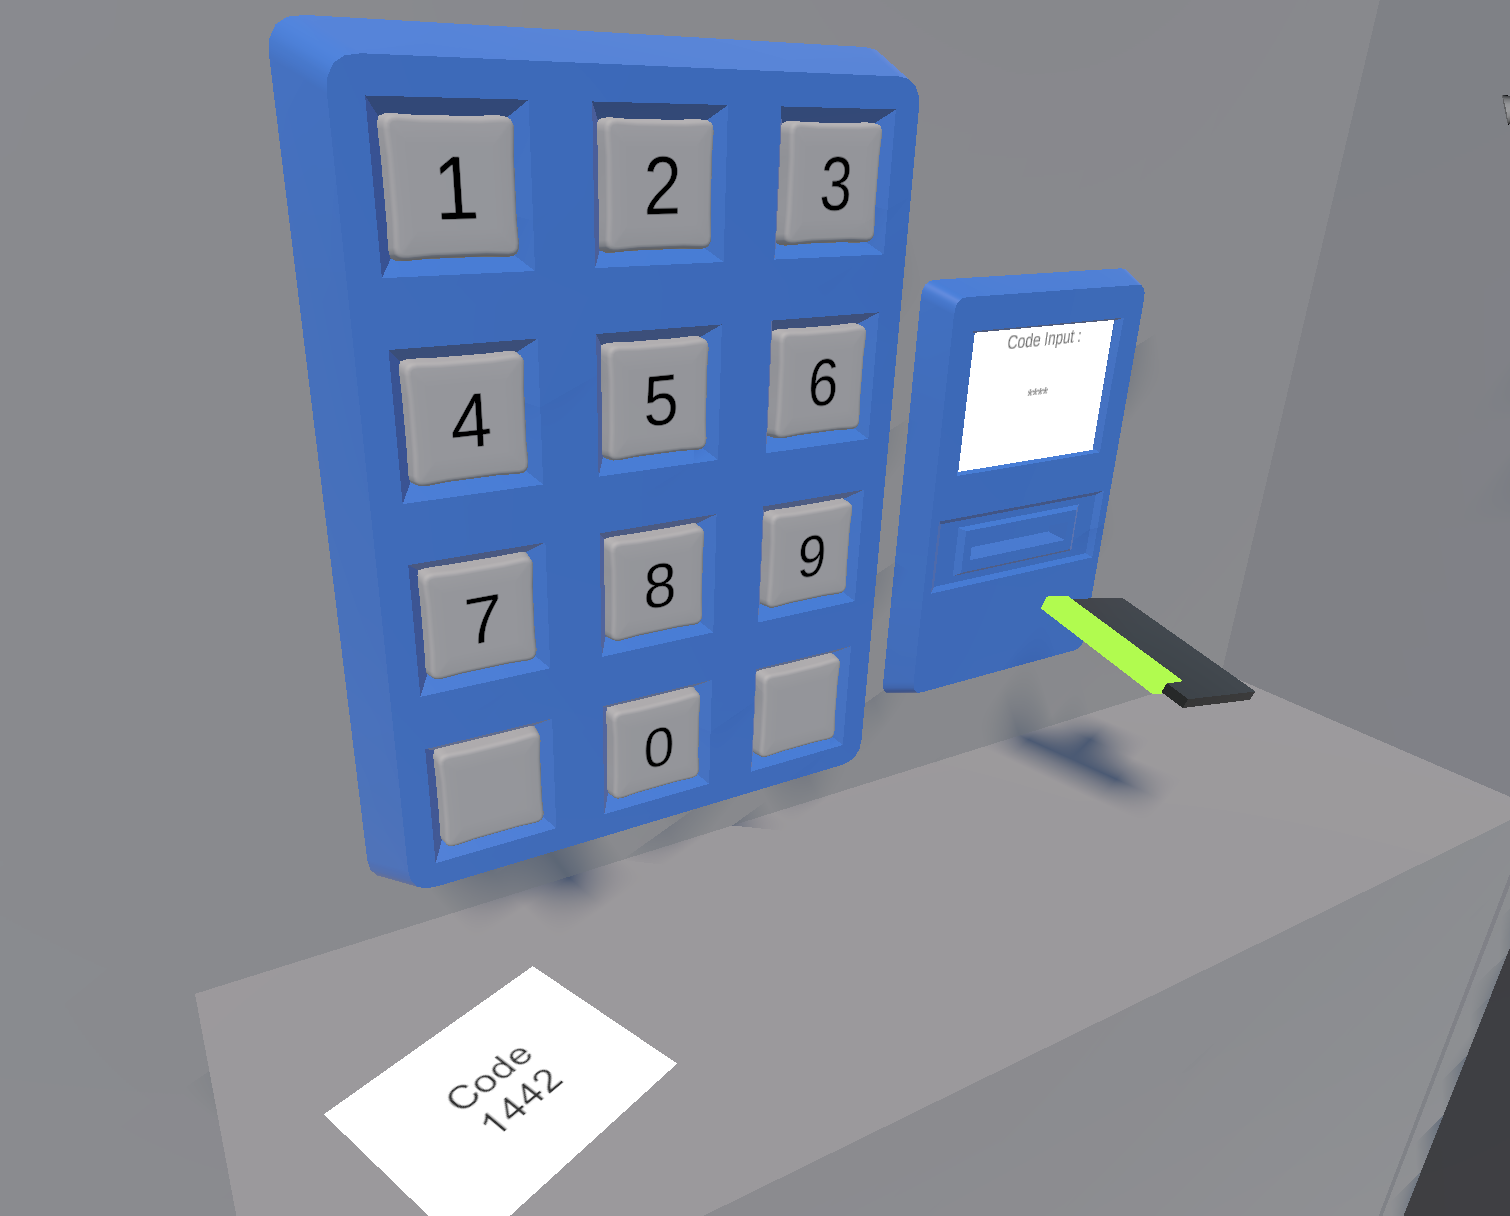
The first feature you’ll implement from the project brief is the number pad. The user must be able to enter a code on the number pad. If the code is correct, a keycard should spawn. If the code is incorrect, the number pad display should reset so that the user can try again.
The specific requirements for the number pad are listed in the next step.
As a reminder, if you aren’t sure how to implement one of these requirements, three sets of hints are available to you. We recommend that you attempt to get it working before moving on to the next set of hints.
If you go through all three sets of hints and are still stuck, at the very end of this project you will be able to download and inspect the completed scripts. Even if you can’t get it working, you will still learn a lot by attempting it and then reviewing someone else’s functional code.
Good luck!
2. Specific requirements
The must-have requirements for the number pad are outlined in the full project brief and listed here for your convenience.
Touch button
The touch button must include the following:
- There should be a script named TouchButton.cs that extends XRBaseInteractable.
- You must use OnHoverEntered to detect a button press.
- The color of the button should change when you touch it.
Number pad
The number pad must include the following:
- There should be a script named NumberPad.cs.
- The code should be displayed as the buttons are pressed.
- If the sequence is correct, a keycard should be spawned at the location of the dispenser.
- If the sequence is incorrect, the number pad should be reset to its original state, allowing the user to enter another code.
3. Hint set 1
Below is the first set of hints, which includes direction on high-level code architecture and programming logic. Use these hints only after you’ve at least attempted the feature with the guidance above.
Touch button
- Give each button a buttonNumber variable corresponding to the number of the button.
- When the button is hovered over, call a function from the keypad script, passing along that buttonNumber.
Number pad
- Store the correct sequence as a variable.
- Store the characters the user has entered as a variable.
- Track the number of button presses the user has done.
- When they have entered the total number of characters required for the code, compare the code they entered with the correct code.
- If the code is correct, spawn the keycard on the table.
- If the code is incorrect, reset the keypad.
4. Hint set 2
Below is the second set of hints, which will point you to specific methods, classes, and documentation that may be helpful for this feature. Use these hints only after you’ve at least attempted the feature with the guidance above.
Touch button
- To detect a button press, override OnHoverEntered.
- To change the color of a button, you need a reference to its Renderer component.
- Create new TouchedMaterial and Normal Material variables, then set the material to TouchedMaterial in OnHoverEntered and set it back to NormalMaterial in OnHoverExited.
Number pad
- Use a string or an array to hold the sequence as a variable.
- Make a currentIndex variable to keep track of how many characters the user has entered.
- Every time a button is pressed, increment the currentIndex value.
- When the index number matches the total length of the array, check if the total sequence is correct.
5. Hint set 3
Below is the third set of hints, which includes actual snippets of code that you could use for specific features. Use these hints only after you’ve at least attempted the functionality with the guidance above.
Touch button
protected override void OnHoverEntered(HoverEnterEventArgs args)
{
  base.OnHoverEntered(args);
  m_RendererToChange.material = TouchedMaterial;
  LinkedKeypad.ButtonPressed(ButtonNumber);
}
Number pad
Variables declared:
public string Sequence;
public KeycardSpawner CardSpawner;
public TextMeshProUGUI InputDisplayText;
private string m_CurrentEnteredCode = "";
Partial ButtonPressed function:
public void ButtonPressed(int valuePressed)
{
  m_CurrentEnteredCode += valuePressed;

  if (m_CurrentEnteredCode.Length == Sequence.Length)
  {
    if (m_CurrentEnteredCode == Sequence)
    {
      // code correct
    }
    else
    {
      // code incorrect

    }
  }
}
6. More things to try
If you want to further develop your skills, explore new concepts, or improve your project, check out some optional activities below. Each one is tagged as either [Easy], [Medium], or [Difficult] so you can choose the level of challenge.
These activities are entirely optional, so if you’re not interested, no problem – just skip this step.
We do recommend attempting at least one of them in order to get the most out of this learning experience. Good luck!
[Easy] Add feedback for correct and incorrect entries
In addition to the card appearing or not, it could be more obvious to the user when the code is correct or incorrect. Add some kind of visual and/or auditory feedback to improve this user experience.
[Medium] Prevent pressing a single button with multiple hands
When you have one hand on a button and put a second hand on it, the button should not register a second button push.
[Difficult] Add pushable buttons
The touch buttons work well, but it might be a more satisfying interaction if the buttons could physically be pressed down. Creating kinetic controls is complex; you could try to implement it yourself or look at the code provided in the example scene from the previous project.
7. Next steps
In the next tutorial, you will add the functionality for the keycard reader, allowing the user to swipe the card to unlock the door.
If you could not successfully meet the requirements or if you’re just curious to see another way to implement the code, you will be able to download the completed scripts and compare your work at the end of this project.