VR Software Setup
Tutorial
·
Beginner
·
+10XP
·
60 mins
·
(2736)
Unity Technologies
In this lesson, you will get all the necessary software for your computer and your VR device installed and configured for VR development. If you haven’t already, you should install the recommended version of Unity to be able to follow along with this course. Depending on which VR device you intend to use, you may also need to install additional export modules.
You will also make sure that your VR headset is configured properly for development and testing, including downloading any additional device-specific software that is required.
This lesson is part of the Create with VR course.
Overview Video
1. Overview
In this lesson, you will get all the necessary software for your computer and your VR device installed and configured for VR development.
First you will install the recommended version of Unity to be able to follow along with this course. Depending on which VR device you intend to use, you may also need to install additional export modules.
You will also make sure that your VR headset is configured properly for development and testing, including downloading any additional device-specific software that is required.
Note: If you do not have access to a VR headset, you can still benefit from this course, but your ability to fully test the VR experience will be somewhat limited.
2. Course Requirements
Your Unity experience
This course assumes you have at least a basic understanding of the Unity Editor. If you have never used Unity before, welcome! The Unity Essentials learning pathway has been designed to help you get set up and ready to create in the Unity Editor. We recommend you complete this pathway to learn the Unity basics before continuing with this course.
Your VR experience
You’ll get the most out of this learning content if you have some previous basic experience with VR. If you haven’t explored any VR experiences before, try the basic tutorial content created for your VR hardware.
You do not need any experience developing for VR to use this learning content.
Your VR hardware
This learning content is fully verified with Meta Quest model headsets.
You can use any other headsets that support OpenXR, including the Valve Index, HTC Vive, and Windows Mixed Reality Headsets, but you are more likely to encounter obstacles along the way. Everything should function properly, but the learning content has not been fully tested and verified on these devices.
Note: If you do not have access to a VR headset, you can still benefit from this course, but your ability to fully test the VR experience will be somewhat limited.
3. Before you begin
Update the Unity Hub
Before you begin to set up your Unity project, consider updating your Unity Hub to the latest release. If you are using an older version of the Hub, there may be differences between the guidance provided and your experience.
Install Unity 2022.3 LTS
Before you can follow along with this course, you must install a particular version of Unity and, if using an Oculus Quest, an additional Android Build Support module.
1. Select Unity 2022.3 LTS:
- From Unity Hub, select to install Unity 2022.3 (LTS).
- This LTS (Long-Term Support) version of Unity is stable and will be fully supported for two years, making it ideal for development.
2. If you are using a Meta Quest, install the Android Build Support Module:
- When prompted to install additional export modules, select Android Build Support.
- This will enable you to build Android apps (.apk files), which run on Quest devices.
- If you are not using a Quest, you can leave all export modules unselected.
3. Download and install the Unity Editor:
- Follow the prompts in Unity Hub to continue downloading and installing Unity 2022.3 LTS, then wait for it to install.
You should now have the recommended version of Unity installed along with any additional required export modules.
4. Quest device setup
If you are using a Quest or Quest 2, complete this step. Otherwise, skip this step.
Before you can begin development with a Quest, there are a few steps required to make sure the device is configured appropriately.
1. Put your device in Developer Mode:
- Follow the instructions on Device Setup from the Meta Developer page to put your device in Developer Mode.
- This will allow you to do testing and development on your device.
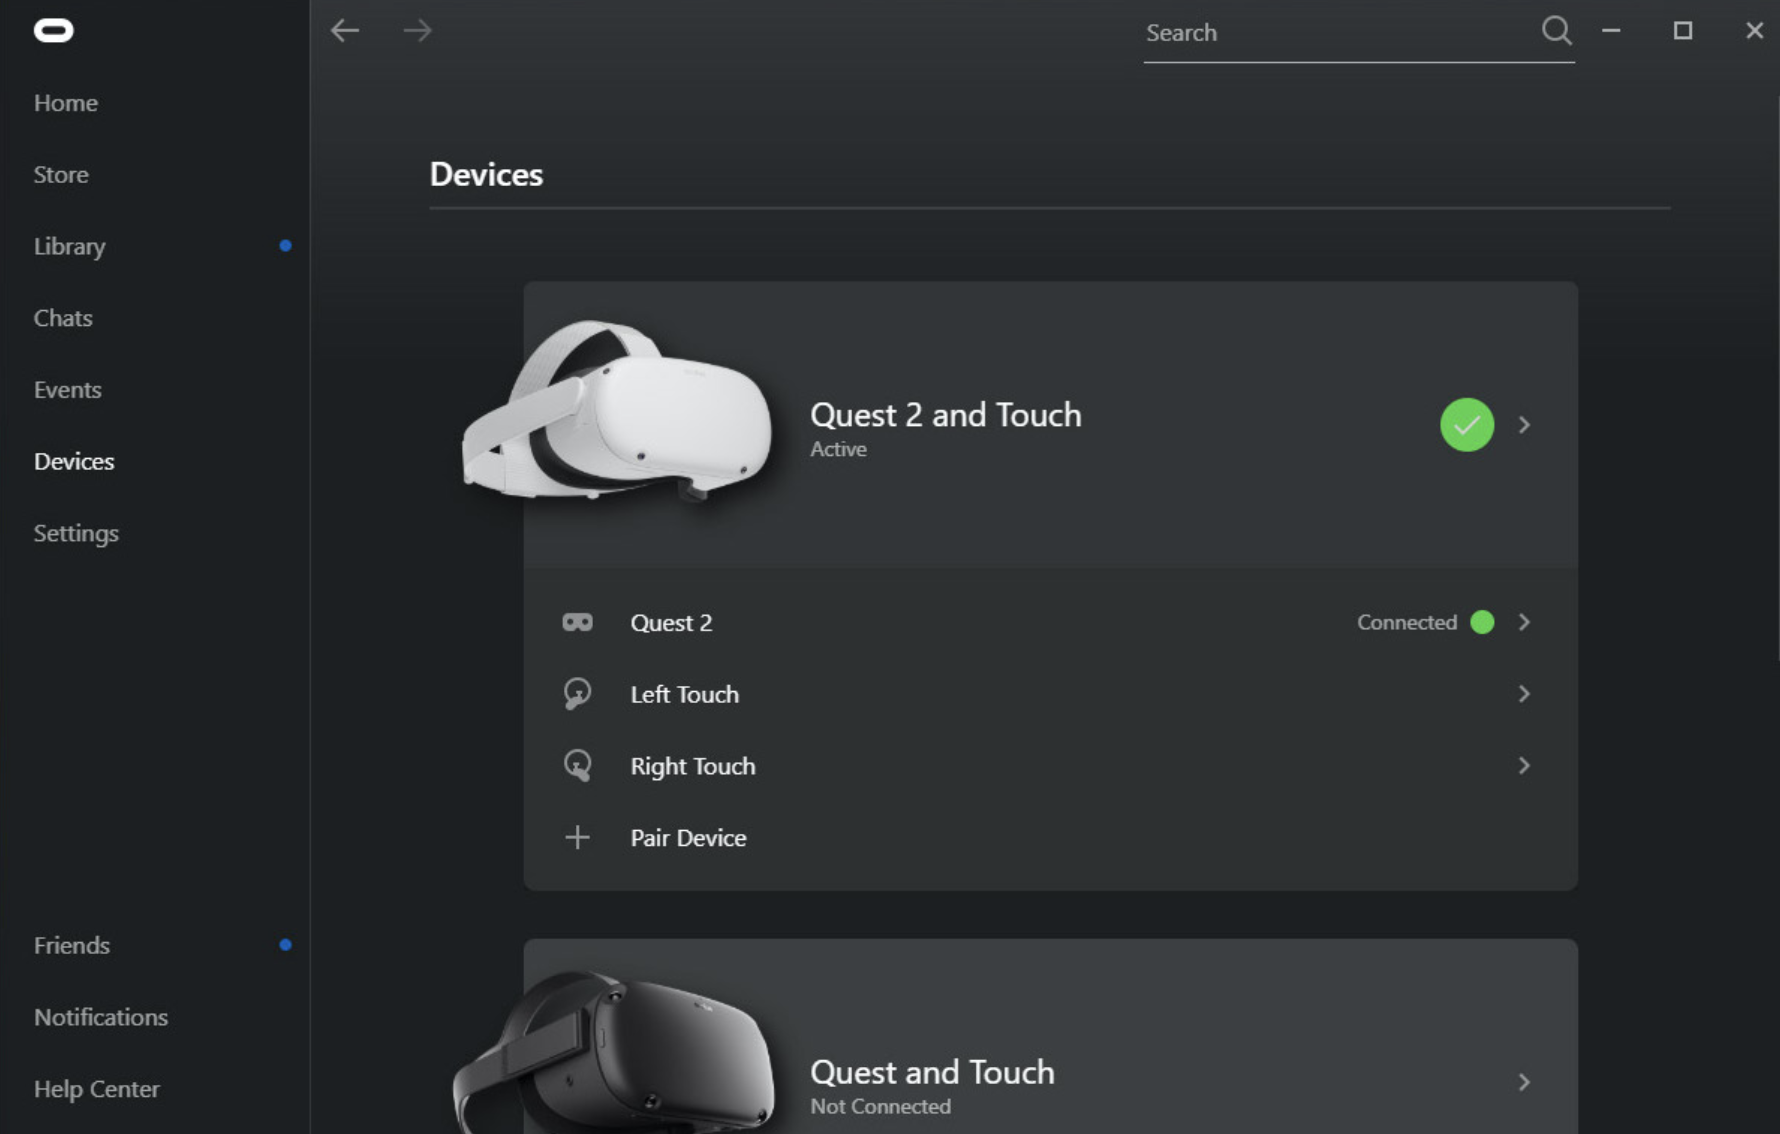
2. (Windows only) Install the Quest software and connect your device:
- If you are using a Mac, skip this step.
- From the Quest Setup page, download and install the correct application or software for your device.
- Within the application, follow the instructions to add your headset, either by Link cable or by Air Link.
3. (Mac only) Using Quest devices with a Mac:
- You won’t need to download any additional software in order to use your device with a Mac. There will be further instructions on how to test your app with a Mac in a later tutorial.
You should now have your Quest device ready for development with Unity.
5. Other device setup
If you are using a headset that is compatible with SteamVR, like the HTC Vive, Valve Index, or Windows Mixed Reality headset, complete this step. Otherwise, skip this step.
Before you can begin development with an HTC Vive, HTC Vive Pro, or Valve Index, you need to install Steam and SteamVR.
1. Install Steam:
- Go to the Steam download page and follow the instructions to download and install Steam.
2. Install SteamVR and link your device.
- Go to the SteamVR download page and follow the instructions to download and run SteamVR.
- Plug your headset into your computer and make sure it is linked and recognized by SteamVR.
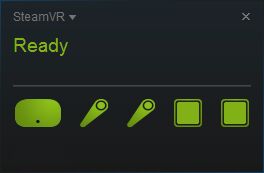
You should now have SteamVR running with your device successfully connected and recognized.
6. Set up version control
Using version control throughout this course is optional, but highly recommended to help keep a record of your work and make sure you don’t lose any progress.
If you are unfamiliar, version control (sometimes called source control) is a system that manages and tracks information. Version control software can be configured to store, manage, and track changes to any kinds of files, software, websites, or other data.
If you want, check out this version control tutorial to learn more about it.
We won’t walk you through this process during the course, so it’s up to you to do it on your own. Any time you’re asked to set up a new project, you should set it up with version control. After every significant change, you should push an update to your cloud repository. This will make sure that you’re able to recover previous versions of your project if you need to.
Version control is important for your own development, but it’s also important for getting jobs! Potential employers might even require that you submit a GitHub link in your application. So it’s a good idea to get familiar with using version control now.
7. Recap
You have now set up your computer with the required version of Unity, the correct software for your device, and you have configured your device to be ready for development. With these tasks complete, you are ready to start working on your first VR project!