
1.3 - Grabbable GameObjects
Tutorial
Beginner
+10XP
1h 30m
(92)
Unity Technologies
In this lesson, you will learn how to configure objects for basic grabbable interactivity in VR. By the end of this lesson, users will be able to pick up objects in the scene and throw them around.
This lesson is part of the Create with VR course.
Languages available:
Overview Video
1. Choose hand models
One of the first things users often do in VR is look for their hands—it's a natural way to feel more present and understand your place in the virtual world.
Instead of using basic spheres to represent the hands, you can choose custom 3D models that look and move more like real hands. This small change can significantly boost immersion and help users feel more connected to the experience.
1. Browse options for hand models:
- In the Project window, open the _Course Library > _Prefabs > VR > Hands folders, then determine which VR_Hand option you prefer.
2. Assign a model to your left hand:
- In the Hierarchy window, disable the XR Origin (VR) > Left Hand Controller > LeftSphere GameObject.
- Drag and drop your Hand_Left prefab of choice into the Hierarchy window as a child GameObject of the Left Hand Controller GameObject.
3. Assign a model to your right hand:
- In the Hierarchy window, disable the XR Origin (VR) > Right Hand Controller > RightSphere GameObject.
- Drag and drop your Hand_Right prefab of choice into the Hierarchy window as a child GameObject of the Right Hand Controller GameObject.
When you test your app, you should now see the hand models you selected instead of grey spheres.
If your hand models appear in the wrong position, make sure the Position property of their Transform component is set to X = 0, Y = 0, and Z = 0 in the Inspector window.
2. Add a grabbable GameObject
Now that you can see your VR hands, you should add GameObjects to grab with them.
1. Add a ball to the scene:
- Open the _Course Library > _Prefabs > Objects > Sports folders.
- Drag a Ball GameObject onto an accessible surface in the room.
2. Make the ball grabbable:
- Add an XR Grab Interactable component to the Ball GameObject. The XR Grab Interactable component lets GameObjects be picked up and moved around in VR.
Note: This will automatically add a Rigidbody component to the Ball GameObject as well. The Rigidbody component enables GameObjects to be affected by physics, like gravity and collisions.
3. Test your grabbable GameObject:
- Use the Move tool to reposition the XR Origin (VR) GameObject to be in front of the table with the grabbable Ball GameObject.
- Enter Play mode
- Test grabbing the Ball GameObject by aiming your ray at it and pressing the Grip button.
- Exit Play mode.
4. Bring the grabbed GameObject to your hand:
You have the option to to pull distant GameObjects towards you in VR, simulating a "force pull" effect.
- Select the Right Hand Controller > Right Ray Interactor GameObject.
- In the XR Ray Interactor component, enable Force Grab.
- Do the same for the Left Hand Controller > Left Ray Interactor GameObject.
You’ll now be able to pull distant GameObjects towards you in VR, simulating a "force pull" effect when you aim your ray and press the Grip button
5. Make sure that the GameObject is the correct scale:
Getting the scale right in VR is crucial because it makes the virtual environment feel realistic and comfortable to the user. Unity works in meters by default, so you can use that knowledge to make sure that GameObjects in the scene are the correct size.
- In the Hierarchy window, create a new 3D Object > Cube GameObject, and rename it “Measuring Stick”.
- Research the correct official diameter of the ball you chose and then convert the dimensions you found into meters.
- In the Measuring Stick GameObject’s Transform component, set the Scale property’s X and Z values to 0.01 and the Y value to the length you calculated.
- Position the Measuring Stick GameObject next to your Ball GameObject to make sure it’s accurately sized. If it isn’t, use the Scale tool to correct it.
You should now be able to pick up the Ball GameObject using the Grip button, and release the Grip button to throw it.
Note: If you’re using the XR Device Simulator GameObject, you can toggle a controller with T or Y, rotate it to point at a GameObject by holding the middle mouse button, then press and hold G to grab and hold the GameObject.
3. Hide hands and disable anchor control
Currently, there are two main issues with the grab function in your scene: first, the hand model overlaps with the GameObject you’re holding, making it awkward to interact with the scene; second, when grab is enabled and you move the thumbstick, the grabbed GameObject rotates in your hand unintentionally.
Let’s fix these problems.
1. Disable the Manipulate Attach Transform control:
- In the Hierarchy window, select the Left Ray Interactor GameObject.
- In the XR Ray Interactor component, disable the Manipulate Attach Transform property
2. Hide the hand model when you grab something:
- In the XR Ray Interactor component, use the foldout (triangle) to expand the Interactor Events section.
- In the Select Entered Event property, select the Add (+) button.
- Drag the Hand_Left prefab from the Hierarchy window into the box.
- Open the dropdown and select GameObject > SetActive(Bool) to hide the hand when you grip.
3. Show the hand model when you let go:
- In the Select Exited Event property, select the Add (+) button.
- Drag the Hand_Left prefab from the Hierarchy window into the box.
- Open the dropdown and elect GameObject > SetActive(Bool) and make sure the checkbox is enabled to show the hand again.
4. Repeat for the other hand:
- Follow these same steps for the Right Ray Interactor GameObject.
Your hand models will now hide when you pick up a GameObject and reappear when you release it.
4. Fine-tune the throwing experience
Currently, you can grab and throw the ball, but there are a few small adjustments that can make its behaviour more realistic.
1. Make the ball bouncy:
- In the Ball GameObject’s Sphere Collider component, locate the Material property.
- Select the Material picker (⊙) and select one of the provided Physics Materials.
2. Prevent a dropped GameObject from going through the floor:
- In the Ball GameObject’s Rigidbody component, set the Collision Detection property to Continuous Dynamic.
The Collision Detection property controls how collisions are calculated and resolved during gameplay, affecting how accurately GameObjects detect and respond to collisions. Below is an explanation of the different options:
- Discrete: Fast and simple, but can miss collisions with fast GameObjects.
- Continuous: Prevents fast GameObjects from passing through others.
- Continuous Dynamic: Like Continuous but also checks fast-moving GameObjects against each other.
3. Allow the ball’s Rigidbody component’s physics to work while in your hand:
- In the Ball GameObject’s XR Grab Interactable component, ensure that the Movement Type property is set to Kinematic.
The Movement Type property determines how a GameObject moves when grabbed in VR. Below is an explanation of the different options:
- Kinematic: The GameObject is moved directly to match the interactor’s position, ignoring physics forces for a stable and predictable grab.
- Velocity Tracking: The GameObject’s Rigidbody component uses calculated forces to move it towards the interactor’s position, creating more physically accurate motion.
- Instantaneous: The GameObject instantly snaps to the interactor’s position, regardless of how fast or slow the motion is.
In this step, you set it to Kinematic for precise control and stable grabbing behavior.
4. Smooth the motion of the GameObject:
- In the Ball GameObject’s XR Grab Interactable component, enable the Smooth Position and Smooth Rotation properties.
The ball should now bounce, not fall through the floor, and move smoothly in your hand.
5. Add a GameObject with a handle
You’ve added a Ball GameObject that’s held at its center and where orientation is not important. Next you’ll add a GameObject that’ll be grabbed at a very particular point and orientation.
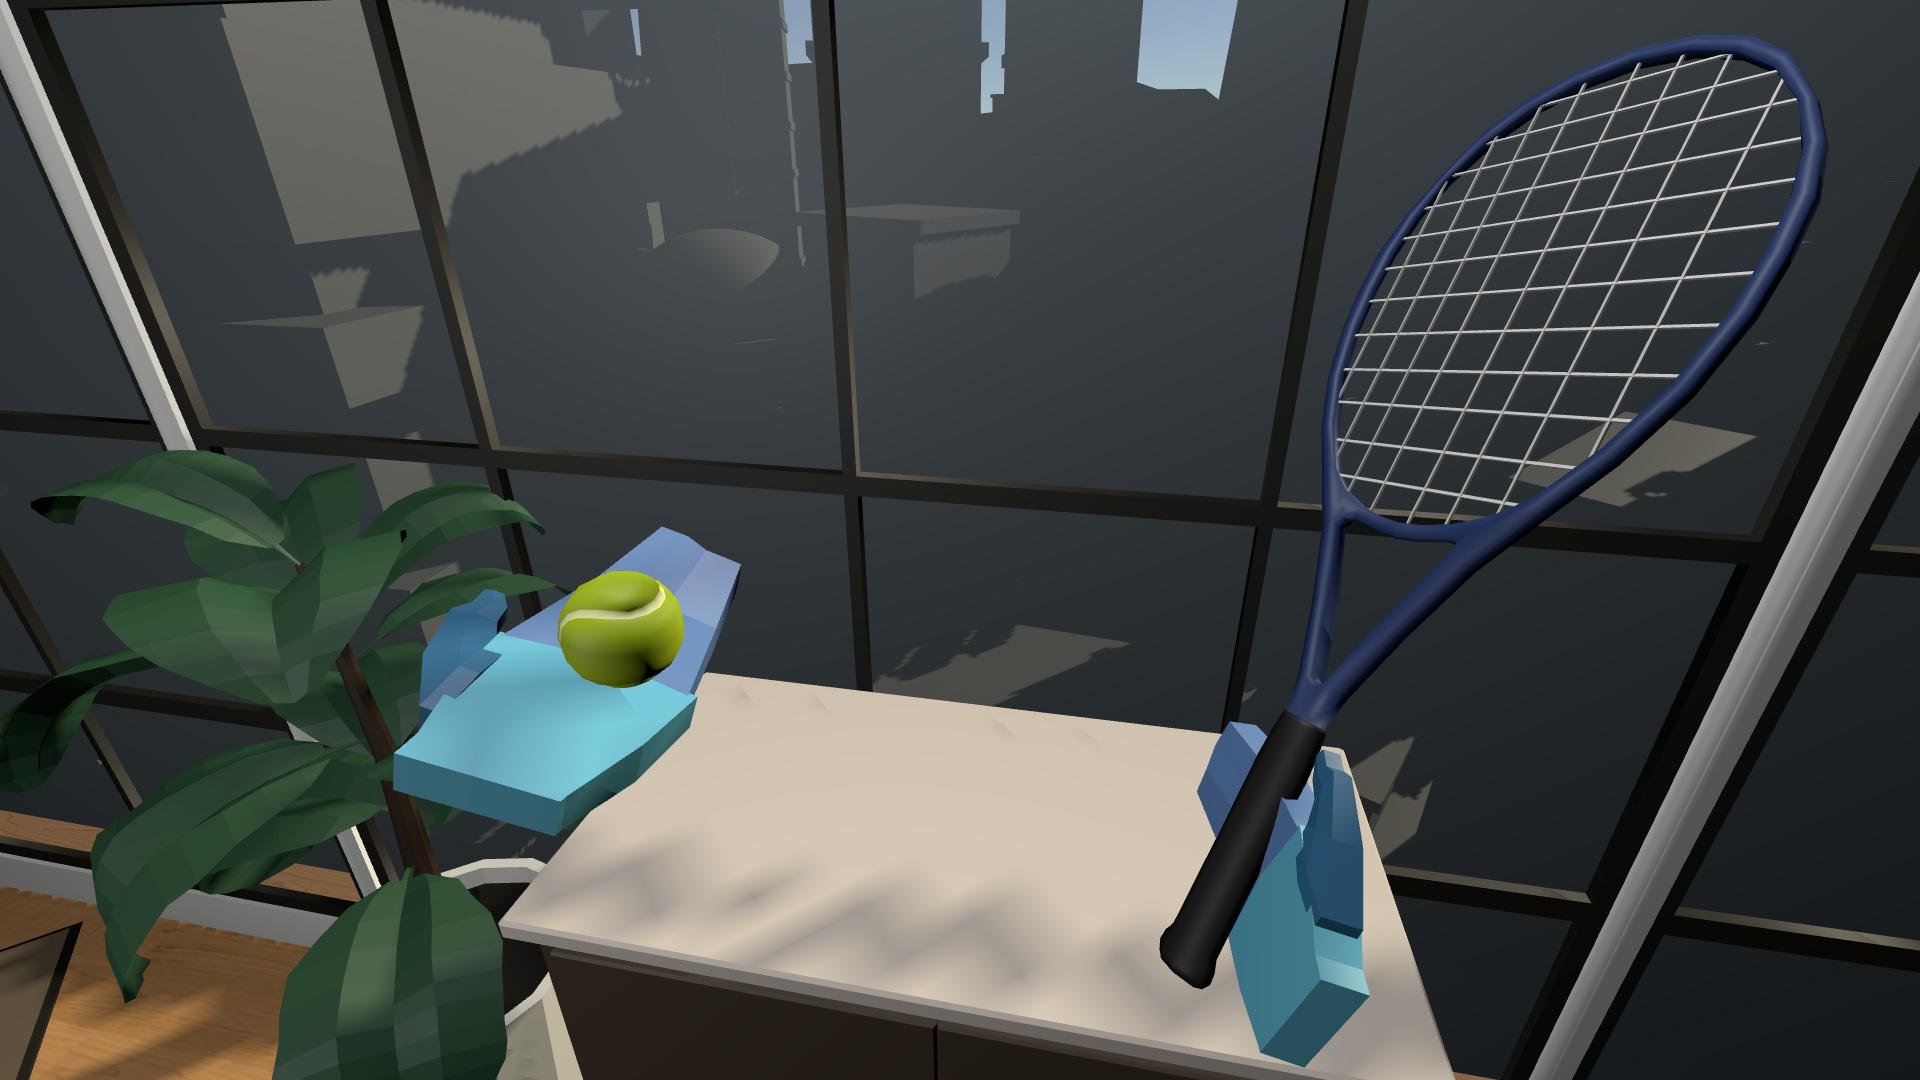
1. Add a sports racket, paddle, or bat into the scene:
- Open the _Course Library > _Prefabs > Objects > Sports
- Drag one of the sports implements onto the surface next to the ball.
2. Make the new GameObject grabbable:
- Select the new GameObject and add an XR Grab Interactable component to it.
- In the XR Grab Interactable component, enable both the Smooth Position and Smooth Rotation properties to decrease jitter.
- In the Rigidbody component (which was added automatically), open the Collision Detection property dropdown and select Continuous Dynamic to prevent the GameObject from going through the floor.
3. Create a specific attach point for the GameObject:
- In the Hierarchy window, right-click the new GameObject and create an empty child GameObject.
- Rename this empty child GameObject “Attach”.
- Reposition and rotate the Attach GameObject so that it matches the position and orientation your hand model should be when you grab the new GameObject.
4. Assign the attach point to your sports implement:
- In the Hierarchy window, re-select the parent sports GameObject.
- In the XR Grab Interactable component, locate the Attach Transform property.
- Drag and drop your new Attach GameObject to assign it to the Attach Transform property.
You should now be able to grab the sports implement GameObject by the handle and hit the Ball GameObject with it.
6. Organize the Hierarchy window
Before you get too many GameObjects in the Hierarchy window, it’s good to set up an organizational system for your GameObjects. This will help you manage your GameObjects and scenes as the project scales up.
1. Make organizer GameObjects in your Hierarchy window:
- In the Hierarchy window, create new empty GameObjects named “XR,” “LIGHTING”, “STATIC,” and “DYNAMIC,”
- Reset all of their Transform component’s Position properties to X = 0, Y = 0, and Z = 0.
2. Organize your GameObjects into categories:
- Drag GameObjects from the Hierarchy window onto the organizer GameObjects - the advantage of this technique is that it keeps your Hierarchy window nice and neat.
- Alternatively, drag your GameObjects underneath these organizer GameObjects - the advantage of this technique is that it keeps your GameObjects easily accessible.
7. Recap
New features:
- Hand models
- Simple, grabbable ball
- Grabbable tool with attach point
- Organized Hierarchy window
New concepts and skills:
- Unity vs real-world scale
- Grabbable GameObject properties
- Collision detection modes
- (discrete, continuous, and continuous dynamic)
- Movement types
- (kinematic, instantaneous, and velocity-tracking)
Next lesson:
- Sockets
8. Extensions
If you want to further develop your skills, explore new concepts, and improve your project, check out some of the optional extension activities below.
Each one is tagged as [Easy], [Medium], [Difficult], or [Expert] and will also include a [Requires Programming] tag if some coding is required.
1. Fill your room with GameObjects [Easy]:
Add fun decorative and grabbable GameObjects to your scene to make it feel more interactive, even if those GameObjects aren’t fully functional yet:
- Browse through the _Course Library > _Prefabs > Objects folders for ideas.
2. Experiment with the grab interactable properties [Easy]:
Add a new grabbable GameObject to your scene and experiment with the various properties of the XR Grab Interactable component, including the following:
- Movement type: Kinematic, Instantaneous, and Velocity Tracking.
- Smooth Position/Rotation Amount and Tighten Position.
Throw On Detach properties.
3. Add a magnifying glass [Difficult]:
Add a functional magnifying glass to your scene that you can pick up and use to examine GameObjects:
- You could use a Camera Render Texture similar to the way the mirror works.
- Don’t worry if the ray gets in the way - that will be resolved when you can toggle the rays on and off
4. Add a notebook that swings open [Expert]:
Add a notebook with a front cover that swings open when you grab it:
Hint: The Notebook_Cover GameObject needs a hinge joint with its Connected Body property set to the Notebook GameObject’s Rigidbody component.
- If you want, try adding some text to the notebook.