
2.3 - Direct and Ray Interactors
Tutorial
Beginner
+10XP
90 mins
(507)
Unity Technologies
In this lesson, you will learn how to implement Direct Interactors and how to switch between interactors on the same controller. By the end of this lesson, the user will be able to grab things directly with their hands, and then toggle a ray to point at things when they need to.
This lesson is part of the Create with VR course.
Languages available:
Overview Video
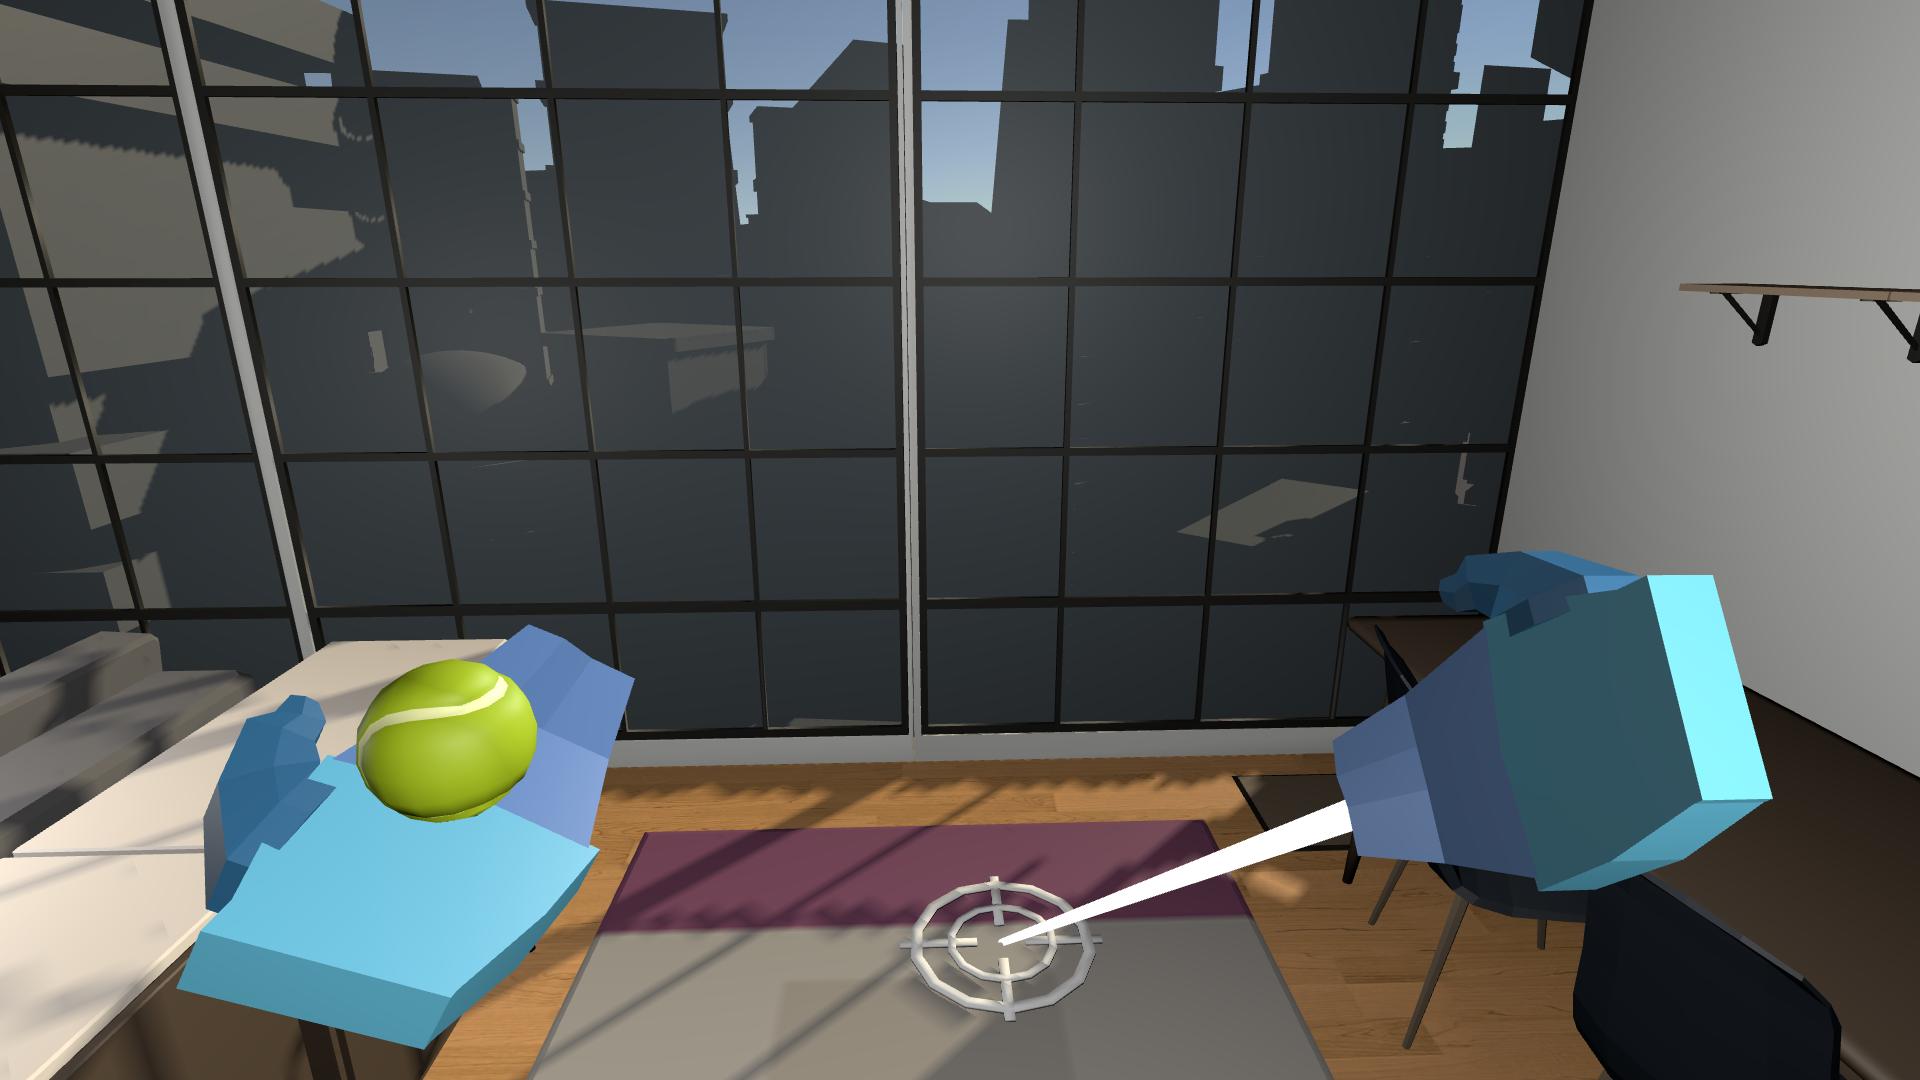
1. Add a Direct Interactor to the right controller
Rather than using the ray interactors that come by default with the rig, you can set up a “Direct” interactor for one of the controllers.
1. Remove the Ray Interactor from the right controller:
- In the Hierarchy, select the RightHand Controller object.
- Remove the three components related to the ray interactor: the XR Interactor Line Visual component, the Line Renderer component, and the XR Ray Interactor component.
2. Enable direct interactions on the right controller:
- Add a XR Direct Interactor component to the RightHand Controller.
- Select the Hide Controller on Select check box to have the object you pick up replace your hand visual.
3. Enable detection of the Direct Interactor:
- Add a Sphere Collider component.
- Select the Is Trigger check box.
- Reduce the Radius to 0.05.
You should now be able to pick up all the grabbable objects in your scene using the hand with the direct interactor.
2. Add haptic and audio feedback to your Direct Interactor
Just like you did for the ray interactor, you should add the same haptic and audio feedback for hovering over and selecting objects.
1. Recall how you set up haptic and audio feedback originally:
- From the Hierarchy, select the LeftHand Controller object (which should still have a Ray Interactor component).
- In the XR Ray Interactor component, expand the Audio Events and Haptic Events foldouts.
- Note the intensity and duration of your haptic events and the audio clip you selected for your Audio events.
2. Apply haptic and audio event settings to your new Direct Interactor:
- From the Hierarchy, select the RightHand Controller object.
- In the XR Direct Interactor component, apply the same haptic and audio event settings to match your other controller.
Your Direct Interactor should now have haptic and audio feedback on hover and select events.
3. Prevent ray from picking up objects
Right now, you can pick up everything with your ray, which doesn’t feel natural. You should only be able to teleport with your ray and pick up objects with your hand directly.
1. Add a new layer for your Rays:
- In the top-right corner of the Unity editor, from the Layer dropdown, select Edit Layers and expand the Layers fold-out.
- Add a new “Raycasts” layer in the first available empty slot.
2. Prevent your ray from interacting with your grabbable objects:
- On your controller object’s XR Ray Interactor component, for the Interaction Layer Mask property, assign only the Raycasts layer.
- To do this, you need to first select “Nothing” and then re-select the “Raycasts” layer.
- Make sure your grabbable objects do not share the Raycasts Interaction Layer.
3. Make sure your ray can interact with teleport objects:
- For each Teleportation Anchor and Teleportation Area object, in the Interaction Layer Mask property, make sure the Raycasts layer is enabled.
4. Prevent your hand model from disappearing when you teleport:
- In the XR Ray Interactor component, disable the Hide Controller On Select setting.
Your ray interactor should no longer be able to pick up objects, but should be usable for teleporting.
4. Create a Direct and Ray Interactor for each hand
In order to be able to pick up objects with both hands, you should have direct interactors on both hands. Then you can just enable the ray when the joystick is moved. To achieve this, you will need to create the Direct and Ray interactors for each hand.
1. Make alternative ray controllers for each hand:
- Duplicate the controller with the Ray Interactor two times.
- Renaming these objects “LeftHand Ray” and “RightHand Ray”.
2. Control each ray with the correct hand:
- For your new RightHand Ray and LeftHand Ray objects, in the XR Controller component, make sure the Input Action References preset is set correctly to Left or Right for each object.
- To edit the preset, in the top-right of the component, click the Presets button and select the appropriate preset for the hand.
3. Make the LeftHand Controller behave as a Direct Interactor:
- On the LeftHand Controller object, remove the components related to the Ray interactor (the XR Ray Interactor component, the Line Renderer component, the XR Interactor Line Visual component).
- Copy the Direct Interactor and Sphere Collider components from the RightHand Controller to the LeftHand Controller.
Note: To copy a component:
- Select the context menu in the top-right of that component and click Copy Component.
- To paste the component on another object, select a context menu of one of the receiving object’s components and click Paste Component As New.
4. Make sure that you only have one hand model for each hand:
- On your new LeftHand Ray and RightHand Ray objects, in the XR Controller component, change the Model Prefab object to None.
Each hand should now be able to teleport with their Ray Interactors and grab objects with their Direct Interactors.
5. Toggle ray with button press
Now that you have both Direct and Ray Interactors on each hand, you will add the ability to toggle the Ray on and off when a button is pressed.
1. Add the ability to toggle the left ray:
- On the LeftHand Ray object, add a Toggle Ray component.
- For the Direct Interactor property, assign the LeftHand Controller object.
2. To be able to detect if a button is pressed:
- On the LeftHand Controller object, add an On Button Press component.
3. Specify the button to bind to this action:
- In the On Button Press component, in the Action box, click the + and choose Add Binding (Note: It is very easy to miss the Action box - look closely).
- Double-click where it says No Binding.
- In the Path drop-down, select XR Controller > XR Controller (Left Hand) > Optional Controls > primaryButton.
Note: Different controllers have different buttons, triggers, and pads on them. If you’re not using an Oculus Quest, you will likely have to choose a different binding path that works with your device. For example, check out the OpenXR controller profiles for the HTC Vive or the Valve Index.
4. Activate the ray when the button is pressed:
- In the On Press event, click the + to add a new action.
- Assign the LeftHand Ray object, since it has the Toggle Ray component.
- From the function drop-down, select the ToggleRay > ActivateRay () function.
5. Deactivate the ray when the button is released:
- In the On Release event, click the + to add a new action.
- Assign the LeftHand Ray object.
- Select the ToggleRay > DeactivateRay () function.
The ray on the left hand should now only appear while the primary button is touched and disappear when the button is released.
6. Add additional binding and repeat for other hand
One controller is working with one button. You can give the player more options of buttons to push depending on their preference, and then apply this functionality to the other hand.
1. Add an additional binding that detects the thumbstick:
- In the On Button Press component, in the Action box, click the + button to add an additional binding to this action.
- Follow the same instructions as the previous step to select a binding, but select select XR Controller > XR Controller (Left Hand) > Optional Controls > thumbstickTouched instead of primaryButton.
Note: Different controllers have different buttons, triggers, and pads on them. If you’re not using an Oculus Quest, you will likely have to choose a different binding path that works with your device. For example, check out the OpenXR controller profiles for the HTC Vive or the Valve Index.
2. Add this same ray toggling functionality for your right hand:
- Repeat all of the instructions from the previous step, but for your RightHand Controller and RightHand Ray:
- Add a Toggle Ray component to the RightHand Ray and assign the RightHand Controller to the Direct Interactor property.
- Add an On Button Press component to the RightHand Controller and add bindings for the Right Primary Button and Right Thumbstick
- In the On Press event, call the Toggle Ray > ActivateRay() function on the RightHand Ray object.
- In the On Release event, call the Toggle Ray > DeactivateRay() function on the RightHand Ray object.
The rays on both hands should now only appear while the primary button or thumbstick are touched.
7. Recap
New Functionality:
- Direct interactors on each hand
- Toggle direct interactors on/off with button
New Concepts and Skills:
- Direct vs Ray interactors
- Detect button press
Next Lesson:
- User Interfaces
8. Extension Activities
If you want to further develop your skills, explore new concepts, and improve your project, check out some of the optional extension activities below.
Each one is tagged as [Easy], [Medium], [Difficult], or [Expert] and will also include a [Requires Programming] tag if some coding is required.
1. Customize the ray interactor lines [Easy]
Edit the Ray Interactor line colors and transparency colors, including gradients and transparency:
- It looks good to make the start of the ray transparent so it doesn’t overlap with your hands.
- To customize the colors of the rays, look in the XR Interactor Line Visual components Valid and Invalid color gradient properties
- In the Gradient Editor window, use the markers below the color bar to edit the color and the markers above the color bar to edit the transparency (Alpha) value.
2. Add a functional watering can [Medium]
Add a watering can that generates a water particle when you tilt it:
- Use the OnTilt script provided from the Course Library > Scripts > Conditions folder to detect tilting.
- Find a Particle_Water object from the Course Library > Prefabs > Particles folder
- Use the ToggleParticle > Play() and Stop() functions to control the particle.
- Bonus - Add in pouring sound effect using the PlayContinuousSound script.
- Bonus - Use the OnVelocity script to also add a splashing sound when you shake it - Hint: add a separate audio source for this to not interfere with the pouring sound.
3. Add hinges to cabinet doors [Expert]
Allow the user to open cabinet doors or chest lids using Unity’s physics hinges:
- You will need to add a Hinge Joint and rigidbody to the door, and customize its angular limits
- You will need to add an XR Grab Interactable component to the handle and may want to add a Fixed Joint connected to your door’s rigidbody.
- Make sure your door’s colliders do not overlap any other colliders, which could cause it to get stuck.
- Warning: joints are very tricky and can be frustrating.