
2.3 - Near-Far and Ray Interactors
Tutorial
Beginner
+10XP
1h 30m
(38)
Unity Technologies
In this lesson, you will learn how to implement Direct Interactors and how to switch between interactors on the same controller. By the end of this lesson, the user will be able to grab things directly with their hands, and then toggle a ray to point at things when they need to.
This lesson is part of the Create with VR course.
Languages available:
Overview Video
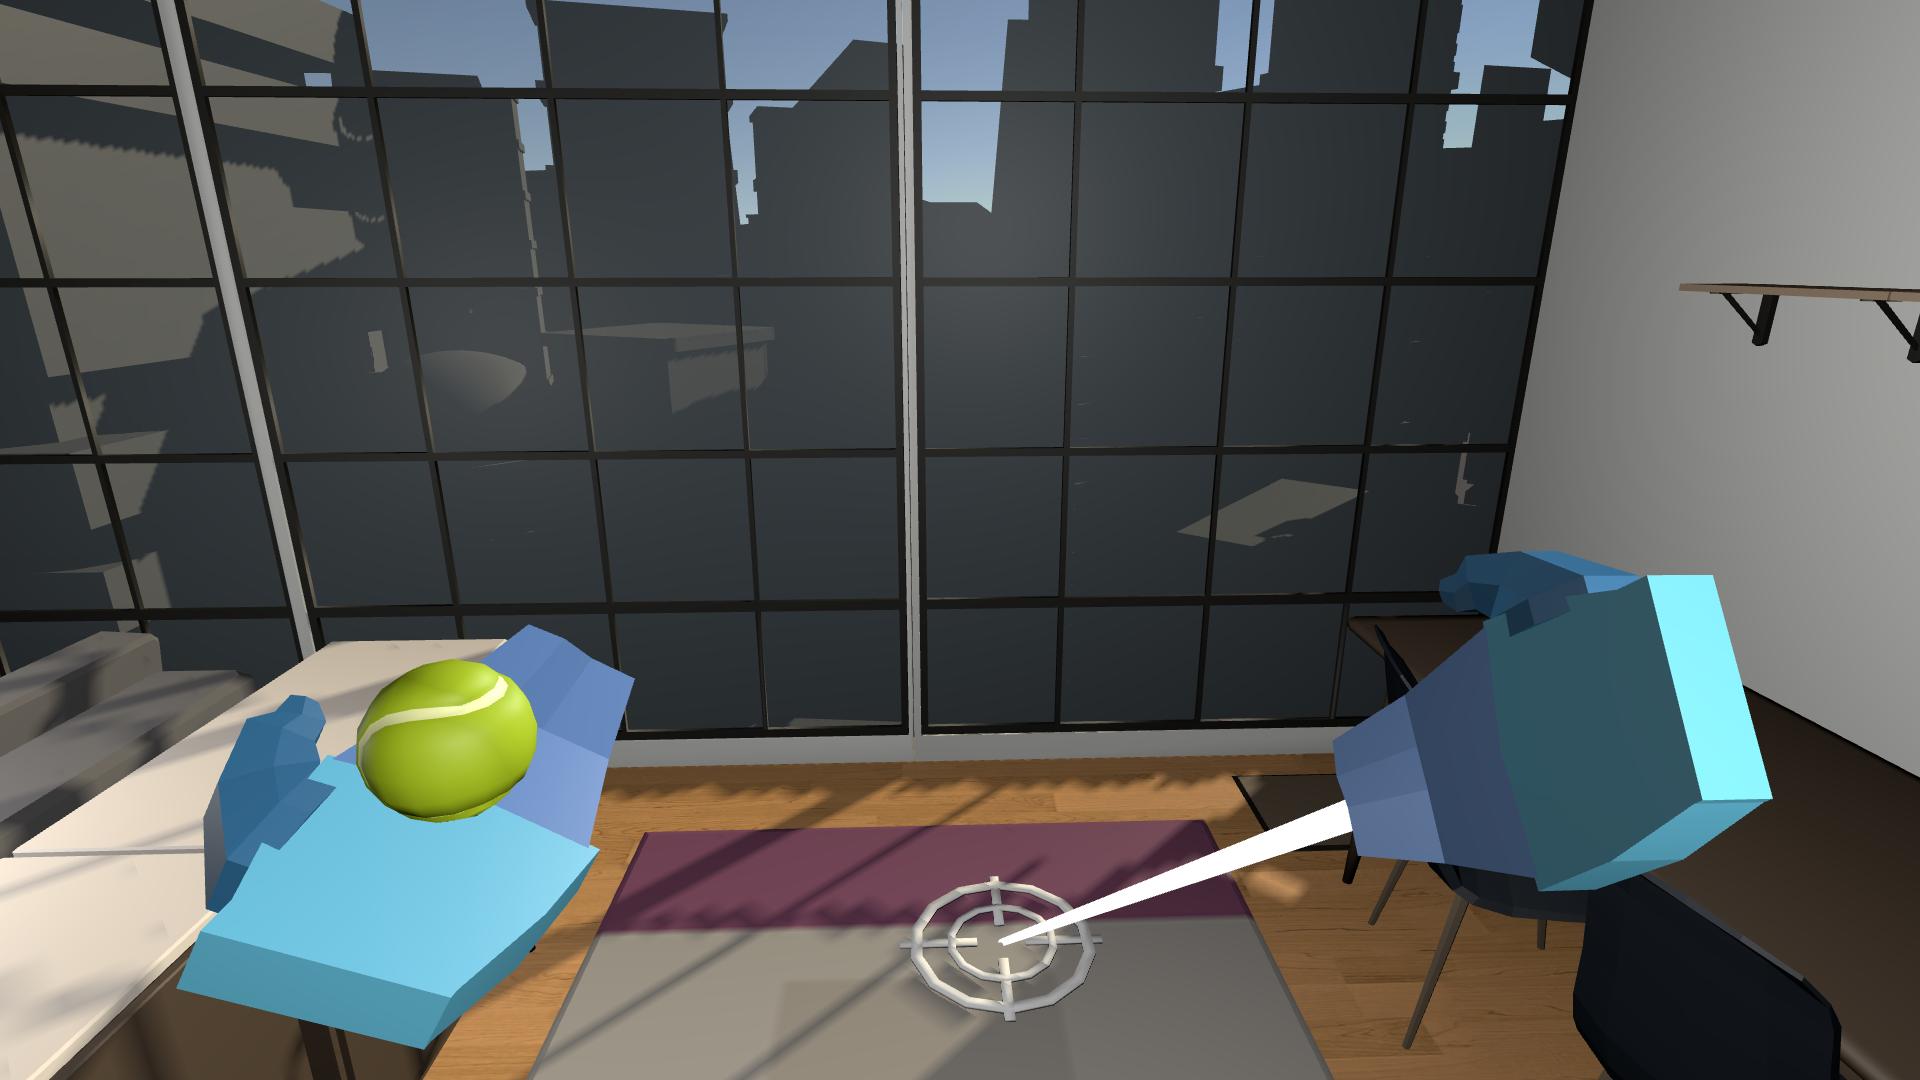
1. Prevent ray from picking up GameObjects
Right now, you can pick up everything with your teleport ray, which doesn’t feel natural. You should only be able to teleport with your ray and pick up GameObjects with your hand directly.
1. Add a new layer for your rays:
- In the Inspector window, on your XR Ray Interactor component, locate the Interaction Layer Mask property box, open the Layers dropdown, and select Add Layer.
- Add a new “Raycasts” layer in the first available empty box.
2. Prevent your ray from interacting with your grabbable GameObjects:
- On your Controller GameObject’s XR Ray Interactor component, for the Interaction Layer Mask property, assign only the Raycasts layer.
- To do this, you need to first select Nothing and then re-select the Raycasts layer.
- Make sure your grabbable GameObjects don’t share the Raycasts Interaction Layer.
3. Make sure your ray can interact with teleport GameObjects:
- For each Teleportation Anchor and Teleportation Area GameObject, in the Interaction Layer Mask property, make sure the Raycasts layer is the only enabled layer.
4. Prevent your hand model from disappearing when you teleport:
- In the XR Ray Interactor component, remove the Select and Select Excited events by selecting the Remove (-) button on each.
Your ray interactor should no longer be able to pick up GameObjects, but should be usable for teleporting.
2. Add a near far interactor for each hand
Before the Near-Far Interactor was introduced, you had to create a Direct Interactor for grabbing close GameObjects and a Ray Interactor to grab far GameObjects separately. Introduced in XR Interaction Toolkit version 3, the Near-Far Interactor combines both of these functions into a single component, allowing you to seamlessly interact with GameObjects both up close (near) and at a distance (far).
1. Create the Near-Far Interactor setup:
- In the Hierarchy window, rename the Right Hand Controller > Right Ray Interactor GameObject “Teleport interactor”.
- Right-click the Right Hand Controller GameObject and select XR > Near-Far Interactor. This will create a new Near-Far Interactor GameObject as a child GameObject of the Right Hand Controller GameObject.
- In the Inspector window, notice the components that were added to the new Near-Far Interactor GameObject:
- Near-Far Interactor component: Combines direct and ray interaction modes so you can grab and interact with GameObjects both near and far.
- Interaction Attach Controller: Defines how a GameObject attaches to your hand or controller when grabbed, controlling its offset and rotation.
- Sphere Interaction Caster: Casts a sphere-shaped volume to detect nearby GameObjects for interaction.
- Curve Interaction Caster: Projects a curved ray for far interactions.
- You need to set the Input Actions for the Near-Far Interactor component. Open the Presets menu and then select the Right_NearFarInteractor.preset asset.
2. Hide and unhide hands:
- In the Near-Far Interactor component, use the foldout (triangle) to expand the Interactor Events section.
- Under the Select Entered property, select the Add (+) button, drag the VR_Hand_Blue_Right prefab into the box, open the No Function dropdown, select GameObject > SetActive(bool), and make sure the checkbox is disabled to hide the hand when grabbing.
- Under the Select Exited property, select the Add (+) button, drag the VR_Hand_Blue_Right prefab into the box, open the No Function dropdown, select GameObject > SetActive(bool), and enable the box to show the hand when releasing.
- Open the Interaction Layer Mask dropdown and select the Hats layer to allow your Near-Far Interactor GameObject to interact with the hats you created. If you created additional layers for other GameObjects, make sure to add them as well.
- In the Hierarchy window, expand the Near Far Interactor GameObject, then select and inspect the Line Visual child GameObject. This GameObject contains all of the components that create the ray for the Curve Interaction Caster. Experiment with the settings to find a look that you like. For example, you can set the Line Dynamics Mode property to Retract on Hit Loss to make it retract back to your hand when no interactable GameObjects are detected.
- Repeat the steps above for the Left Hand Controller GameObject.
You’ll now be able to pick up GameObjects close to you or at a distance with the Near-Far Interactor GameObject.
3. Add haptics and audio to the NearFar Interactor
Just like you did for the ray interactor, you should add the same haptic and audio feedback for hovering over and selecting GameObjects.
You can add haptic on hover enter and select enter to provide physical feedback to the player’s hands.
Note: If you’re using the OpenXR Plugin for development on devices like the HTC Vive or Valve index, this feature might not work.
1. Add a Haptic Impulse Player component:
The Controller GameObjects already have Haptic Impulse Player components assigned, so you don't have to repeat that step, but you still need to assign a Simple Haptic Feedback component to your new interactors to activate the haptics on them.
- Select the Near-Far Interactor GameObject under the Right Hand Controller GameObject in the Hierarchy window.
- Add a Simple Haptic Feedback component.
- Enable the Play Select Entered property.
- Set the Duration property value to a very low value (for example, 0.1 seconds).
- Repeat this for the Left Hand Near-Far Interactor GameObject.
4. Switch Between Teleport Near Far Interactor rays
Currently, both the Near-Far Interactors and Teleport Interactor rays overlap on each hand, which can make the user experience confusing. In this step, you'll adjust the setup so that the teleport ray only activates when a specific button is pressed.
1. Add the ability to toggle the left ray:
- On the Left Hand Controller GameObject, add a Toggle Interactor Components component. This is a custom script we created that will disable a GameObject specified by the user.
- For the Near Far Interactor property, assign the left Near-Far Interactor GameObject.
- For the Teleport Interactor property, assign the left Teleport Interactor GameObject.
2. Add the ability to detect if a button is pressed:
- On the Left Hand Controller GameObject, add an On Button Press component.
- In the On Button Press component, under the Action property, select the Add (+) button and select Add Binding.
Note: It’s very easy to miss the Action property - look closely.
- Double-click the new <No Binding> action.
- Open the Path property dropdown, select XR Controller > XR Controller (Left Hand) > Optional Controls > primaryButton.
Note: Different controllers have different buttons, triggers, and pads on them. If you’re not using a Meta Quest, you’ll likely have to choose a different binding path that works with your device. For example, check out the OpenXRI controller profiles for the HTC Vive or the Valve Index.
4. Activate the ray when the button is pressed:
- Under the On Press property, select the Add (+) button to add a new action.
- Assign the Left Hand Controller GameObject, since it has the Toggle Interactor Components script.
- Open the No Function dropdown and select ToggleInteractorComponents > EnableTeleportRay ().
5. Deactivate the ray when the button is released:
- Under the On Release property, select the Add (+) button to add a new action.
- Assign the Left Hand Controller GameObject.
- Open the No Function dropdown and select ToggleInteractorComponents > DisableTeleportRay ().
6. Set up the right hand toggle:
- Repeat the steps above for the Right Hand Controller GameObject.
The teleport ray on the left hand should now only appear while the primary button is pressed and disappear when the button is released.
5. Add an additional binding and repeat for other hand
One controller is working with one button. You can give the user more options of buttons to push depending on their preference, and then apply this functionality to the other hand.
1. Add an additional binding that detects the thumbstick:
- In the On Button Press component, under the Action property, select the Add (+) button to add an additional binding to this action.
- Follow the same instructions as the previous step to select a binding, but select XR Controller > XR Controller (Left Hand) > Optional Controls > thumbstickTouched instead of primaryButton.
Note: Different controllers have different buttons, triggers, and pads on them. If you’re not using a Meta Quest, you’ll likely have to choose a different binding path that works with your device. For example, check out the OpenXRI controller profiles for the HTC Vive or the Valve Index.
2. Add this same ray toggling functionality for your right hand:
- Repeat all of the instructions from the previous step, but for your Right Hand Controller GameObject.
The rays on both hands should now only appear while the primary button or thumbstick are touched.
6. Recap
New functionality:
- Near-Far Interactors on each hand
- Toggle Near-Far Interactors on/off with button
New concepts and skills:
- Direct vs ray interactors
- Detect button press
Next lesson:
- User interfaces
7. Extension Activities
If you want to further develop your skills, explore new concepts, and improve your project, check out some of the optional extension activities below.
Each one is tagged as [Easy], [Medium], [Difficult], or [Expert] and will also include a [Requires Programming] tag if some coding is required.
1. Customize the ray interactor lines [Easy]
Edit the ray interactor line and transparency colors, including gradients and transparency:
- It looks good to make the start of the ray transparent so it doesn’t overlap with your hands.
- To customize the colors of the rays, look in the XR Interactor Line Visual components Valid and Invalid color gradient properties.
In the Gradient Editor window, use the markers below the color bar to edit the color and the markers above the color bar to edit the transparency (Alpha) value.
2. Add a functional watering can [Medium]
Add a watering can that generates a water particle when you tilt it:
- Use the OnTilt script provided in the _Course Library > Scripts > Conditions folder to detect tilting.
- Find a Particle_Water GameObject from the _Course Library > Particles folder.
- Use the ToggleParticle > Play() and Stop() functions to control the particle.
- Bonus: Add in pouring sound effects using the PlayContinuousSound script.
- Bonus: Use the OnVelocity script to also add a splashing sound when you shake the watering can.
Hint: Add a separate audio source for splashing sound to not interfere with the pouring sound.
3. Add hinges to cabinet doors [Expert]
Allow the user to open cabinet doors or chest lids using Unity’s physics hinges:
- You’ll need to add a Hinge Joint and Rigidbody component to the door, and customize its angular limits.
- You’ll need to add an XR Grab Interactable component to the handle and may want to add a Fixed Joint component connected to your door’s Rigidbody component.
- Make sure your door’s colliders don’t overlap any other colliders, which could cause it to get stuck.
Note: Joints are very tricky and can be frustrating.