
2.4 - User Interface
Tutorial
Beginner
+10XP
1h 30m
(669)
Unity Technologies
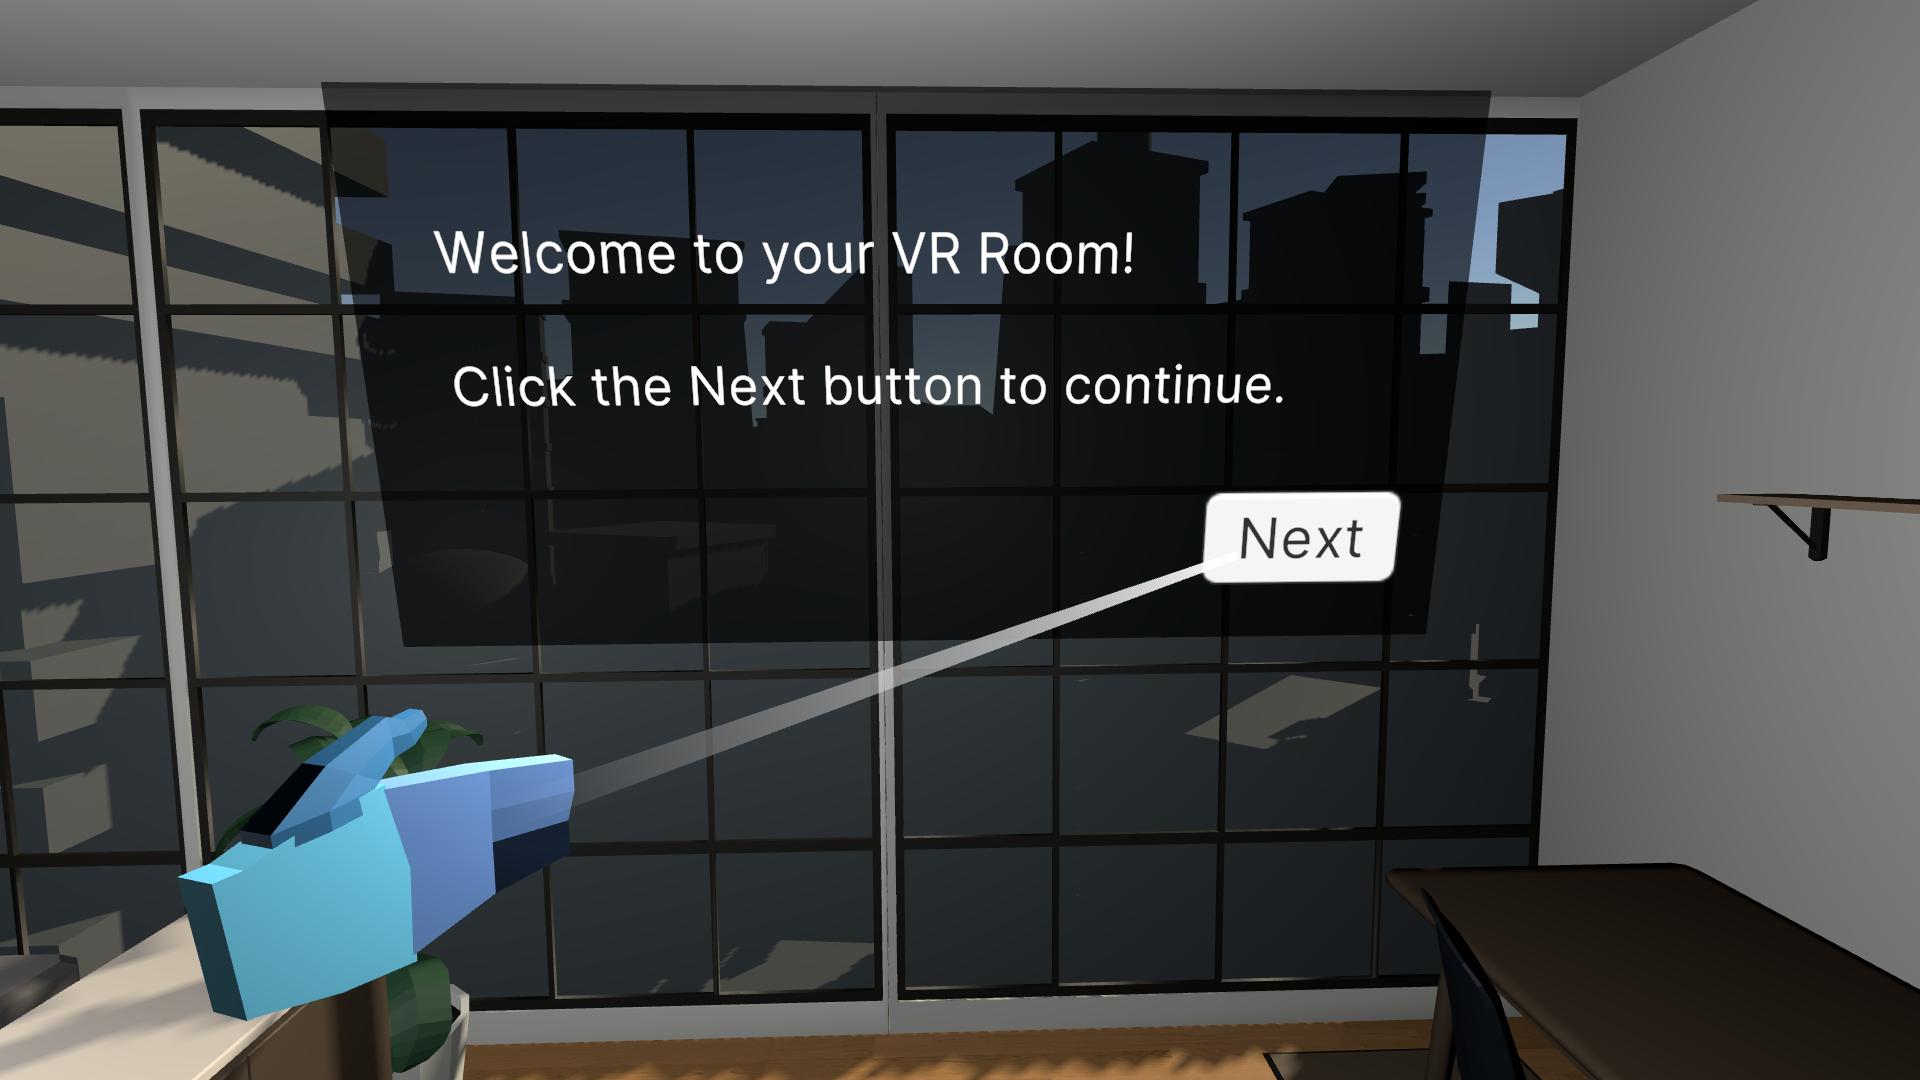
In this lesson, you will learn how to implement world space user interfaces in VR. By the end of this lesson, the user will be greeted by a welcome screen that provides basic instructions. They will also be able to bring up a simple reset menu that allows them to reload the scene.
This lesson is part of the Create with VR course.
Languages available:
Overview Video
1. Add a world space UI into the room
To create some welcome screen text, the first thing you need to do is add a canvas with text and position it in the room.
1. Add a new Canvas to your scene:
- Add a new empty object in your Hierarchy, reset its position, and rename it “INTERFACE”.
- Create an XR > UI Canvas object within that organizer object.
2. Position the canvas appropriately in the room:
- In the Canvas’ Rect Transform component, set the XYZ Scale to 0.01.
- Set the Pos Y and Pos Z properties so the canvas is at the back of the room
3. Add a semi-transparent black background for the UI:
- In the Hierarchy, create a UI > Image and rename it “Welcome Background”.
- In the Image component, click the Color box.
- Change the color to black.
- Use the Alpha (A) slider to reduce the color’s transparency.
4. If your windows are rendering on top of your text:
- In the Canvas component, set the Order in Layer property to “1”.
5. Add text to the panel as a child object:
- In the Hierarchy, right-click Welcome Background and create UI > Text - TextMeshPro as a child object.
- Note: you may have to click “Import TMP Essentials” if prompted.
You should now have a semi-transparent box in the room with huge off-center text that says “New Text”.
Related Resources:
2. Edit the welcome text
Now that you have the canvas in place, it is time to make a more useful welcome message.
1. Edit the shape and placement of the background image:
- In the image object’s Rect Transform component, edit the Width, Height, Pos X, and Pos Y properties.
2. Edit the appearance of the text:
- On the text object, in the TextMeshPro - Text (UI) component, change the Font Asset, Font Size, Vertex Color, and Alignment properties.
3. Change the contents of the text:
- In the TextMeshPro - Text (UI) component, change “New Text” to a short, but informative welcome message about the scene.
4. Edit the size and spacing of the text box:
- In the Rect Transform component., set the Width, Height, Pos X, and Pos Y to position in your text’s Rect Transform component.
- Note: Make sure to leave some margins and space for an “OK” button.
Your welcome text should now look the way you want it in the scene.
3. Add an OK button to the panel
You don’t want the welcome text displayed forever, so you will add an “OK” button that hides it.
1. Add a button to the panel as a child object:
- In the Hierarchy, right-click the Welcome Background and click UI > Button - TextMeshPro.
2. Edit the button’s text:
- Select the button’s child Text object.
- Change the text to “OK” or “Got it!”.
- Edit the Text settings to match your other text.
3. Position the button appropriately:
- In the Rect Transform component, edit the button’s position, width, and height.
4. If you want to change the color of the button as you interact with it:
- In the Button component, edit the Normal, Highlighted, and Pressed Color properties.
5. Prevent your ray from appearing active when it is over the background panel:
- In the Background Image component, disable the Raycast Target setting.
- In the Text object’s TextMeshPro component, in the Extra Settings section, disable the Raycast Target setting.
You should now have an “OK” button that changes color when it is highlighted and clicked with the trigger.
4. Make the OK button remove the welcome panel
Now that the button looks the way you want, you should make it remove the welcome panel when clicked.
1. Locate the On Click event for the button.
- On the Button object, at the bottom of the Button component, locate the On Click event.
2. Deactivate the welcome panel:
- In the On Click event, click the + button to add a new action.
- Assign the Welcome Background to the Object slot.
- From the “No Function” drop-down, select GameObject > Set Active (bool) function and make sure the check box is deselected so that it is deactivated.
When you select the OK button with the trigger, the welcome panel should disappear.
5. Make a reset UI canvas
Now that the welcome UI works perfectly, it will be easy to duplicate and repurpose the UI elements to make a Reset UI that reloads the scene.
1. Make new text for your reset screen:
- In the Hierarchy, duplicate the Welcome_Background object and rename the new object “Reset_Background”.
- Temporarily deactivate the Welcome Background To be able to edit it more easily.
- Edit the text to be about resetting the scene to its original state.
2. Add a second button for your reset screen:
- Duplicate the button, then reposition it next to the original.
- Rename the buttons and edit their text to make one a “Cancel” button and the other an affirmative “Yes” button.
3. Make the Yes button actually reset the scene:
- Add a Load Scene component to the Yes button object.
- In the On Click event, assign the Load Scene component and choose the Load Scene > ReloadCurrentScene () function.
From the Reset canvas, you should now be able to be able to click Cancel to hide the panel or click Yes to reload the current scene.
6. Show reset panel on secondary button press
There’s currently no way to return to the reset screen. To execute a reset, you can teleport the player back to the starting point when they press the secondary button.
1. Only show the welcome panel at start:
- Re-enable the Welcome Background object and disable the Reset_Background object.
2. Test for a Secondary Button press:
- On the XR Rig object, add an On Button Press component.
- Click + to add a new Action Binding.
- Assign the binding path to XR Controller > Optional Controls > secondaryButton.
Note: Different controllers have different buttons, triggers, and pads on them. If you’re not using an Oculus Quest, you will likely have to choose a different binding path that works with your device. For example, check out the OpenXR controller profiles for the HTC Vive or the Valve Index.
3. Show the reset panel on the button press:
- In the On Press event, click the + to add a new action.
- Assign the Reset_Background object.
- Select the function GameObject > Set Active (bool), and make sure the check box is enabled.
4. Hide the welcome panel on the button press:
- Click the + to add a new action.
- Assign the Welcome Background object.
- Select the GameObject > Set Active (bool) function, and make sure the check box is disabled.
When you press the secondary button, the welcome panel should disappear and the reset panel should appear.
7. Teleport back to the starting position on button press
If the player is not at the starting position when they press the secondary button, they need to be teleported back to the starting position to view the Reset panel.
1. Make sure you have a teleportation anchor at the start of your scene:
- If you don’t already have one, duplicate and reposition a teleportation anchor at the position you want your player to start in the room.
2. Make your player start at the correct location:
- Match the position and rotation of the XR Rig object to the position and rotation of the starting anchor.
3. Add a new teleporting behavior to the XR Rig:
- On the XR Rig object, add a Teleport Player component.
- For the Teleport Destination property, assign the teleportation anchor at the start of your scene.
- For the Provider property, assign your Teleportation Provider.
4. Connect the teleportation action to the button click:
- In the XR Rig object’s On Button Press component, for the On Press event, click the + to add a new function.
- Assign the XR Rig object.
- Select the TeleportPlayer > Teleport () function.
When you press the secondary button, the player should now teleport to the starting position of the scene in order to view the Reset UI.
8. Recap
New Functionality:
- Welcome screen with OK button
- Reset screen to reload scene
New Concepts and Skills:
- VR UI best practices
- Worldspace vs Screenspace UI
Next Lesson:
- Comfort & Accessibility
9. Extension Activities
If you want to further develop your skills, explore new concepts, and improve your project, check out some of the optional extension activities below.
Each one is tagged as [Easy], [Medium], [Difficult], or [Expert] and will also include a [Requires Programming] tag if some coding is required.
1. Add real-world text to the scene [Easy]
Add text onto a real-world object like a notebook to provide additional information to the user:
- Make a “TexMeshPro - Text” object a child object of whatever object you want it to display on.
- Make sure the Canvas is set to world space Render Mode
- Bonus - add audio narration that reads the text when you pick up the object.
2. Add multi-step user interfaces [Medium]
Instead of having a single paragraph of instructions at the start of your VR room with an “OK button,” add a “Next” button that cycles through a few shorter strings of text:
- On your “TextMeshPro - Text” component, add the ShowMessagesFromList component, which was provided in the Course Library, then use the NextMessage() function to cycle through them. Note the “On Complete ()” event on this component, which fires after there are no more messages to show.
3. Add contextual tooltips [Hard]
Add a small UI screen to guide the user in a particular task in your room:
- The UI screen should only appear when it is relevant.
- Bonus - if it is a multi-stage task like grabbing a hat and putting it on your head, try displaying multiple messages on the UI, depending on what stage the user is on.
- Bonus - ideally, the UI should only display the first time you complete that task.