
3.5 Creating and configuring Transitions
Tutorial
Beginner
+10XP
45 mins
(237)
Unity Technologies
In this tutorial, you’ll explore how to change which Animator State is playing. This is usually done using Transitions.
Languages available:
1. Overview
In this tutorial, you'll explore how to change which Animator State is playing. This is usually done using Transitions.
As with so many animation features, Transitions are a way of controlling animation playback and blending. You’ll review how blending happens and how the settings of a Transition are used to control it.
2. Before you begin
This tutorial uses the Introduction to 3D Animation Systems Unity project. If you haven't already done so, download this before continuing.
When you’ve downloaded the project:
1. Open the project in Unity Editor.
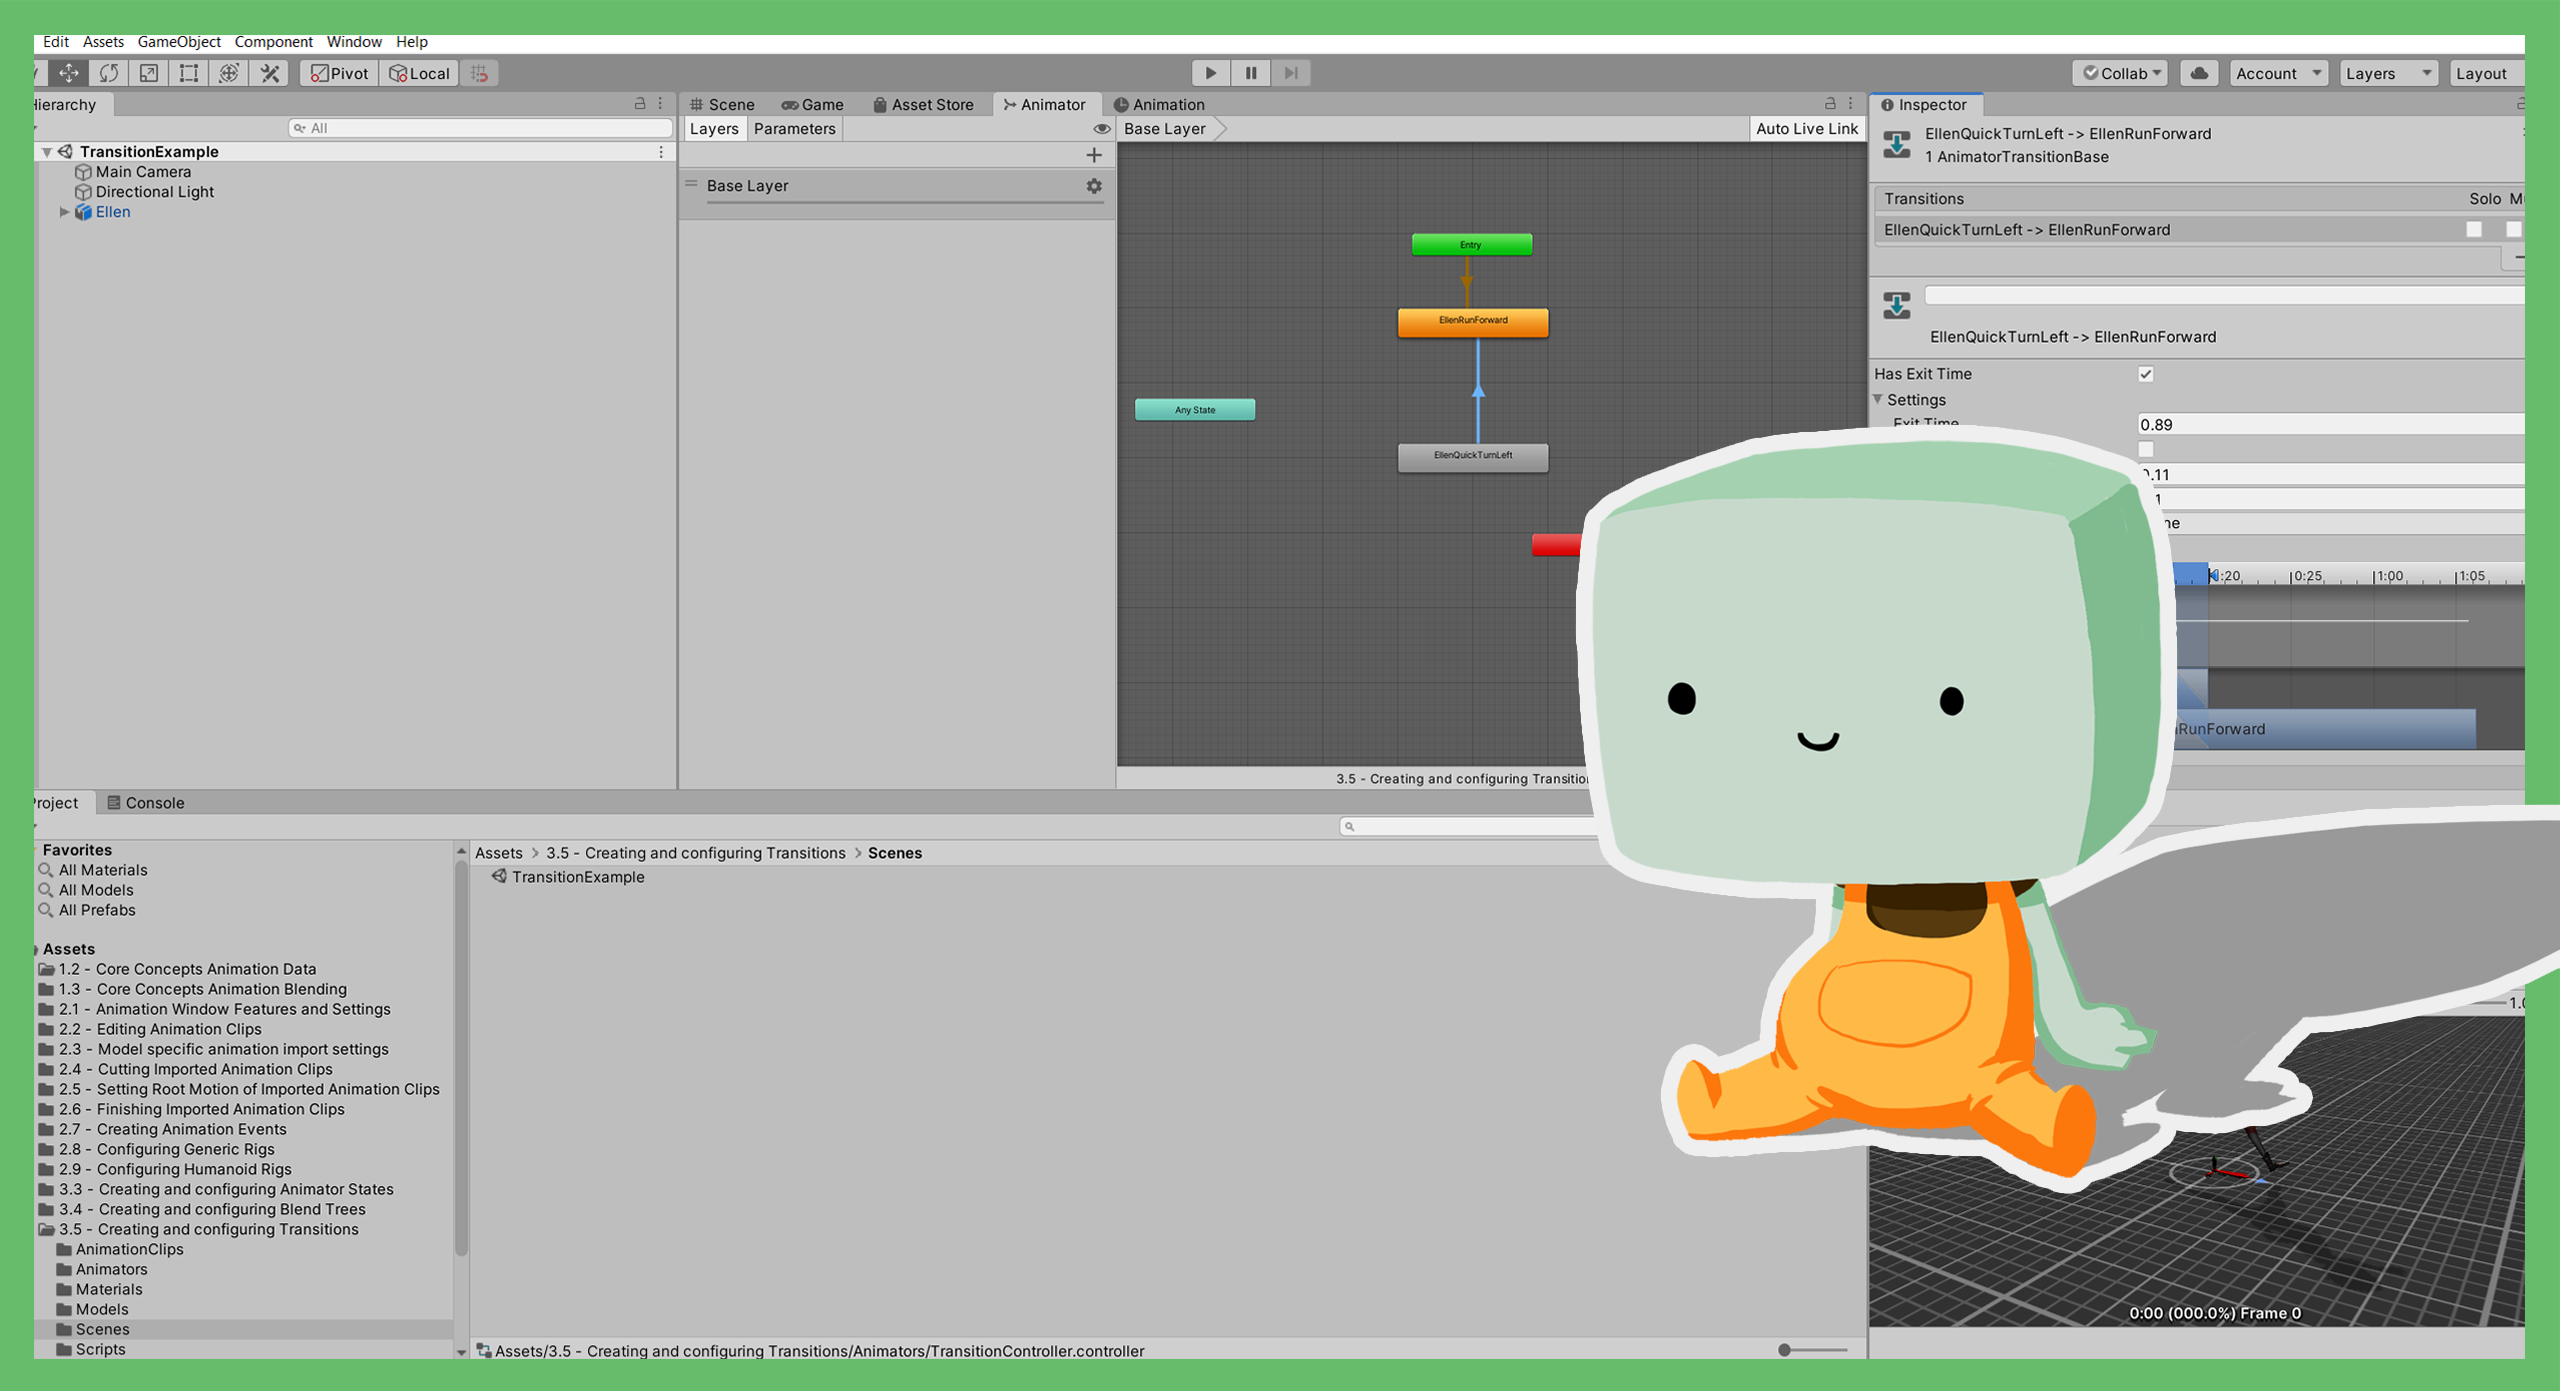
2. In the Project window, go to Assets > 3.5 - Creating and configuring Transitions > Scenes.
3. Double-click the TransitionExample Scene to open it.
4. If the Animator window is not open, go to Windows > Animation > Animator.
5. In the Hierarchy, select the Ellen GameObject.
3. Current and next States
Transitions are a blend between one Animator State and another. When a Transition starts, the Animator State that is being Transitioned to (which is called the next State) starts playing.
At this point, the next State has a weight of 0 and the Animation State that is being transitioned from (which is called the current State) has a Weight of 1.
As the Transition continues, both Animation States continue to play and the Weight of the current State starts reducing as the next State increases linearly. When the Weight of the current State reaches 0 (which will happen at the end of the Transition), it stops playing and the next State becomes the new current State.
4. Create a Transition
In the example for this project, there is currently no Transition from EllenRunForward to EllenQuickTurnLeft.
Let’s create the Transition:
1. In the Animator window, right-click on the EllenRunForward State and select Make Transition.
You will now see an arrow between the Animation State and your mouse cursor.
2. Left-click on the EllenQuickTurnLeft State (the State that the Transition should lead to).
You can have multiple Transitions between the same two Animation States if, for example, you wish to have multiple sets of conditions. Multiple Transitions are represented by triple arrows instead of single arrows. To set this up you would repeat steps 1 and 2. However, multiple Transitions are not required for this example.
The Transition settings control when and how the Transition occurs.
3. Select the Transition you just made between EllenRunForward and EllenQuickTurnLeft.
4. In the Inspector, expand the Settings foldout.
5. Adjust the Exit Time settings
To control when a Transition happens, you can use the Conditions and Exit Time settings.
Conditions are logical statements about the values of Animator Parameters. When these statements are satisfied, the Transition will start. Conditions will not be used for this example. You’ll review them in more detail later in this tutorial.
Exit Time is the time at which a Transition starts. This is measured in the Normalized Time of the current state.
Unlike Conditions, a Transition only starts if two criteria are satisfied:
- The Normalized Time on the previous frame is less than the Exit Time.
- The Normalized Time on the current frame is greater than the Exit Time.
The Transition that you just created from EllenRunForward to EllenQuickTurnLeft should use Exit Time. To configure this:
1. In the Inspector, check that Has Exit Time is enabled.
2. The Transition should start towards the end of the running animation, so let’s change it to something appropriate. Set the value of Exit Time to 0.81.
6. Adjust Transition Duration settings
To control the length of time a Transition takes, you’ll need to use the Transition Duration setting.
This can be measured in:
- seconds, if Fixed Duration is enabled
- Normalized Time of the current State, if Fixed Duration is disabled
If you use the Normalized Time of the current State to set the duration, a value of 1 means the Transition will last the same amount of time as the State.
Similarly, a value of 0.5 would mean the Transition lasts half the time of the current State and a value 2 would mean the Transition lasts twice the time of the current State.
The Transition from EllenRunForward to EllenQuickTurnLeft should finish at the end of the EllenRunForward animation. You have already set the Transition to start 81% of the way through. This means you should set the Transition to last 19% of the length of EllenRunForward.
To use this duration for the Transition:
1. In the Inspector, disable the Fixed Duration property.
2. Set the Transition Duration property to 0.19.
7. Test the Transition
You have now finished setting up the Transition. It’s time to test it:
1. Press the Play button to enter Play Mode. You should see the Ellen character running backwards and forwards.
2. Press the Play button again to exit Play Mode.
3. You still have some additional Transition settings to review. If the Transition you created is no longer selected and visible in the Inspector, open the Animator window and select it again.
8. Review the Transition offset
Transitions also have an offset. The offset is the Normalized Time of the next State at which the State will start playing when the Transition occurs.
This can be used for things like keeping animations in phase (for example, in character animation, making sure the legs are in similar places) when the Transition starts.
Since Ellen’s legs already match up nicely, you don’t need to change anything here for this animation.
9. Review Transition interruption settings
Transitions can be interrupted by other Transitions. When this happens, the values for the animation at the current frame of the Transition are stored and act as the current State for the interrupting Transition. This means that the blend for the interrupting Transition happens between a single time on the original Transition and the interrupting Transition’s next State.
The Interruption Source and Ordered Interruption settings control how the Transition can be interrupted by another Transition.
Interruption Source
Animator Controllers maintain a list of Transitions that can currently be taken for each Animation Layer. These Transitions have their Conditions and Exit Time checked each frame. By default, this list only contains Transitions from the Any State followed by the current State’s Transition list.
However, when an Animation Layer is transitioning, this list of Transitions is replaced by the Transitions from the Any State and whatever additional Transitions are defined by the Interruption Source of the current Transition.
The additional Transitions for each Interruption Source are:
- None: No Transitions are added to the list.
- Current State: The Transitions in the orderable list on the current State are added to the list.
- Next State: The Transitions in the orderable list on the next State are added to the list.
- Current State Then Next State: The Transitions from both the current State and next State’s orderable lists are added to the list in that order.
- Next State Then Current State: The Transitions from both the next State and current State’s orderable lists are added to the list in that order.
Ordered Interruption
Ordered Interruption controls whether Transitions of lower priority on the current State can interrupt the Transition. If this property is enabled, Transitions of lower priority on the current State cannot interrupt the Transition because of their lower order.
10. Review the Transition Conditions
As you reviewed in Adjust the Exit Time settings, Conditions are logical statements about the values of animator parameters which, when satisfied, start a Transition. Each Transition can have multiple Conditions, and each Condition must be satisfied at the same time for a Transition to start.
There are different types of Condition logical statements for each type of parameter:
- Float: Compared as either Greater or Less than a chosen number
- Int: Compared as Greater than, Less than, Equal to or Not equal to a chosen number
- Trigger: No comparison is required; this type of Condition is met if the trigger has been set
- Bool: Whether the parameter is true or false
Conditions are created in a similar way, regardless of type. To create a Condition:
1. At the bottom of the Conditions list, click New Condition (+).
2. Select the parameter the Condition should be based on from the dropdown list.
3. If the parameter is a Float or an Int, select the comparison type.
4. If the parameter is a Float, Int or Bool, choose the value the parameter should be compared to.
11. The Any State
Each layer in an Animator Controller has a special node called Any State. This node allows Transitions to be made from it but not to it, so that no matter what State is currently playing, a Transition can happen.
The Any State node appears in all State machines for convenience, but it only has a single list of Transitions. Each instance of the Any State node in an Animation Layer is the same one.
In each frame, the Animator Controller checks a list of Transitions to see whether any of them should start. It checks them in order, starting with all the Transitions from the Any State node and then all the Transitions from the current State.
You can modify this list using the Interruption Source and Ordered Interruption settings. However, the Transitions from the Any State are always put first on this list.
Be very cautious when using the Any State, as any Transition in the list will be checked at every frame. You should only ever use it when you’re sure you want the Transitions from Any State to be checked at every frame.
12. Summary
In this tutorial, you’ve explored how States Transition from one to another. You’ve reviewed:
- How transitions work in Unity.
- How to create and configure a Transition.
In the next tutorial, you’ll explore State Machines, one of the core structures of an Animator Controller.