
3D Audio in Unity
Tutorial
Beginner
+10XP
20 mins
(212)
Unity Technologies
The Unity Editor enables you to set high fidelity audio to simulate how sounds are perceived in a 3D environment. Elements in a Scene containing sound are represented in a 3D position distributed through the speaker space. Volume rolloff and pitch are also factored into moving objects. Consider the sound of an approaching train. While the listener perceives the train’s noise to grow louder as it travels closer, so too will the perception of pitch increase. Immediately as the train passes with a “whooshing” sound, the volume and pitch drops due to the familiar phenomena of the doppler effect and volume rolloff.
Languages available:
1. Getting Set Up
In this tutorial, we will demonstrate 3D stereo sounds enabled for a spatial environment. Depicted in an example scene, simplified and modified from the Template Scene provided in the 3D Game Kit. For the detailed instructions to install the 3D Game Kit Template, refer to the Audio Setup tutorial.
It is not required that you download the large 3D Game Kit Template package for this tutorial, however. Feel free to practice with characters, vehicles, and audio sources using your own custom Project’s Assets. There are many additional resources containing sound files to help you get started. To get set up:
1. Ensure that your Scene has an Audio Listener component, either from the default camera, or attached to a character.
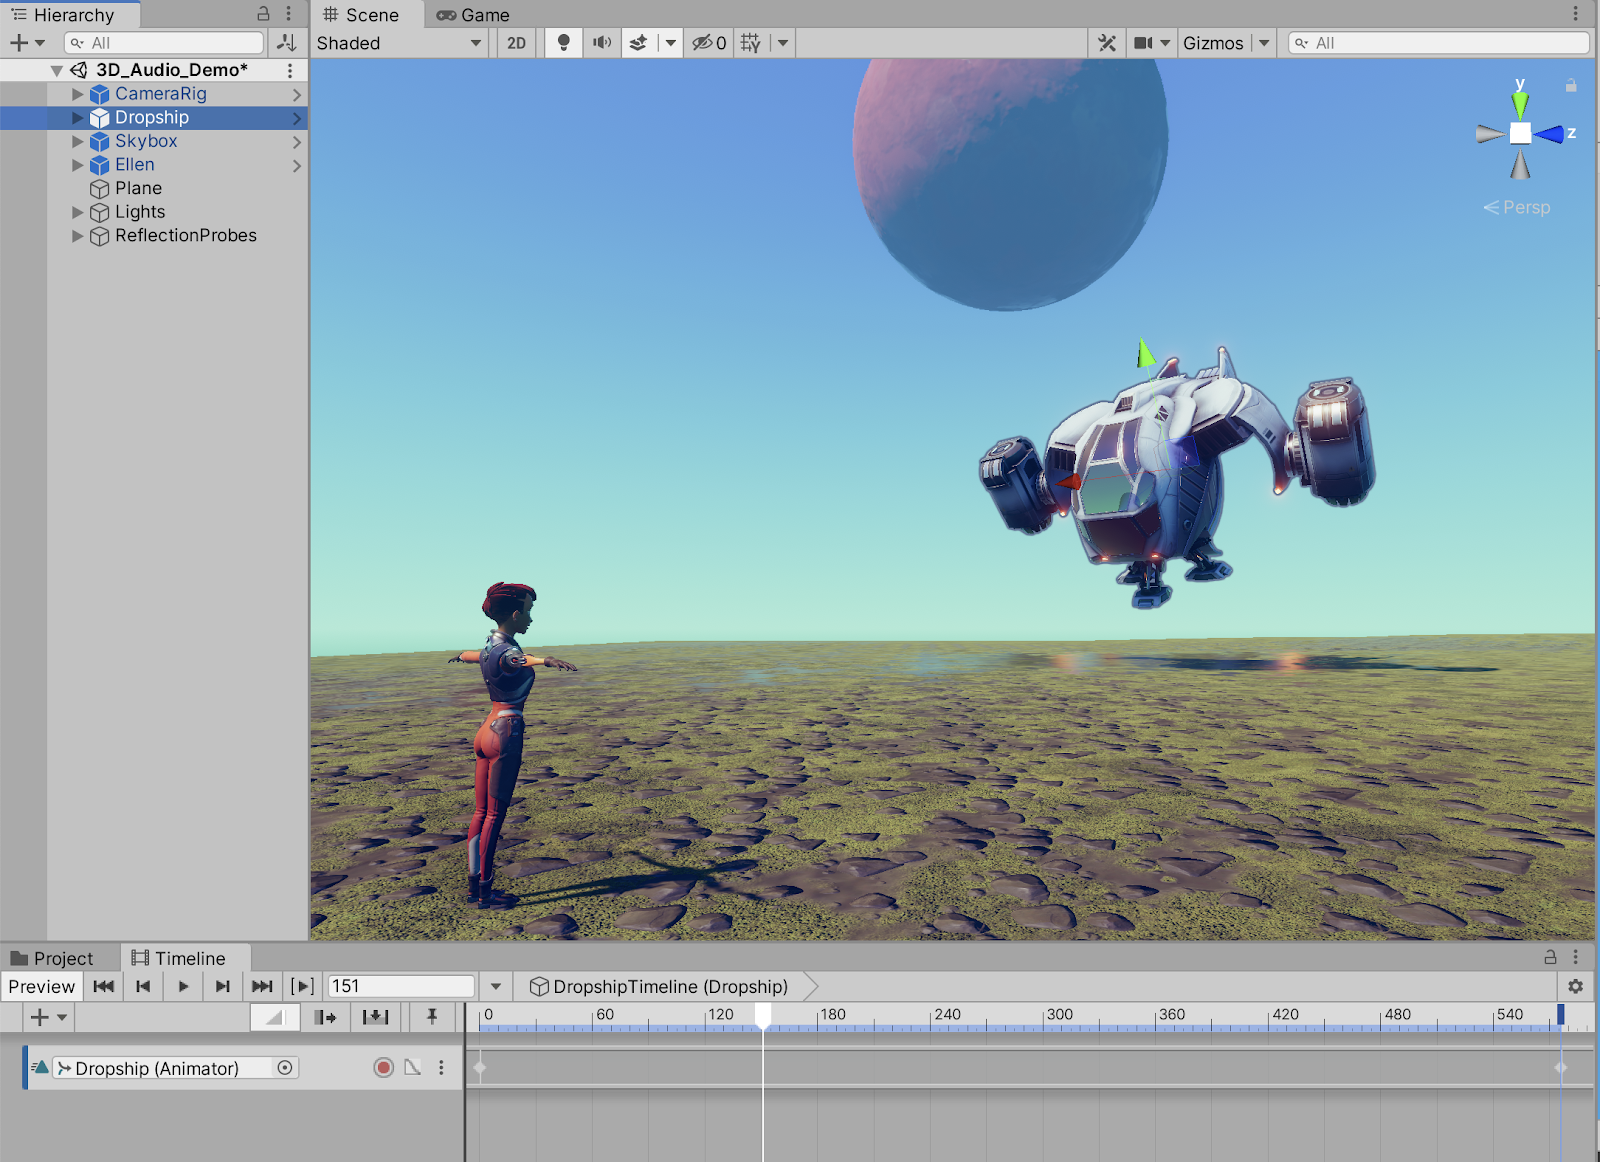
2. Include a GameObject such as a vehicle. In this tutorial’s example Scene, a spaceship is animated to fly past the 3rd person character prefab “Ellen”. To add the spaceship Prefab from the 3D Game Kit Template, navigate to the 3DGamekit > Prefabs > Environment > Dropship folder in the Project window, and then drag and drop the Dropship Prefab into the Scene.
3. Animate the spaceship, so that you will be able to preview the 3D audio settings as it moves around in your Scene. To animate a GameObject, refer to the Working with Animations and Animation Curves tutorial.
2. Working with 3D Audio
We must first add an Audio Source. The Audio Source component will play a sound clip when attached to a GameObject. Let’s add a sound clip to the spaceship.
1. With the spaceship vehicle GameObject titled “Dropship” selected in the Hierarchy window, select the Add Component button in the Inspector. Type “audio” to search for and then select: Audio Source.
2. Select an audio file in the Project window. We will select the audio file titled: “Dropship_Stereo_Loop_01” provided within the 3DGamekit > Audio > Environment > Dropship folder in the Project window. Drag the clip into the Audio Source component’s AudioClip field.
3. Increase the Spatial Blend value slider from the default value of 0 (2D), to the maximum positive value of 1 (3D).
4. Preview the 3D audio by selecting the Play button to enter Play mode.
5. Select to expand the 3D Sound Settings of the Audio Source component in the Inspector to make further adjustments.
- Setting the Doppler Level value will specify how much the doppler pitch-shifting effect is changed, based on the relative velocity between the listener and the source.
- Setting the Spread value will affect the distribution of 3D sound between the speakers. At the default setting of 0 degrees, 3D sounds are panned to the corresponding speaker. At the maximum spread value of 360 degrees, 3D sounds are panned to the opposite speaker, which might not necessarily have a practical use. At a value of 180 degrees halfway, 3D sound is evenly spread. Practically, you can keep the spread at or less than 45 degrees to create an ambient sound which will still be somewhat affected by its spatial position.
- The Volume Rolloff field option sets what type of rolloff to be used by the sound, as the listener moves away from it. The options include a Logarithmic Rolloff curve, a Linear Rolloff curve, or a Custom Rolloff curve.
- The Min Distance value sets the minimum distance from the sound source in meters. Within this distance, the volume will play at its fullest level. When the audio listener is outside of this value, the audio will begin to attenuate, or reduce in volume.
- The Max Distance value is the distance in meters a sound source stops attenuating at.
3. Next Steps
When working with 3D Audio in Unity, you have the tools to give sounds a spatial quality by integrating them in a 3D sonic environment. With practice, you will be able to make confident and creative decisions, ranging from applying specific 3D sound adjustments to audio clips, including volume level rolloff and doppler pitch-shifting effects. Depending on how your Scene’s audio elements are perceived by the audio listener, you can create immersive spatially oriented auditory experiences.