Set up UV mapping
Tutorial
foundational
+10XP
35 mins
(106)
Unity Technologies
In this tutorial, you'll learn how to set up UV mapping using ProBuilder.
Languages available:
1. Check the current UV mapping
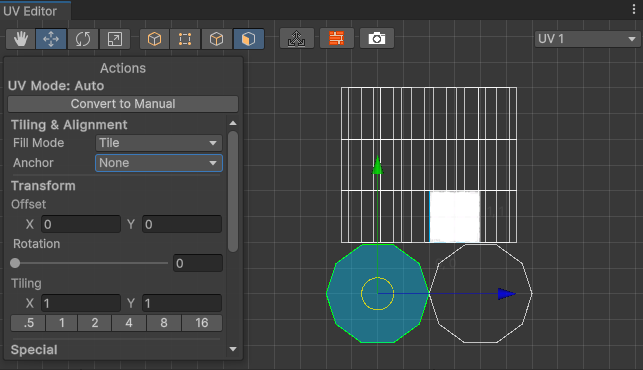
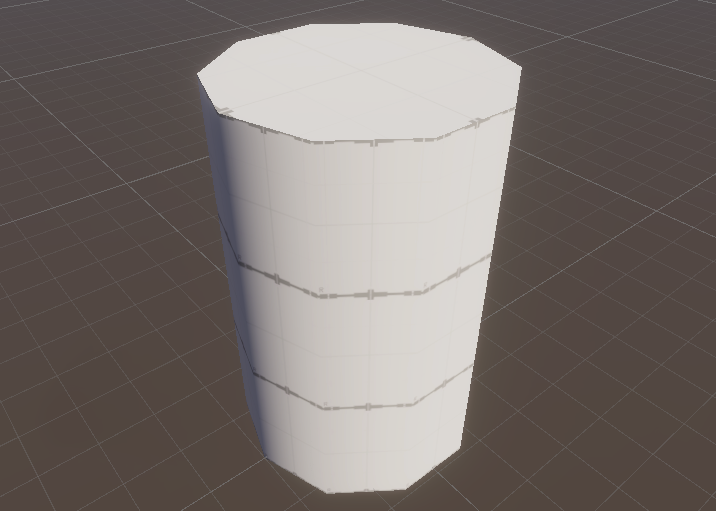
While modeling, you may find that some parts of the object have uneven textures. For this step create a cylinder using the New Shape tool.
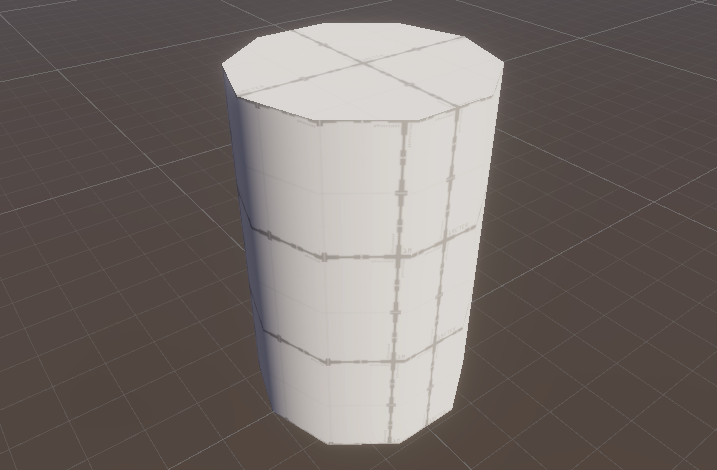
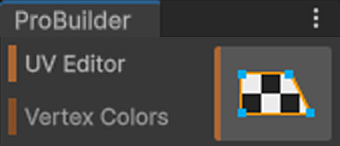
To fix this, you first need to flatten the faces evenly to build a neat 3D model. Select the UV Editor tool in the ProBuilder window to open the UV Editor window.
Select the shape and then the faces one by one from the UV Editor window.
2. Automatically flatten the UV
The UV Mode is set to automatic by default. Change the properties in the Actions panel in the UV Editor window to flatten the faces evenly.
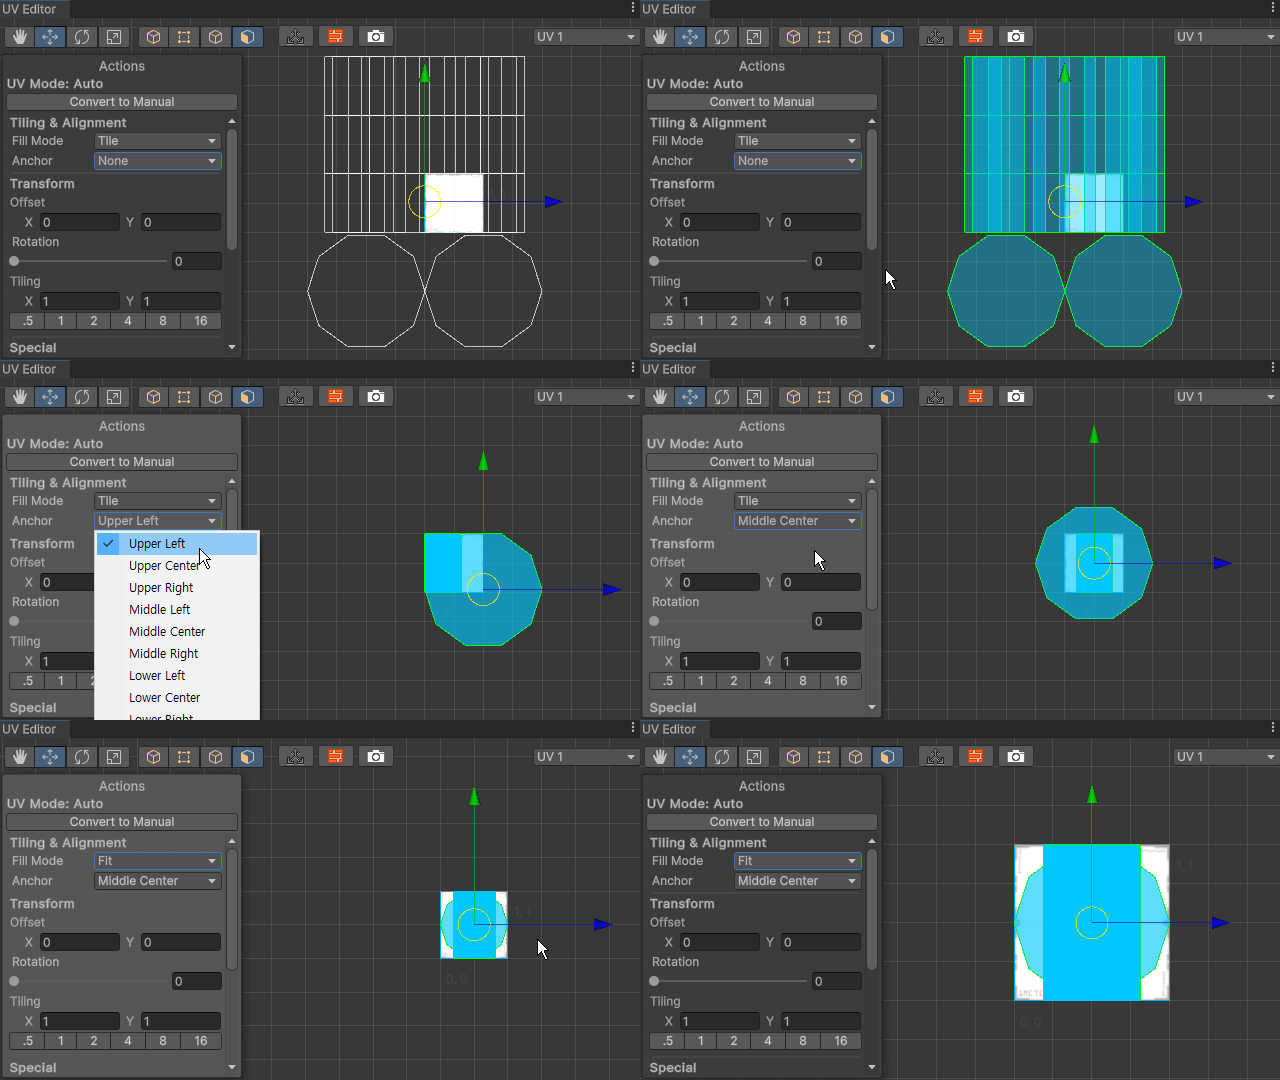
Select all the faces and change the Fill Mode and Anchor to adjust them. The properties of the Fill Mode are as follows:
- Fit: adjusts the size to fit the Texture area while maintaining the aspect ratio of the surface.
- Tile: tiles the texture evenly throughout the object.
- Stretch: expands or shrinks surfaces to fit precisely into the Texture area.
Other than that, you can adjust the properties of Rotation or Tiling in the Actions panel to fit the shapes to your desired UV form.
3. Manually flatten the UV
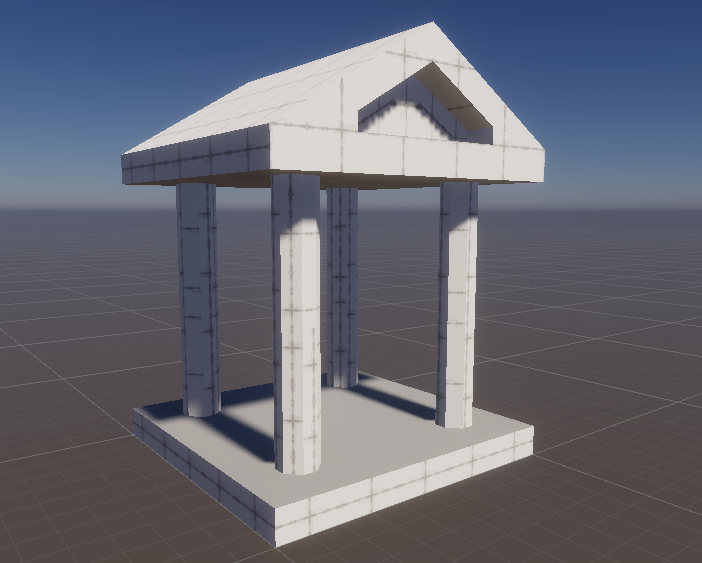
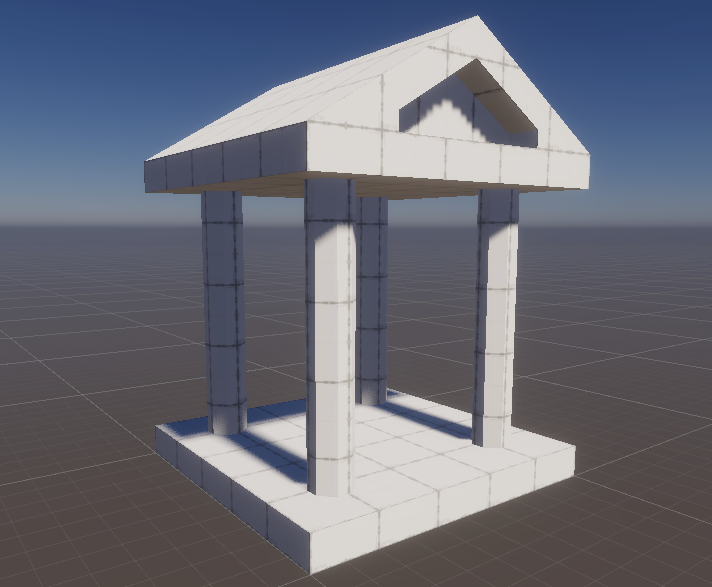
Now, let’s flatten the UV map of the model you completed in the Building with Tools tutorial. Open the UV map using the UV Editor window.
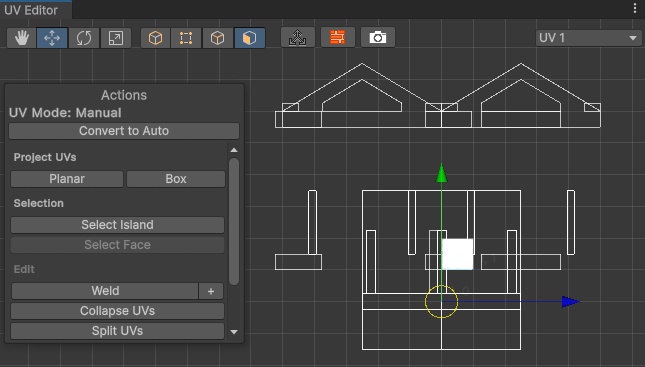
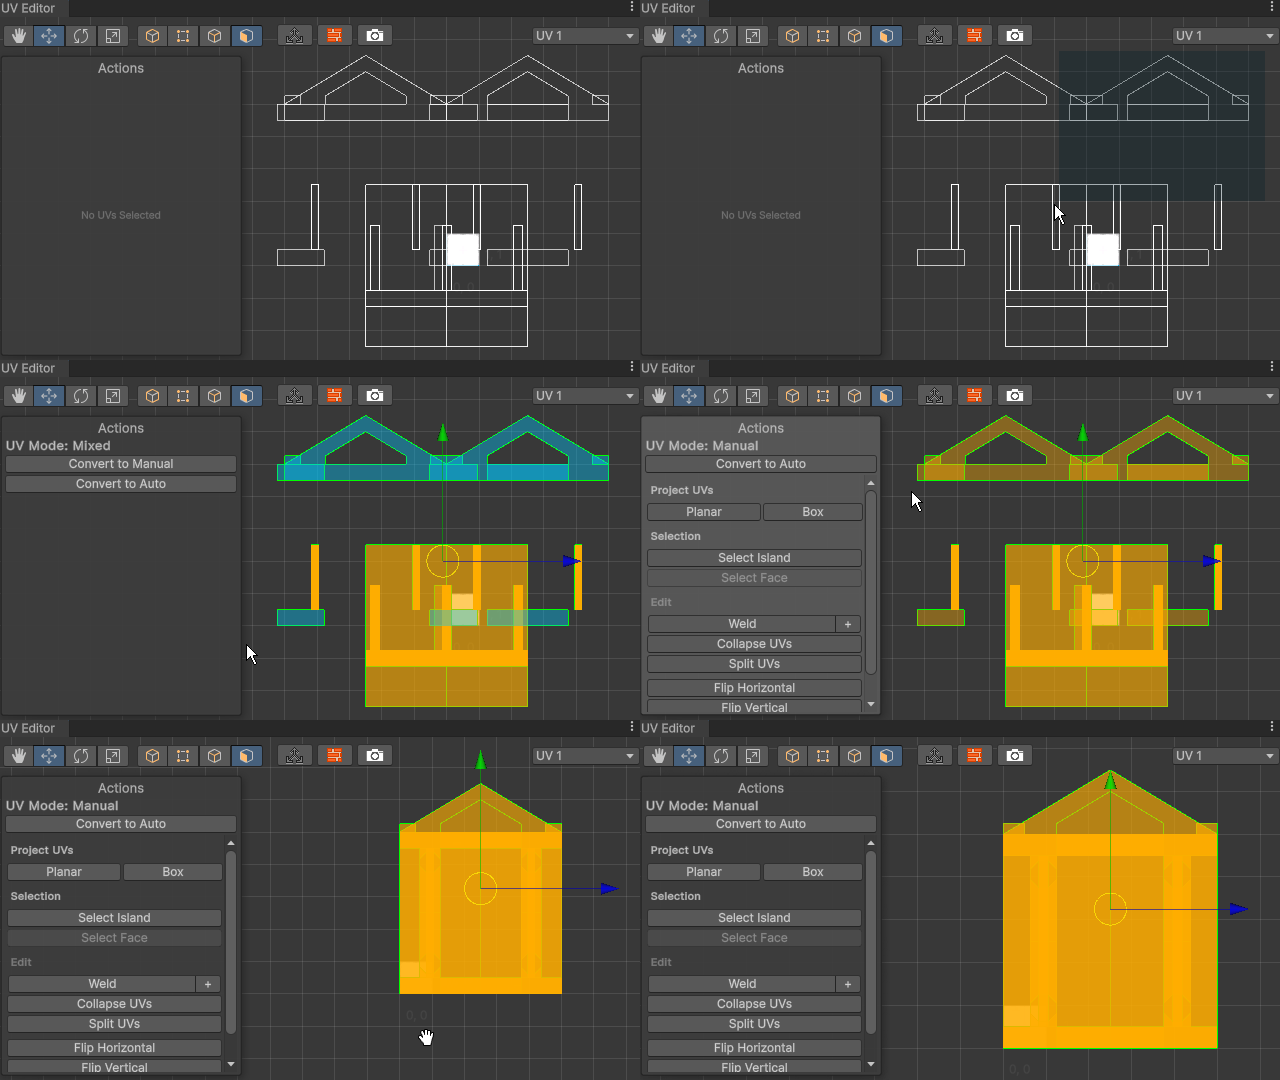
Select all and then select Convert to Manual, then assign a proper Project UV for the model:
- Planar: apply UV mapping to the object as if you were looking at it from a single point of view.
- Box: apply UV mapping to the object as if you were looking from each side of a cube.
Select Fit UVs at the bottom of the Actions panel to set it so the texture adequately fits on one side. It's helpful to use the Flip Horizontal and Flip Vertical together, which changes the directions. What is important here is that if multiple surfaces are selected, they are adjusted to fit the texture based on the selected size, so run Fit UVs with a single selection to avoid that.
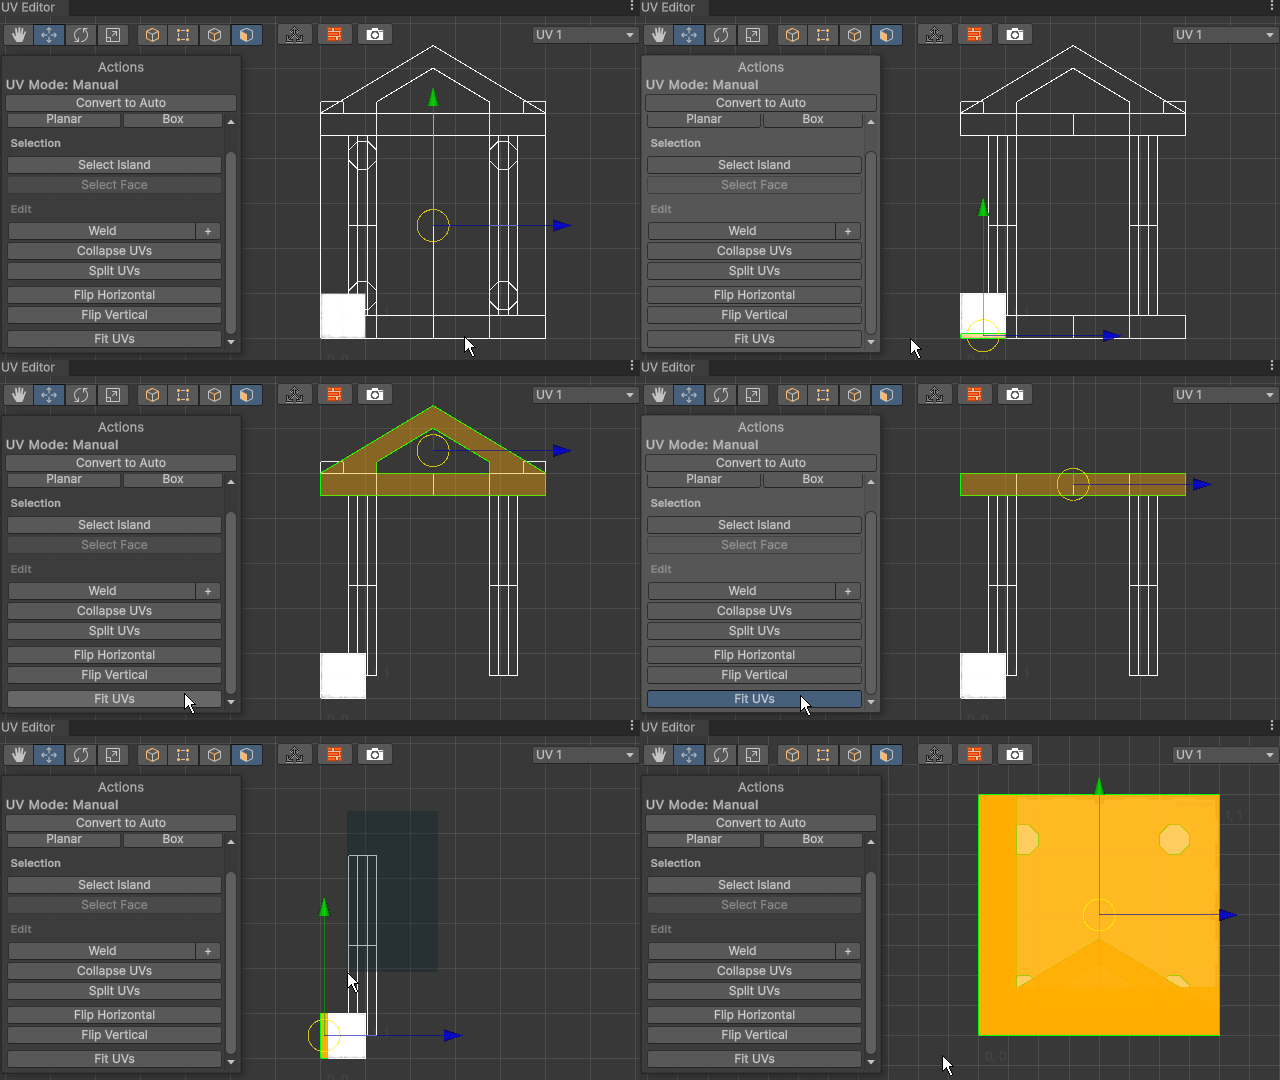
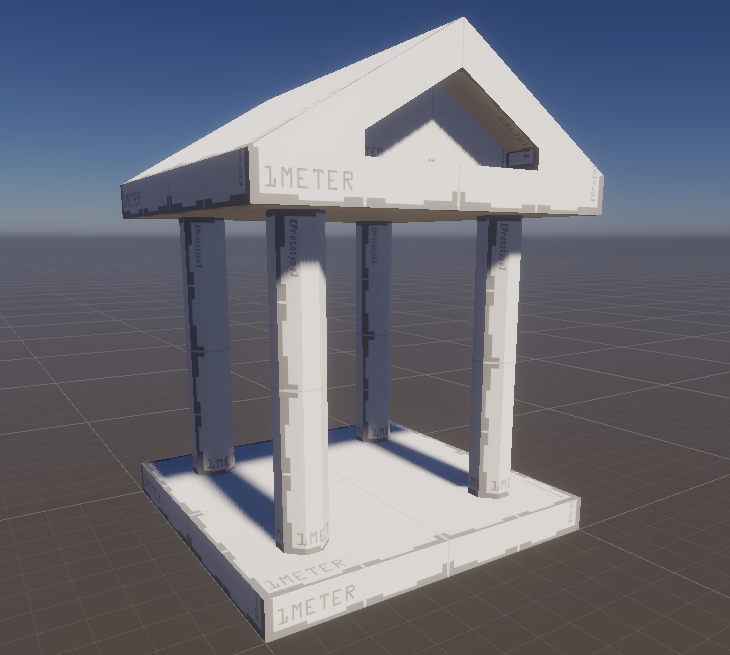
Note: The manual UV method is used to specifically map UVs, not when tiling an object.
Refer to the official manual to learn more about the UV Editor tool's features.
4. Edit the UV maps directly in the Scene view
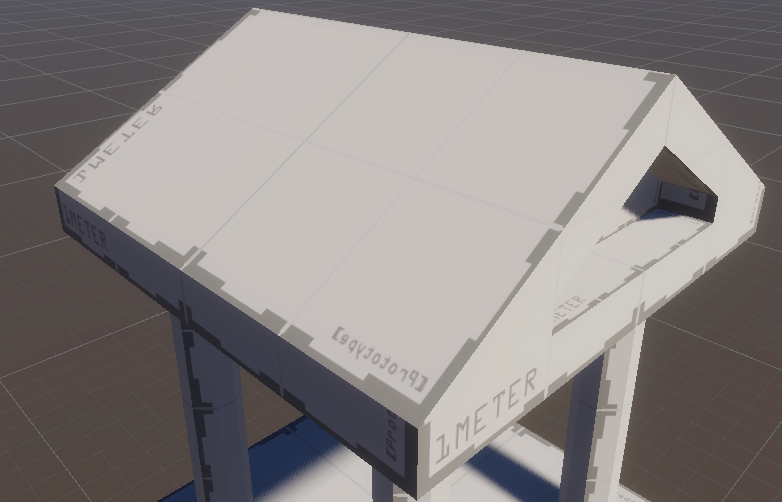
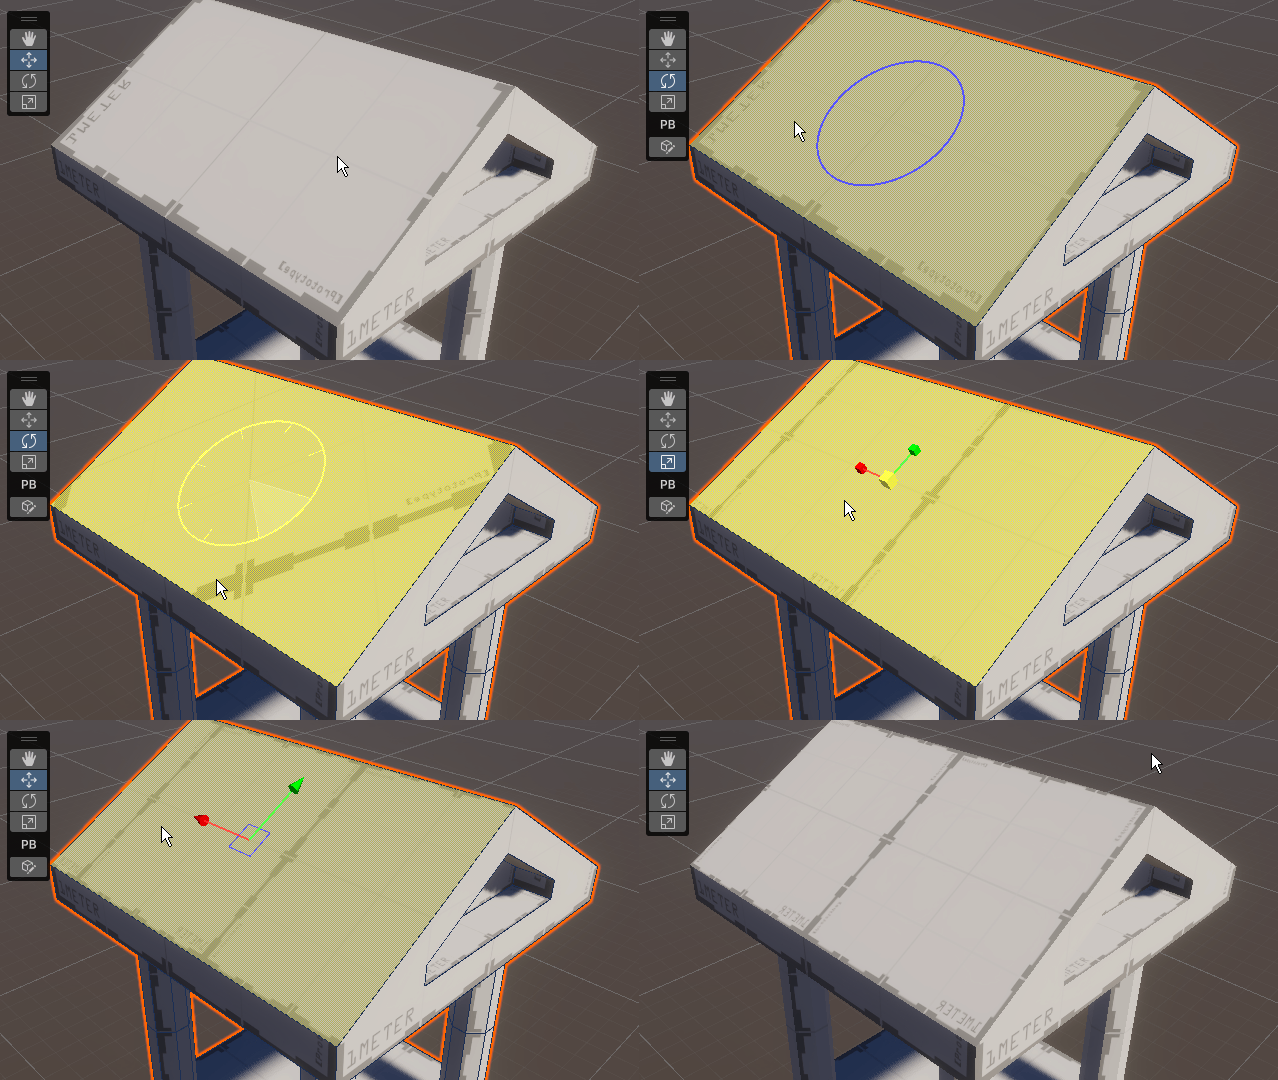
Sometimes it can be easier to edit the UV maps of a certain face directly in the Scene view after working in the UV Editor window. In cases like this, you can turn on the UV Manipulation tool inside the UV Editor window.

First, select the face you want to work in, and when you select the UV Manipulation tool, the gizmos in the Scene view will change, as well their colors. You can now set up UV mapping in real time by controlling the gizmos.
