
Build an oak barrel
Exercise
foundational
+60XP
20 mins
Unity Technologies
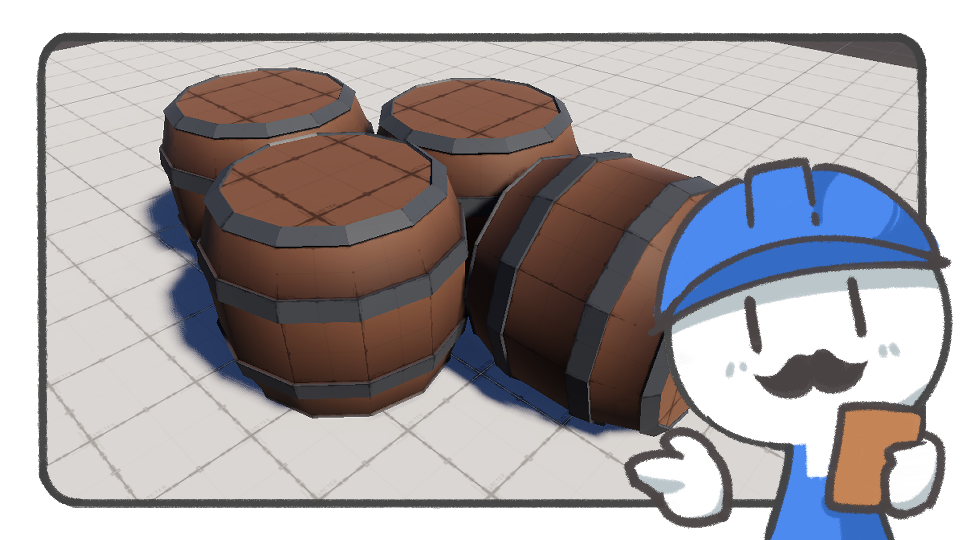
Build a simple oak barrel model based on what you have learned from the ProBuilder tutorials.
Languages available:
1. Set up existing shapes
Get a cylinder ready for the oak barrel. From the initial setting properties, it is recommended to set the Height Cuts to 2.
2. Create loop cuts
Move the horizontally connected lines up and down to make the shape of an oak barrel. You can use the Select Edge Loop selection tool to easily multi-select edges and edit.
3. Expand the volume of loops
After moving the location, use the Scale tool to expand the volume of that loop.
Note: Where the gizmos are located is important. From the tools in the Scene view, you need to check that the Handle Position is set to Center.
4. Expand the edge loops
Now that the shape is formed, let’s build the metal border that will hold the oak barrel. Select all the horizontal loop cuts and use the Bevel tool to add the edge surfaces.
You can select the Add (+) button next to the Bevel tool to adjust the size of the added surface to avoid making it too thin or thick.
5. Create a three-dimensional effect
The metal frame holds the wooden planks from the outside, so they must be somewhat thick. Select them and, with the Face Selection mode on, use the Extrude Faces tool to make them protrude a little.
Also, select the Settings button next to the Extrude tool and adjust the Distance value properly until it is high enough.
6. Merge unnecessary faces
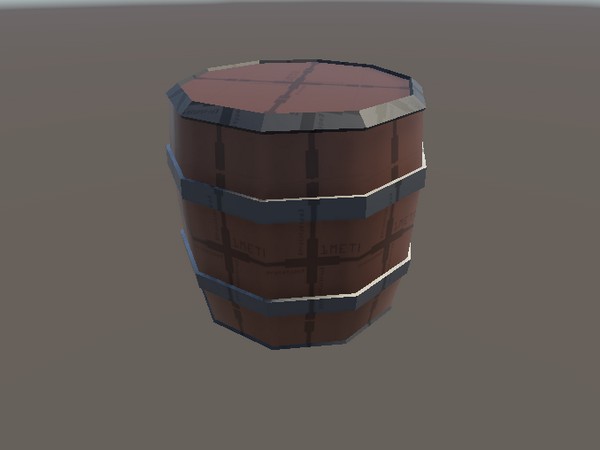
Now that you've finished making the rough barrel shape, it's time to clean it up. For the next step, merge all the small faces from the top and bottom surfaces to simplify the topology. Use the Grow Selection tool to select multiple faces and then use the Merge Faces tool to create the result shown above.
7. Refine the UV
Select the UV Editor tool to evenly flatten the UV map, which currently is unstable from using too many tools. Select Automatic or Manual mode and properly arrange the surfaces as you learned before.
For Automatic mode, you can set the Fill Mode to Tile to evenly apply repetitive textures.
8. Apply materials and use vertex colors
Now apply colors and materials to make it look like a real oak barrel. You can freely paint using the Vertex Colors tool. You can either select a face to paint or select a part of it, switch to Vertex mode, and have a degradation effect. Also, try applying metal or wood materials from the pack you previously installed using the Material Editor tool.
9. Complete the procedure
Convert the ProBuilder model into an asset to use it easily in the future. First, reset the position of the model so that the center or the base is located at (0, 0, 0). Then, use the Freeze Transform tool to change the reference point so that the pivot is in that location. Finally, use the Export tool to save it for later use.
Note: If you select the Settings button of Export and set it to Prefab, the material will not be degraded and it will be saved in a prefab format, which is easy to reuse in Unity.
10. Share your creation
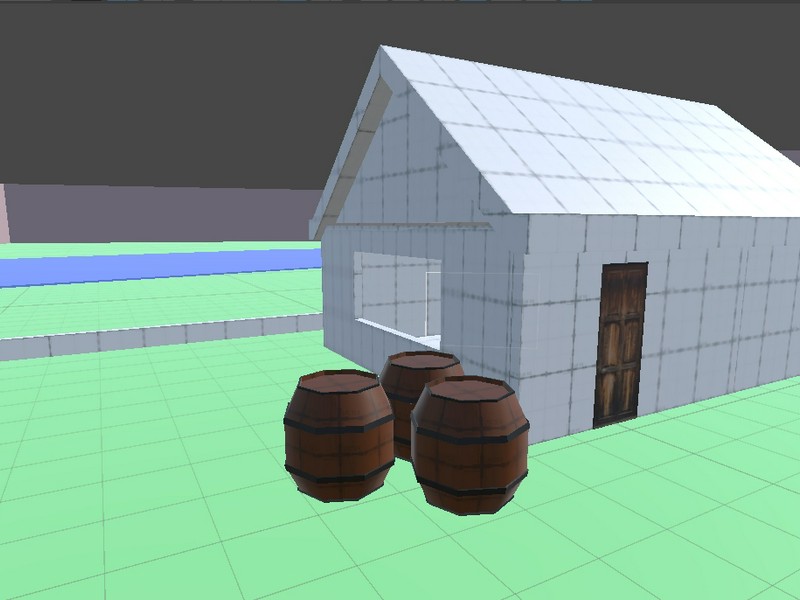
After you've completed your model, take a screenshot or record a video of it and share it for others to see.
Please login to submit
Complete this Tutorial
Submission Gallery

Barrel_1
My first barrel

Barrel
A Barrel Created with probuilder in just a few minutes

Build an Oak barrel
Nothing

vin a volonté
coucou
Probuilder Barrel
A barrel built for the probuilder lesson
Probuilder Barrels homework
Just a few quick barrels to test probuilder capabilities