Create your greybox prototype
Tutorial
Beginner
+0XP
30 mins
Unity Technologies

Planning complete, you can now get started working in Unity! You’ll start by working on a greybox of your prototype, where primitive 3D shapes (which are often grey) are used to block out the scene so you can implement the basic functionality.
By the end of this tutorial, you'll be able to:
- Greybox a basic functional prototype.
- Import a third-party character controller.
Languages available:
1. Overview
Planning complete, you can now get started working in Unity! You’ll start by working on a greybox of your prototype, where primitive 3D shapes (which are often grey) are used to block out the scene so you can implement the basic functionality.
In this tutorial, you’ll:
- Review the greybox stage of the example project.
- Set up a new Unity project for your prototype.
- Greybox your prototype idea.
About the example prototype
The example that we’ve created is a walking simulator, just like those without coding experience will be making. You can use this reference example to support you in your learning journey, but remember that it’s not an exact blueprint for your own prototype — your goal is to develop your understanding of the process of creating a prototype as you work on one, not to re-create the exact same experience that we’ve provided.
2. Read the example greybox plan
Before you explore the greybox prototype itself, take a few minutes to review the plan that was used to create it.
Core interactions and experience design
The functionality for the example walking simulator is very simple.The player needs to be able to:
- Move around a space.
- Trigger an event.
- Interact with a button.
We decided that we wanted to frame the example experience as a very simple puzzle:
- The player is trapped in an enclosed area by a drawbridge. There is a button to operate it, but it doesn’t work.
- The player needs to find and interact with a pressure plate on the floor to activate the button (trigger an event).
- When the button is activated, the player can interact with it to lower the drawbridge and leave the enclosed area.
Basic layout of the space
The creator making the example prototype drew a quick diagram of the space they wanted to create. The image below represents the space of the scene. This was a useful resource as they built out the basic greybox environment in the Unity Editor using primitives.
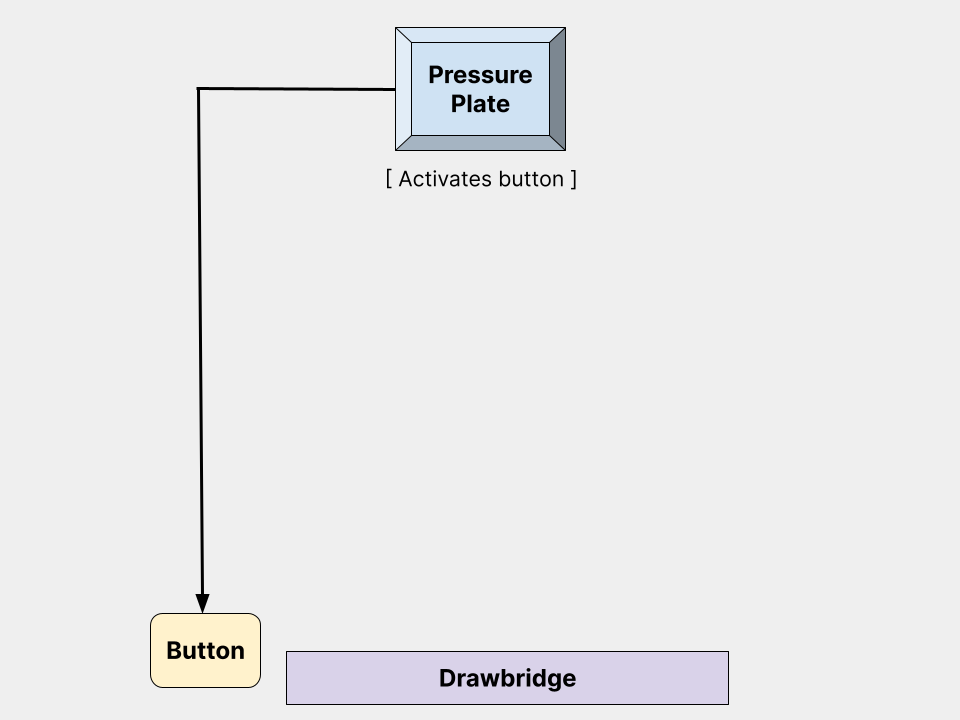
This is a very simple design. There’s certainly no element of mystery to the puzzle! However, it’s just what the designer needed to be able to test out the code for the core interactions.
This space was all they needed to configure the project so that:
- Stepping on the pressure plate enables the button.
- Selecting the button lowers the drawbridge.
3. Examine the example greybox prototype in Unity
Before you work on your own prototype, take a few minutes to review the example greybox prototype scene in Unity:
1. Open the Creative Core: Prototyping project in the Unity Editor.
2. In the Project window, go to Assets > CreativeCore_Prototyping > Scenes. Open the 1-Greybox scene.
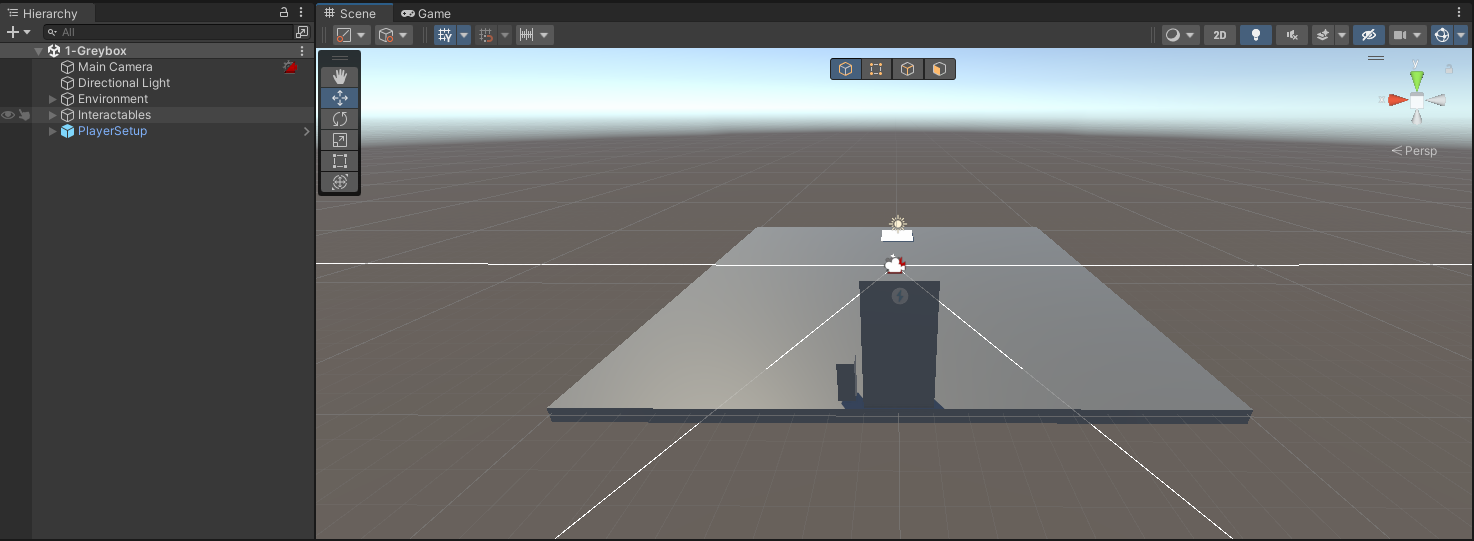
3. Review how the scene has been set up before you actually start testing the experience itself.
4. Select Play to enter Play mode and explore the prototype. The character controller is a first-person, FPS style controller. You can:
- Change direction using your mouse or controller.
- Move using the arrow keys or WASD.
- Select E or click to interact with a selectable item — your cursor will change to a small hand to indicate this).
Note: There is a small white dot in the center of your screen. This is to help with navigation and motion sickness.
5. Select Play again to exit Play mode when you’re done.
Now you’re ready to get set up to create the greybox prototype for your own independent project.
4. Set up your project
Before you begin greyboxing the prototype that you’re going to use for your independent project, you need to set up a new Unity project for it.
To set up your project:
1. Install Unity 6.000, if you haven’t already done so.
2. Create a new Unity project using the URP Template.
3. Set up version control for your Unity project.
Important: This guidance for setting up version control is part of the Junior Programmer pathway and refers to setting up a specific project. However, the guidance is applicable to any project.
5. Import the assets from the example project
If you have limited coding experience and are creating a walking simulator that closely follows the example, you may want to use the same assets and the limited custom features that we’ve set up for that experience.
To do that, you can export the assets as a custom package and then import them into your own project:
1. Open the example project for Creative Core: Prototyping in the Unity Editor.
2. In the top menu, go to Assets > Export As Asset Package... to open the Exporting package dialog window.
3. Select the assets that you want to include in your package.
4. Check that Include dependencies is selected to ensure that any assets required by the ones you have chosen are also included.
5. Select Export... to choose a location for the package file and then save it.
6. Open your new project in the Unity Editor.
7. In the top menu, go to Assets > Import Package > Custom Package…
8. Find the .unitypackage file you exported from the example project and select Open.
9. The code you have just imported uses three packages that you may not have by default: the Input System, Cinemachine and ProBuilder packages. You can either:
- Install the packages via the Package Manager.
- Update your installations of the packages, if you already have them added to your project.
Note: When you install the Input System package in your project you’ll be asked to confirm switching your project to the new Input System via a dialog window — select Yes to confirm. This will cause the Unity Editor to restart.
10. Save your project.
6. Add and configure a character controller
Pre-created character controllers are a great way to speed up your initial prototyping. We recommend the Starter Assets created by Unity — a first and third person character controller that you can get started with straight away.
Important: The Starter Assets, like the Unity project materials provided for this learning experience, are compatible with Unity 2020.3 LTS, 2021.3 LTS and 2022.3 LTS. We don’t recommend using an older version of Unity; however, if you do decide to use an older version then you will need to find an alternative character controller.
If you imported the assets from the example project in the previous step, you will already have the Starter Assets First Person Character Controller in your project. If not, you’ll need to import a character controller into your project:
1. Open your chosen character controller in the Asset Store:
If you’re creating a walking simulator that is close to the example prototype, you should select a first person controller.
2. Download and import the assets into your Unity project.
Important: The Input System and Cinemachine packages will automatically be installed in your project when you import and install the starter assets. You’ll see a dialog window asking you to confirm switching your project to the new Input System — select Yes to confirm. This will cause the Unity Editor to restart.
3. In the Project window, go to Assets > CreativeCore_Prototyping > StarterAssets to open and review the full package documentation and license terms:
- Readme.asset
- StarterAssets_Documentation.pdf
- license.txt
4. Go to Assets > CreativeCore_Prototyping > StarterAssets > FirstPersonController (or ThirdPersonController) > Scenes and then open the Playground scene to explore a sample scene.
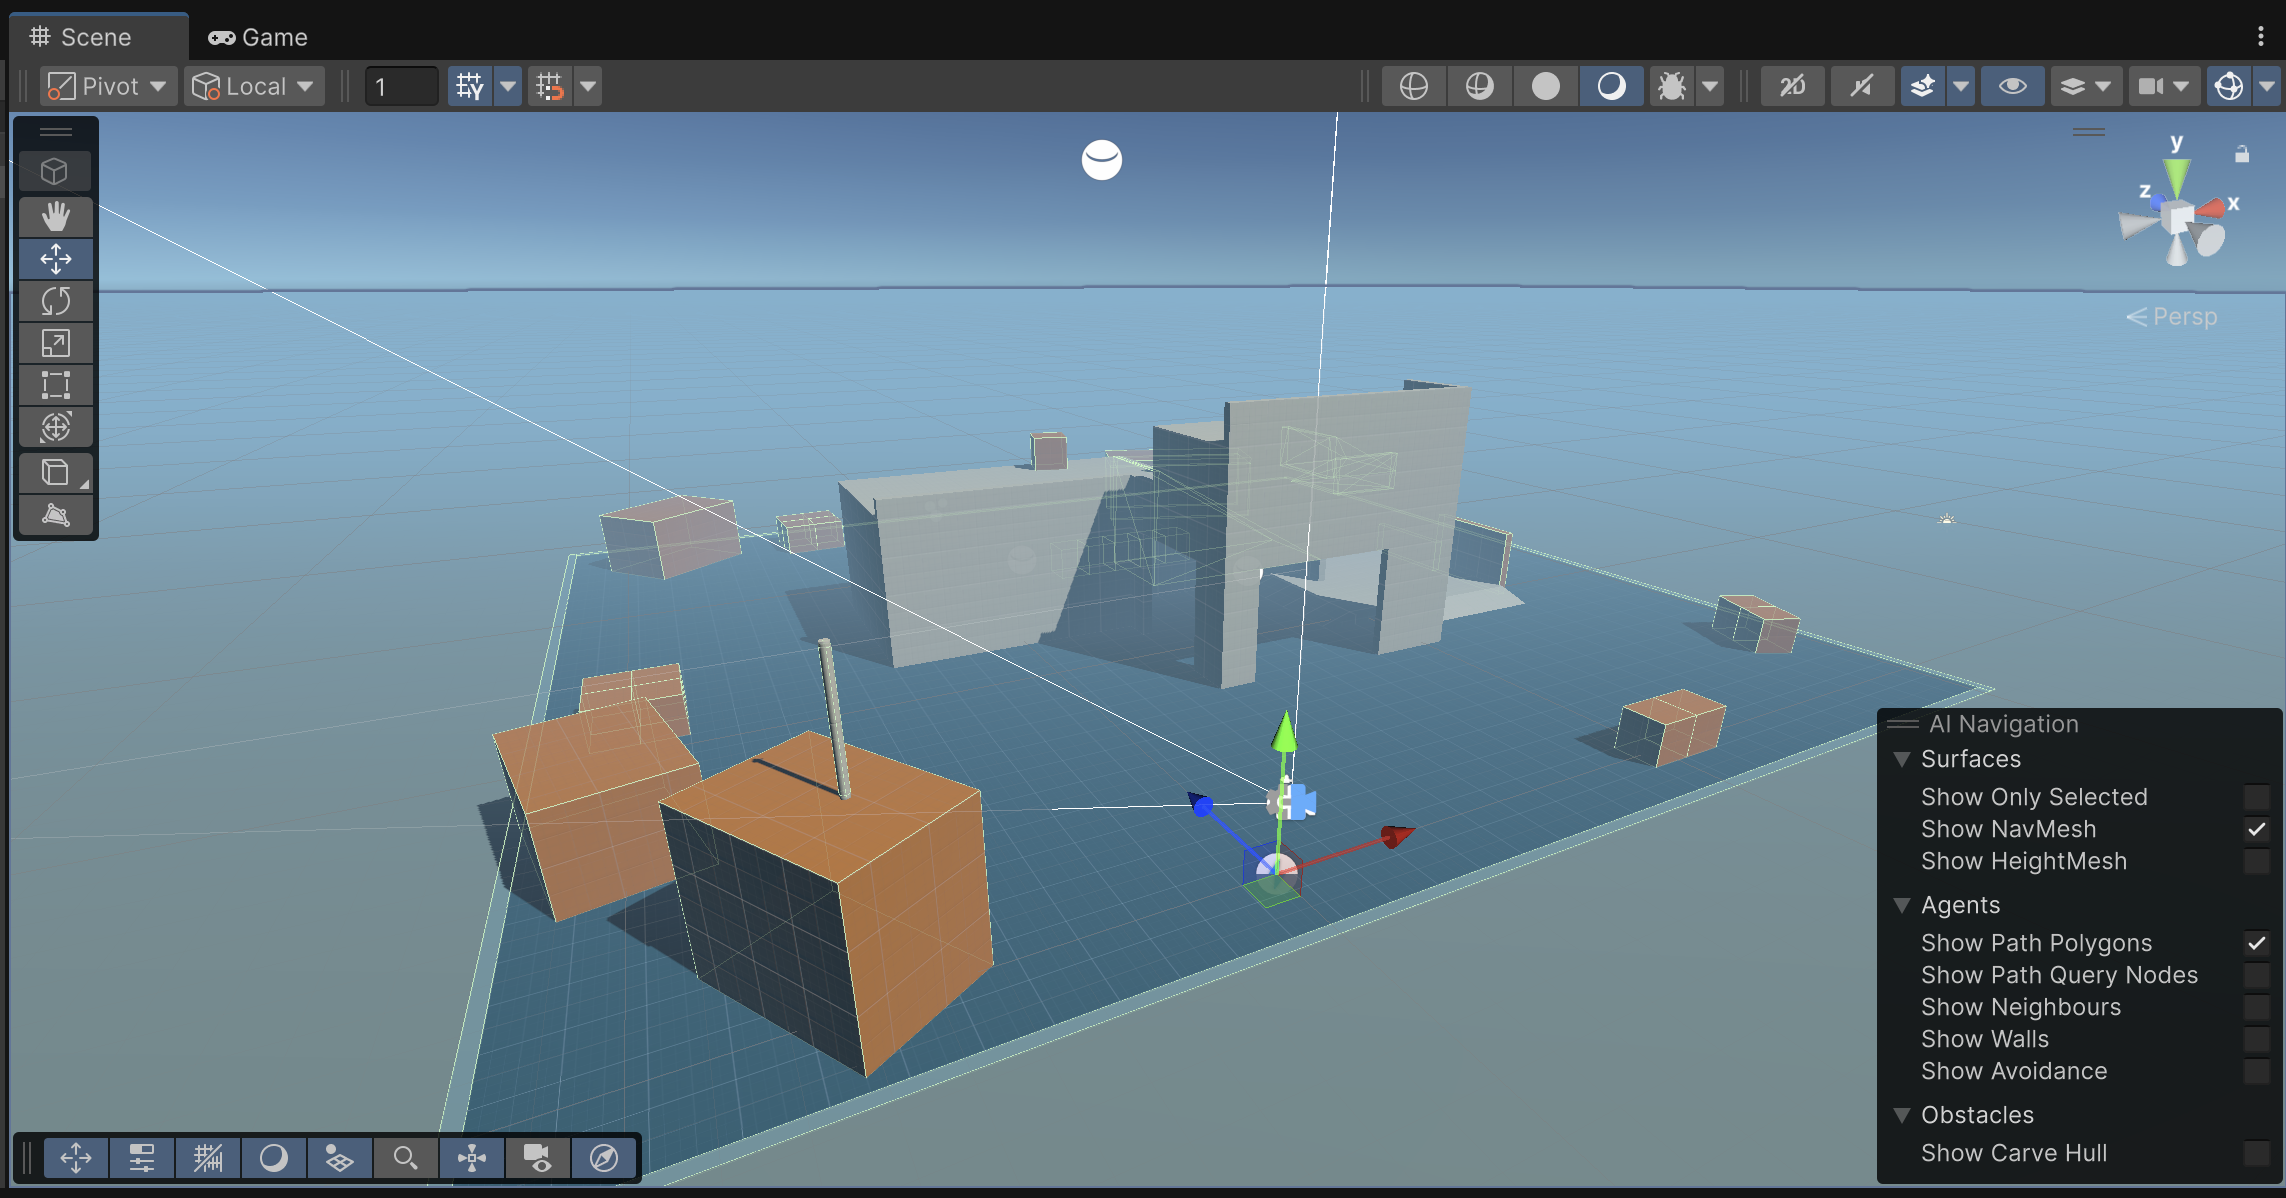
7. Review the documentation to help you get started with your choice of controller.
7. Review the custom script components
If you’re planning to use them in your experience, take some time now to review the functionality of the custom script components that we’ve provided for this learning experience.
OnInteract
This script component specifies one or more Events that will happen when the user interacts with a GameObject in your scene. You can only add this script to a GameObject with a Collider component.
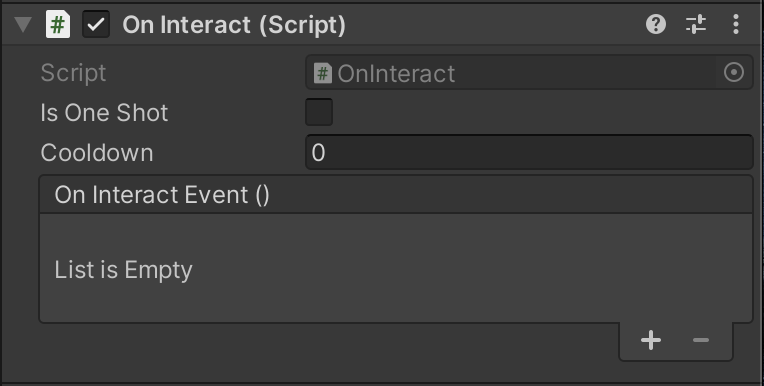
You can set:
- Is One Shot: whether the Events happen once or any time the user interacts with the GameObject.
- Cooldown: the number of seconds before the Events happen again, if they repeat.
- On Interact Event (): the Events that will happen when the user interacts with the GameObject that this component is added to. Use Add (+) to add an Event.
OnTriggerEvent
This custom script component specifies one or more Events that happen when the user enters or exits an area defined by a Collider that has been set as a trigger. You can add this script to a GameObject with a Collider component. It will only work if the Is Trigger property is enabled for that Collider component.
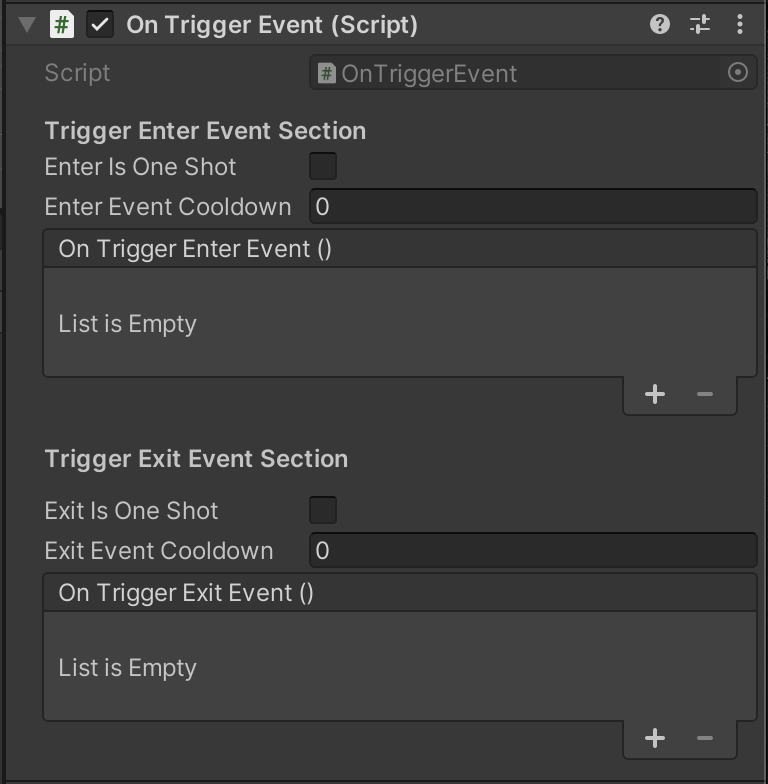
You can set:
- Trigger Enter Events: these Events happen when a GameObject enters the Collider bounds of the GameObject this script is applied to.
- Trigger Exit Events: these Events happen when a GameObject exits the Collider bounds of the GameObject this script is applied to.
- Is One Shot: whether the Events in each section happen once or any time the user enters or exits the Collider bounds of the GameObject.
- Cooldown: the number of seconds before the Events in each section happen again, if they repeat.
Interact Handler
This custom script component controls how interactions are handled in your experience. If you imported the assets from the example project, as we recommended for those with limited prior experience, this has already been configured for you. If you need to, you can find this component on the PlayerCapsule GameObject (child of PlayerSetup).

There are three properties you can set:
- UI Prefab: assign the experience’s UI Prefab. This has already been set up for you if you imported the assets from the example project.
- Interactable Pointer: assign a sprite to appear as the cursor/pointer icon when the user hovers over an interactable object.
- Normal Pointer: assign a sprite to appear as the normal cursor/pointer icon in your experience.
8. Create your own prototype greybox
Now you’ve reviewed the example and set up your Unity project, take some time to create your own greybox.
Tips:
- Keep things simple and use primitives as placeholders for now, rather than creating more complex shapes or importing assets. You can use a plane primitive for the ground.
- Don’t worry about exactly recreating the environment you want with primitive placeholders. The simpler this version is, the better!
- Remember to save frequently as you work.
- If you’re struggling to implement the basic functionality, remember that you have a range of resources available to you including other content on Unity Learn and the Unity Forums.
Keep iterating
You might need to make some adjustments or iterate the greybox prototype a few times before it feels right. You may even need to return back to your initial idea and try a different approach.
Our expert creators shared their own experiences of projects changing during the prototyping phase.
Whether it happens in this greyboxing stage or later on, it’s okay to pivot if you need to change your approach or your whole prototype.
9. Test as you go
You’ll explore testing in more detail a little later in this learning experience, but testing as you go is a vital part of creating a prototype. It doesn’t make sense to progress from the greyboxing stage until you’ve achieved the basic functionality required for your prototype, which may also be adjusted as part of exploration in this stage.
Take a moment to think about the needs of your target users/players. Are you factoring these into the decisions you make as you iterate your prototype? It’s important to return to this question and evaluate it at every stage of prototype development.
10. Next steps
When you’re happy with your greybox, continue on to the next tutorial to learn about enhancing your basic prototype.