
Lesson 1.2 - Pedal to the Metal
Tutorial
Beginner
+10XP
70 mins
(8978)
Unity Technologies
Overview:
In this lesson you will make your driving simulator come alive. First you will write your very first lines of code in C#, changing the vehicle’s position and allowing it to move forward. Next you will add physics components to your objects, allowing them to collide with one another. Lastly, you will learn how to duplicate objects in the hierarchy and position them along the road.
Project Outcome:
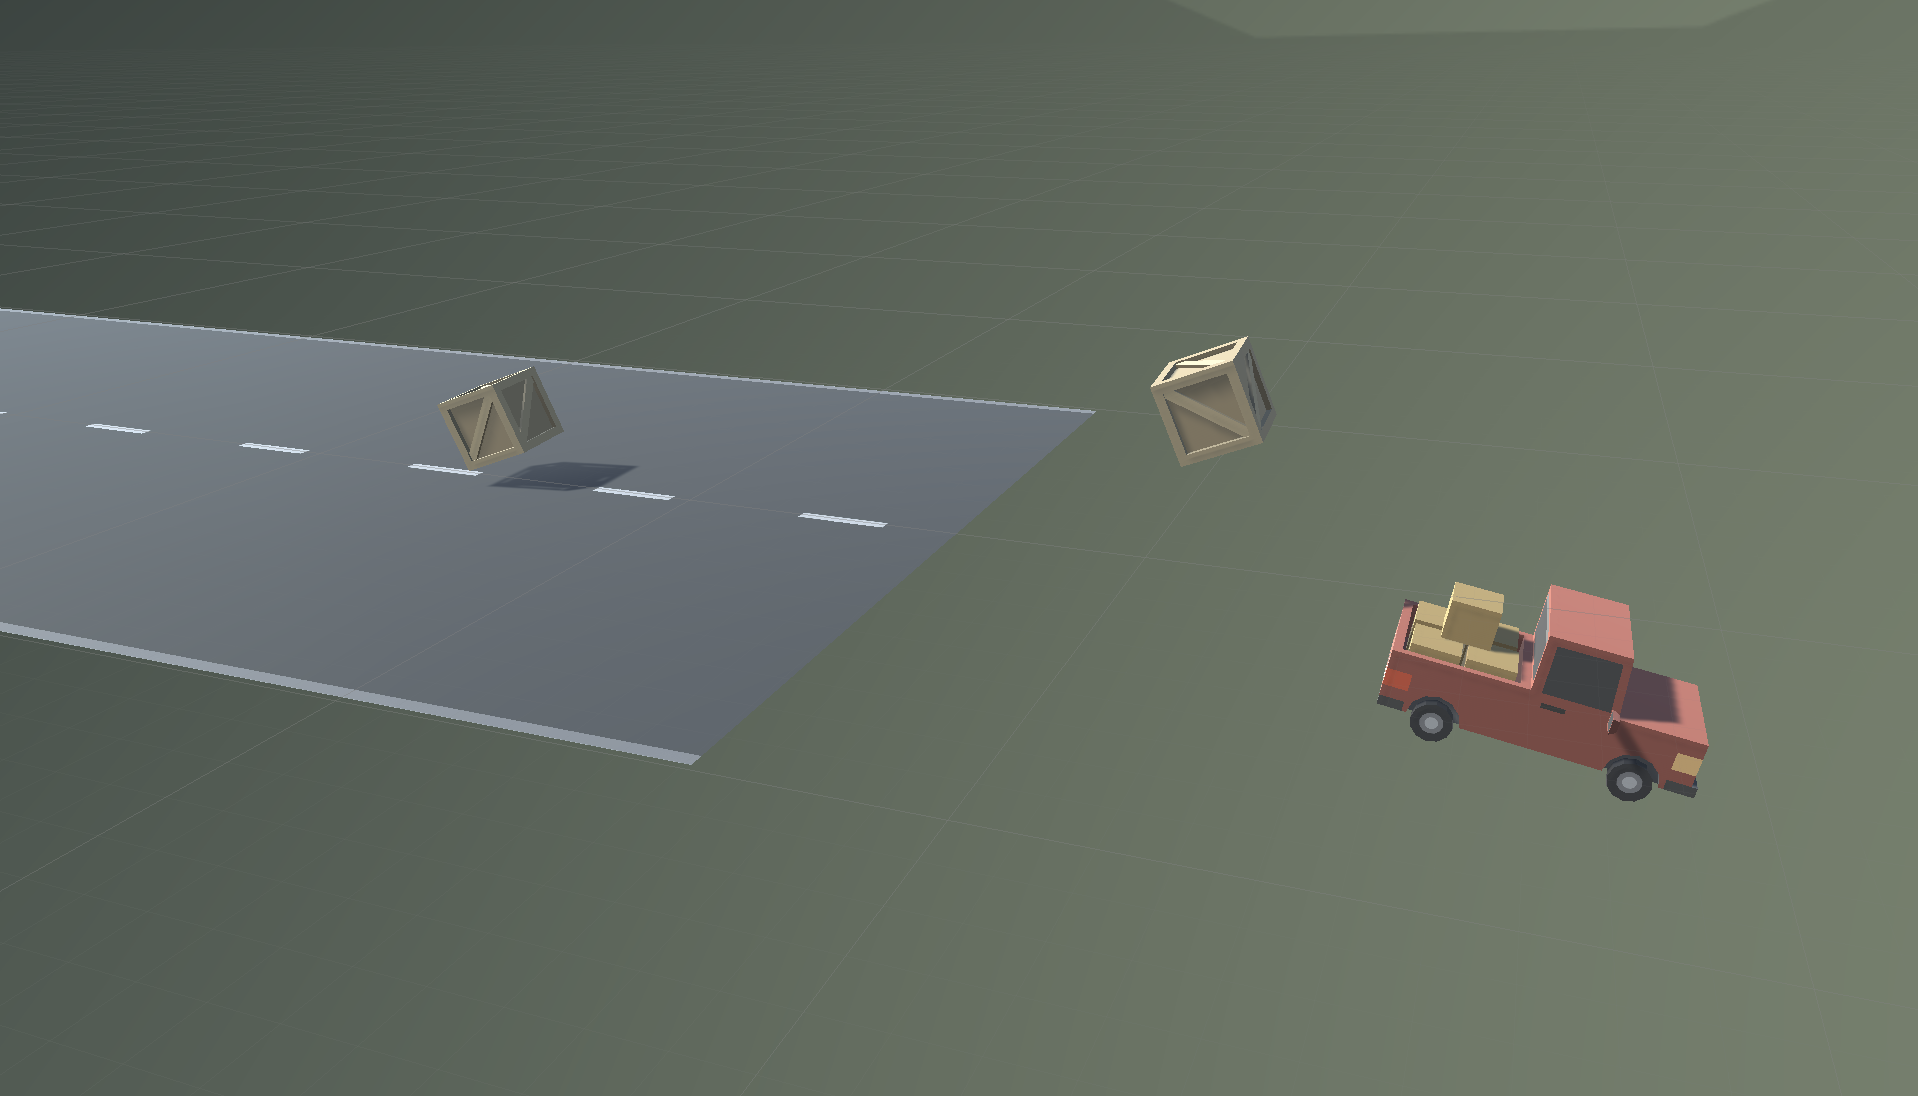
You will have a moving vehicle with its own C# script and a road full of objects, all of which may collide with each other using physics components.
Languages available:
Overview Video
1. Create and apply your first script
We will start this lesson by creating our very first C# script that will control the vehicle’s movement.
- In the Project window, Right-click > Create > Folder named “Scripts”
- In the “Scripts” folder, Right-click > Create > Monobehaviour Script named “PlayerController”
- Drag the new script onto the Vehicle object
- Click on the Vehicle object to make sure it was added as a Component in the Inspector
2. Add a comment in the Update() method
In order to make the vehicle move forward, we have to first open our new script and get familiar with the development environment.
- Double-click on the script to open it in Visual Studio
- In the Update() method, add a comment that you will: // Move the vehicle forward
3. Give the vehicle a forward motion
Now that we have the comment saying what we WILL program - we have to write a line of code that will actually move the vehicle forward.
- Under your new comment, type transform.tr, then select Translate from the autocomplete menu.
- Type (), add 0, 0, 1 between the parentheses, and complete the line with a semicolon (;).
- Press Ctrl/Cmd + S to save your script, then run your game to test it.
Note: For the autocomplete to work correctly, your IDE must have the correspondent Unity plugin installed
4. Use a Vector3 to move forward
We’ve programmed the vehicle to move along the Z axis, but there’s actually a cleaner way to code this.
- Delete the 0, 0, 1 you typed and use auto-complete to replace it with Vector3.forward
5. Customize the vehicle’s speed
Right now, the speed of the vehicle is out of control! We need to change the code in order to adjust this.
- Add * Time.deltaTime and run your game
- Add * 20 and run your game
6. Add RigidBody components to objects
Right now, the vehicle goes right through the box! If we want it to be more realistic, we need to add physics.
- Select the Vehicle, then in the inspector click Add Component and select RigidBody
- Select the Obstacle, then in the inspector click Add Component and select RigidBody
- In the RigidBody component properties, increase the mass of the vehicle and obstacle to be about what they would be in kilograms and test again
7. Duplicate and position the obstacles
Last but not least, we should duplicate the obstacle and make the road more treacherous for the vehicle.
- Click and drag your obstacle to the bottom of the list in the hierarchy
- Press Ctrl/Cmd+D to duplicate the obstacle and move it down the Z axis
- Repeat this a few more times to create more obstacles
- After making a few duplicates, select one in the hierarchy and hold ctrl + click to select multiple obstacles, then duplicate those
8. Lesson Recap
New Functionality
- Vehicle moves down the road at a constant speed
- When the vehicle collides with obstacles, they fly into the air
New Concepts & Skills
- C# Scripts
- Start vs Update
- Comments
- Methods
- Pass parameters
- Time.deltaTime
- Multiply (*) operator
- Components
- Collider and RigidBody
Next Lesson
- We’ll add some code to our camera, so that it follows the player as they drive along the road.
Check your script
using UnityEngine;

public class PlayerController : MonoBehaviour
{
    void Start()
    {

    }

    void Update()
    {
        // Move the vehicle forward
        transform.Translate(Vector3.forward * Time.deltaTime * 20);
    }
}