Apply post-processing to your guided project
Tutorial
·
Beginner
·
+10XP
·
60 mins
·
(85)
Unity Technologies

Now it’s time to apply what you have learned about post-processing to your guided project!
Languages available:
1. Overview
Last time, you added cameras to your guided project scene to control what the user can see and what they should be looking at.
Post-processing allows you to apply cinematic effects to your cameras and create the visual language that users are used to seeing in film and games.
In this tutorial, you’ll add post-processing effects to your guided project.
2. Review the design document requirements
Before you resume work on your project, remind yourself of the project requirements specific to post-processing:
1. Open the design document for the project you selected:
2. In the Project Specifications section of the design document, locate the post-processing requirements.
3. Apply what you learned in your project
You’re now ready to apply your new skills in order to meet the requirements outlined in your design document.
In the following steps, you’ll find some project-specific considerations and hints. Go to the section that is relevant to your selected project:
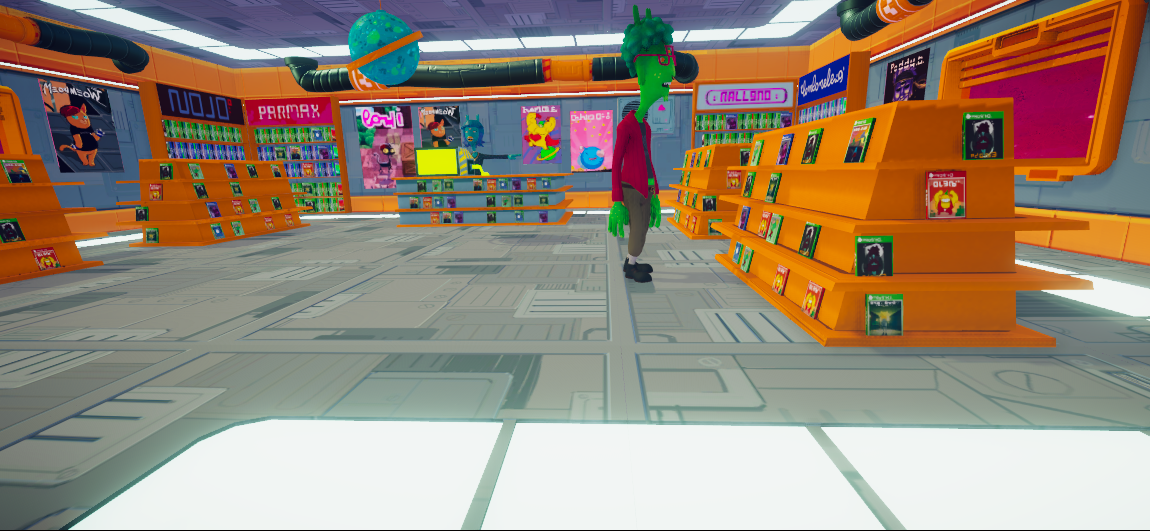
- Alien video game shop → Step 4
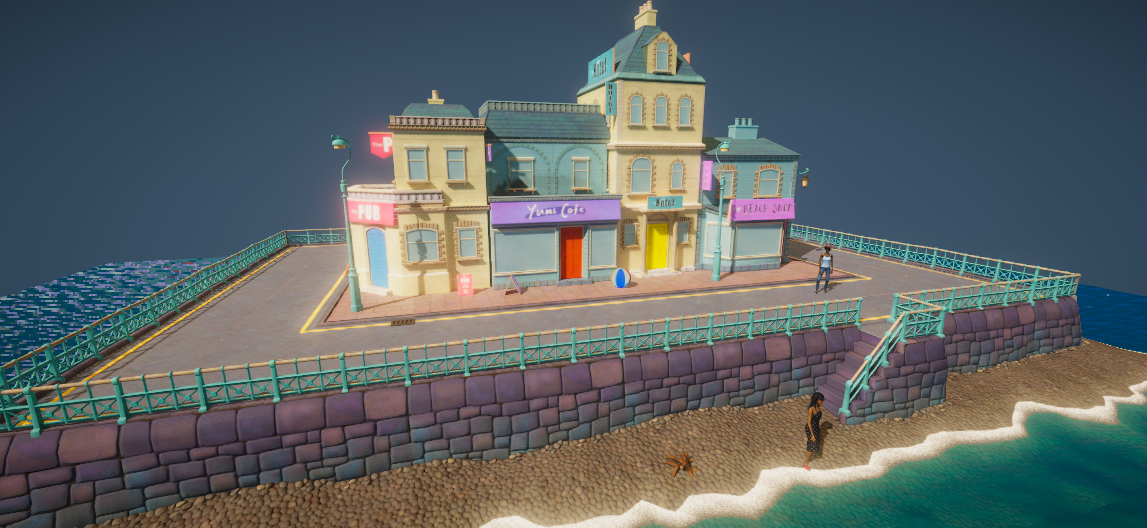
- Beachside town → Step 5
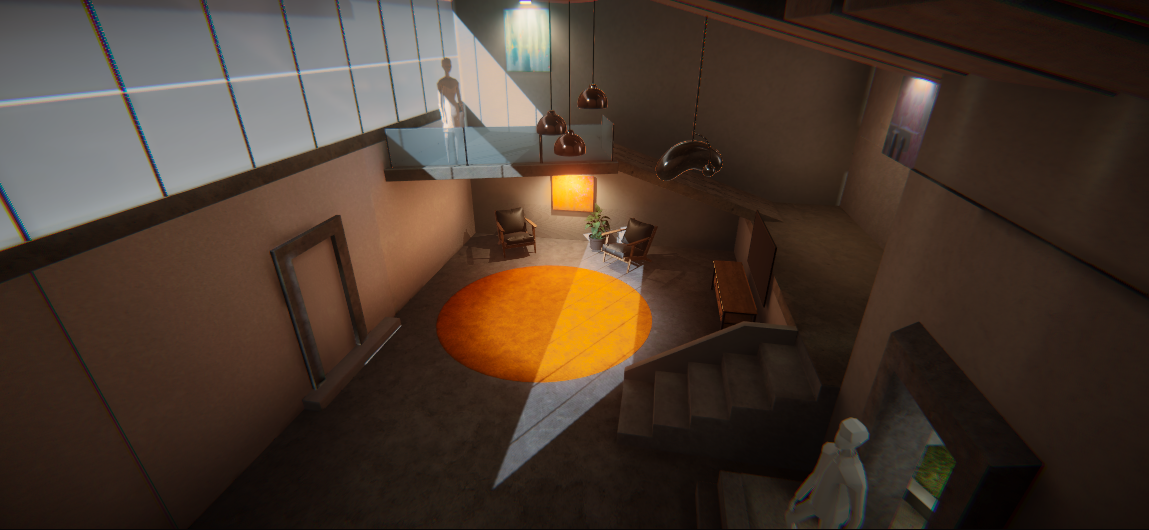
- Architectural rendering → Step 6
4. Alien video games shop requirements
Make it cinematic
Create a new post-processing profile and make the following changes.
- Make the colors of the scene more vibrant.
- Add a bloom effect on the lights.
- Add a vignette to the scene.

5. Beachside town requirements
Make it cinematic
Create a new post-processing profile and make the following changes.
- Make the colors of the scene more vibrant.
- Add a bloom effect on the lights.
- Add a vignette to the scene.

6. Architectural rendering requirements
Make it cinematic
Create a new post-processing profile and make the following changes.
- Make the colors of the scene more vibrant.
- Add a bloom effect on the lights.
- Add a vignette to the scene.

7. Next steps
Congratulations! You’ve completed the Post-processing mission. Next, you’ll learn about audio and then apply this new knowledge to your own project.