
Animate with Muse
Tutorial
foundational
+10XP
(83)
Unity Technologies
Animation makes any scene come to life. Creating high-quality animation requires a lot of detailed work. However, Muse Animate can assist in that process by generating basic animations quickly, for fast prototyping and for creative experimentation.
In this tutorial, you will learn to do the following:
- Generate an animation using prompts in Muse.
- Add a generated animation from Muse to your Unity project.
Languages available:
1. Overview
Animation makes any scene come to life. Creating high-quality animation requires a lot of detailed work. However, Muse Animate can assist in that process by generating basic animations quickly, for fast prototyping and for creative experimentation.
In this tutorial, you will learn to do the following:
- Generate an animation using prompts in Muse.
- Add a generated animation from Muse to your Unity project.
2. Before you begin
Complete the previous tutorials in this course and have that project open in the Unity Editor.
In the Unity Editor, go to the main menu and open Muse > New Animate Generator. If you don't see that option, then you need to install the Muse Animate package, following one of these methods:
- Go to the Muse Explore page in a web browser, and select Animate. For detailed steps, refer to Add Muse packages to your project.
- Follow the instructions to Install a Unity package by name, using the name com.unity.muse.animate.
3. Add a character to the scene
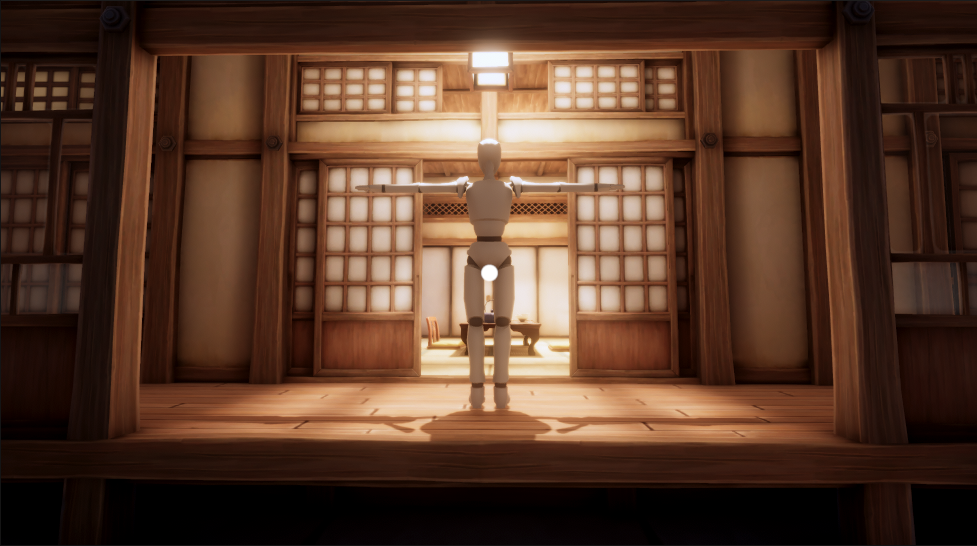
To test the animations you generate, you will need a bipedal, rigged character in your scene. The Muse Animation package provides a prefab you can use. Follow these instructions to set it up.
1. In the Project window, go to Packages > Muse Animate Tool > Runtime > PackageResources > Entities > Actors > Biped and find the Biped_Puppet_DeepPose prefab.
2. Drag the Biped_Puppet_DeepPose prefab into the scene.
3. Use the Move and Rotate tools to position the character in your scene.
4. Generate animations
Follow these instructions to start generating animations:
1. From the main menu of the Editor, select Muse > New Animate Generator to open the Muse Animate Tool.
2. Add a prompt to the prompt area. For our example, we'll use “walking”, but feel free to experiment.
Note: You can use the Generations option to increase the number of animations generated, and use the Duration slider to change the duration of the animation clip.
3. The generated animations are displayed in the Library area. You can preview an animation by selecting one of the clips in the Library.
4. Select Generate to start the generation process.
Repeat these steps as much as you like to develop an animation that you would like to apply to the Biped Puppet.
5. Add the animation to the character
When you are happy with one of your animations, follow these instructions to export it as an animation clip and add it to your character:
1. In the Project window, create a new folder named "Animations" under your Assets folder. You'll save your generated animation clips in this folder later.
2. Select one of the walk animations you are happy with, then select Export.
3. In the Project window, navigate to the Animation folder you created earlier, give the animation clip a descriptive name, then select Save.
4. Select the animation clip you've exported, then go to the Inspector window and enable the Loop Time and Loop Pose options. These options will make sure the animation plays on a loop.
5. To add the animation to your character, select the Biped_Puppet_DeepPose GameObject in the Hierarchy, then drag the walk animation clip into the Inspector. This will automatically create an Animator Controller with the walk animation already added.
6. Next steps
Now you know the basic features of Muse's animation generator, and you can easily create your own animations to prototype your games.