Set up your Muse game project
Tutorial
Beginner
+10XP
0 mins
167
Unity Technologies

When you have some general ideas for a project but you're not sure how to start, Muse can help by providing quick answers, generating assets rapidly, and prototyping animation and behaviors that you can actually playtest as you continue to brainstorm.
In this tutorial, you'll learn how to prototype a game by integrating Muse capabilities like Chat, Texture, Sprite, Animate, and Behavior into your Unity project easily through the Muse Explore page.
Languages available:
1. Overview
When you have some general ideas for a project but you're not sure how to start, Muse can help by providing quick answers, generating assets rapidly, and prototyping animation and behaviors that you can actually playtest as you continue to brainstorm.
In this tutorial, you'll learn how to prototype a game by integrating Muse capabilities like Chat, Texture, Sprite, Animate, and Behavior into your Unity project easily through the Muse Explore page.
2. Create your prototype project
Let's start by creating a new Unity project.
1. Install Unity 2022.3 LTS, if you haven’t already done so.
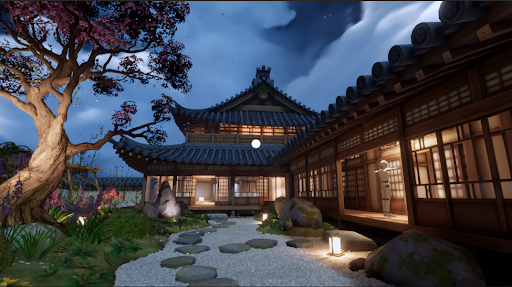
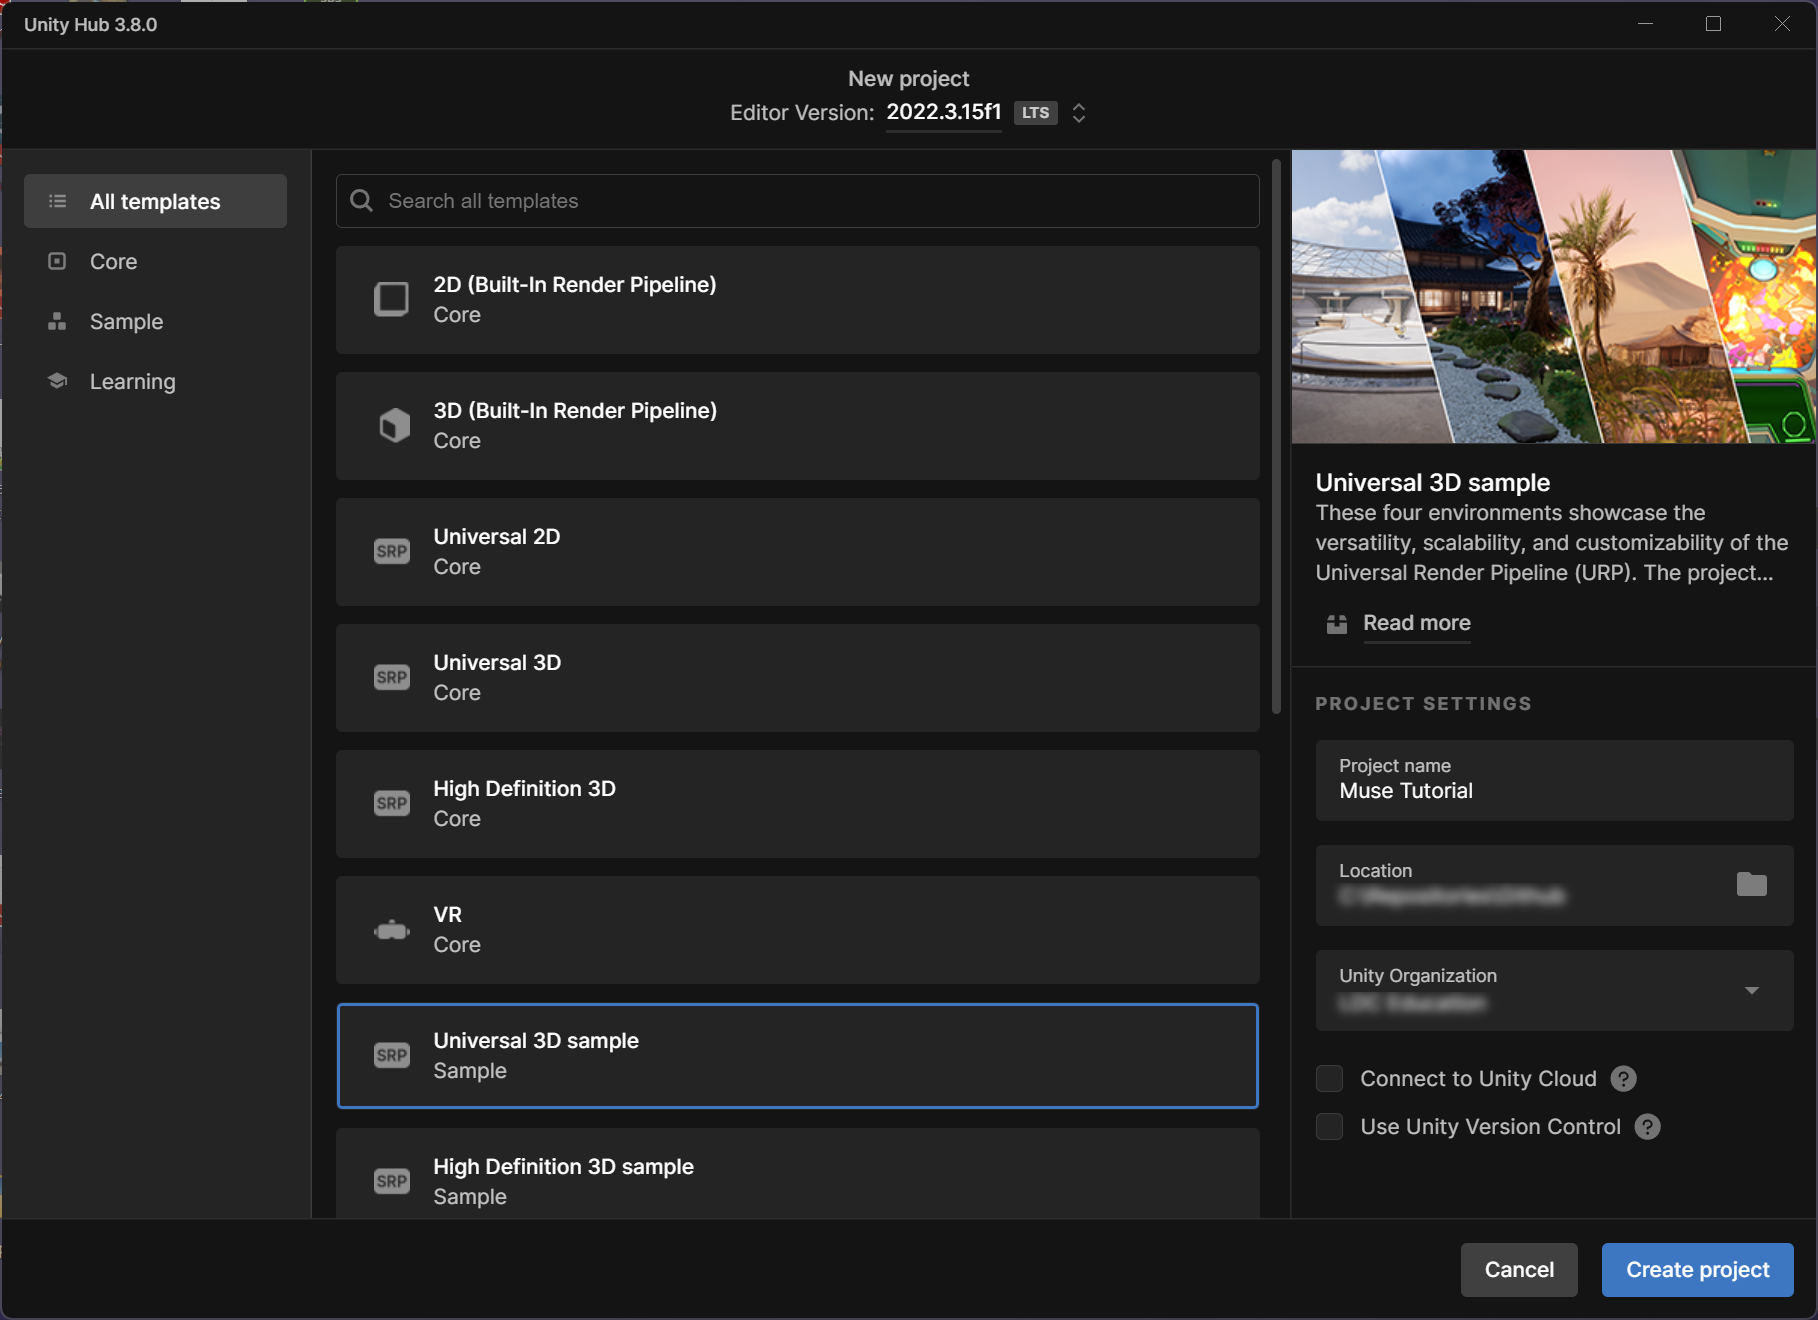
2. Create a new Unity project named "Muse Prototype" using the Universal 3D sample template.

3. Once the project has opened, open the Garden scene from the Project window: Assets > Scenes > Garden > GardenScene (the scene, not the folder).
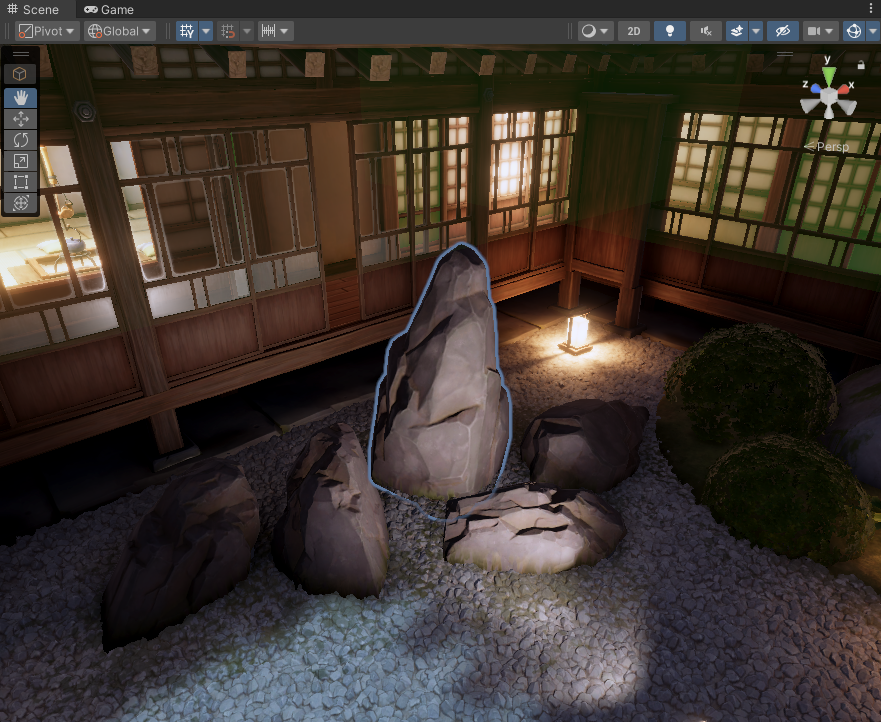
4. To orient your view of the scene, go to the Hierarchy window and select the GameObject Root > Terrain > Rocks > LandscapeStone_01_Prefab (2).
5. With the LandscapeStone_01_Prefab (2) GameObject selected, move your cursor to the Scene view and press F to frame it. Use the Orbit and Zoom tools to get a good view of a tall rock in a Japanese garden.

This is where you'll begin working on your prototype in the next tutorial.
Tip: For better visibility, open the Gizmos dropdown of the Scene view and move the 3D Icons slider all the way to the left.
3. Add Muse packages to your project
Next, you'll add all of the Muse capabilities to your project. Unity has a special web page to make this process easy.
Let's start with Muse Chat, but you can follow these steps when you install other Muse packages as well:
1. You'll be adding Muse to a Unity project, so make sure that your project is open in the Unity Editor. In this tutorial, that project is your "Muse Prototype" project.
2. In a web browser, open muse.unity.com if you're not there already.
3. Open the Muse dropdown in the upper-left of the window and select View all capabilities.
4. On the card for Chat (or any other Muse package), select Get started.
5. In the window that opens, select Install the [name] package. If you see a prompt open Unity, open it.
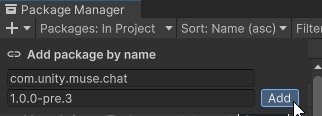
The Unity Editor's Package Manager window will open.

6. Select Add to add the package.
Allow a little time for the package to install.
7. In the Unity Editor's main menu, select Muse > Chat. As you install more Muse packages, additional options will appear here.

The window will open as a floating window, which you can leave as-is or dock into your Unity Editor window layout.
Tip: If the Tutorials window is open in your project, you can dock it in the same pane, to the right of the Inspector window.